Category Archives: Food

Lemon Pudding Cakes

We made these for dessert on Easter, and they were SO GOOD!!!  While I wouldn’t call these necessarily healthy, they really were surprisingly light and refreshing!  The flavor was amazing too!

I acctually tore this recipe from my Real Simple magazine back in April of 2012.  Yes…I still collect and keep magazine tear outs (even in this Pinterest driven day!!)  I didn’t deviate from the original recipe with the exception of accidentally undercooking them-which I will do again when I make them next time.  It was a huge hit.Blog Real Simple Lemon Pudding Cakes-1 Blog Real Simple Lemon Pudding Cakes-2
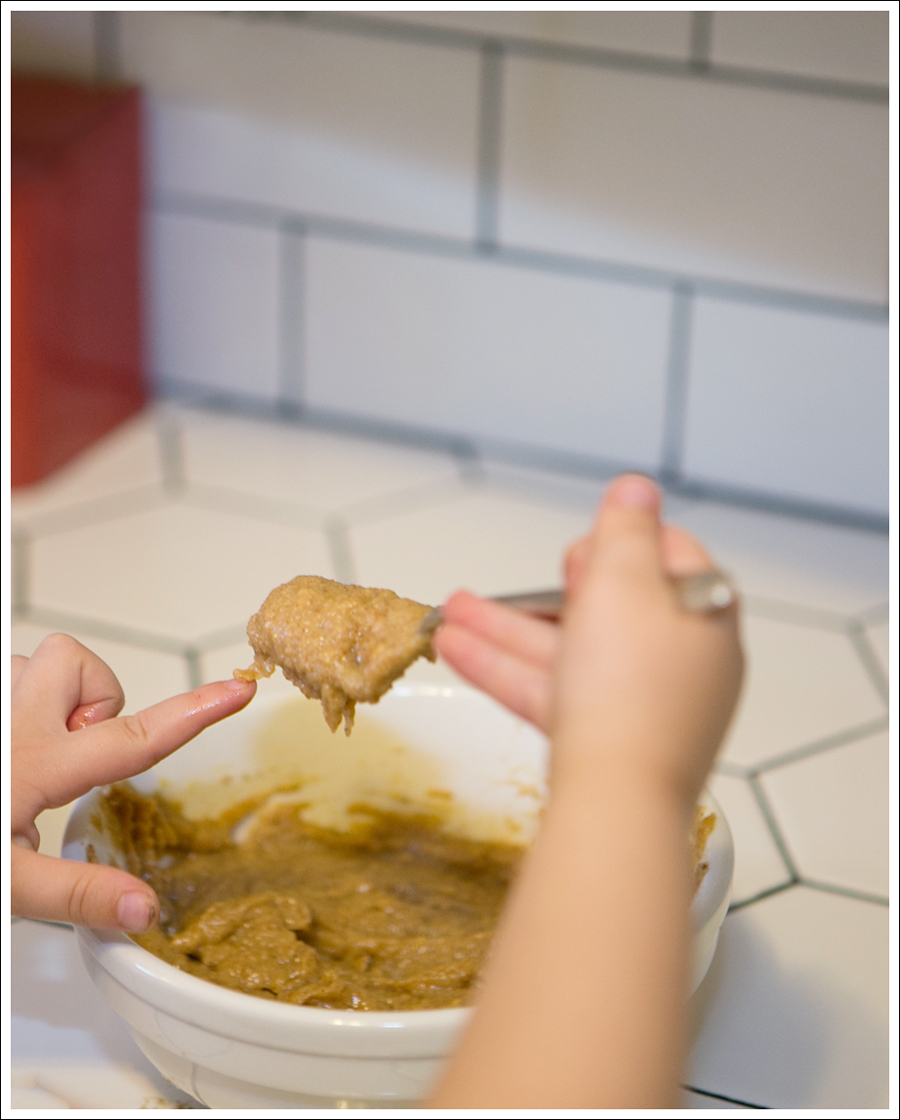
If this next image doesn’t make your mouth water, I don’t know what will!  And those cute little fingers?  Maya was such a good assistant! Blog Real Simple Lemon Pudding Cakes-3

What you need…

  • 3/4 Cup Granulated Sugar
  • 1/3 Cup All-Purpose Flour
  • large eggs (separated)
  • 2 Tablespoons Unsalted Butter (room temp)
  • 1 Cup Whole Milk
  • 1 Teaspoon Finely Grated Lemon Zest
  • 1/3 Cup Fresh Lemon Juice
  • 1/2 Teaspoon Kosher Salt
  • 3 Teaspoons Turbinado or Some Other Coarse Sugar

What to do…

  • Heat oven to 350° F.
  • Place six 4-ounce ramekins into a 9×13 Pyrex dish.
  • In a medium bowl, whisk together the granulated sugar and flour; set aside.
  • In a second medium bowl, whisk together the egg yolks and butter until combined.
  • Whisk in the milk and lemon zest and juice. Add the lemon mixture to the sugar mixture and whisk until smooth.
  • Using an electric mixer, beat the egg whites and salt on medium-high until stiff peaks form, 2 to 3 minutes.
  • In 3 additions, gently fold the egg whites into the lemon-sugar mixture.
  • Divide the pudding mixture among the ramekins (about 3/4 of a cup each). Dividing evenly, sprinkle with the turbinado sugar.Blog Real Simple Lemon Pudding Cakes-4
  • I chose to refrigerate mine for a few hours, but you don’t have to.  If you do, the batter will separate, like above, and the end result will be that creamy pudding at the base, and light fluffy cake on top.  If you don’t have time, the separation will be less noticeable, but still delicious!!  Seen in a slightly different variation when I had less time here. 🙂
  • To the roasting pan, add just enough hot water to reach halfway up the sides of the ramekins.
  • Bake until the tops are golden brown.  I accidentally undercooked mine at 35 minutes, and honestly the general consensus was that was a happy accident.  Original recipe says to cook for 40-45.
  • Take out of the pan and let cool on a rack.Blog Real Simple Lemon Pudding Cakes-5
  • I refrigerated mine for a few hours after cooking and the pudding was firm and the top cake was moist.  You can eat them right away, and it will be more like a lemon molten cake.  To each his own, but cold lemon sounded better to me. 🙂
  • Can make one large cake (probably best in an 8×8 pan).  If you do that cook for 30-35 minutes.

You can find the original recipe here.

Enjoy!!  We did! 🙂Blog Real Simple Lemon Pudding Cakes-6dit-elle-Lauren

Savory Cheddar Herb Waffles

This is a delicious cheesy version of classic waffles! Totally delicious served simply with fried eggs and some chopped fresh herbs!

Ingredients

  • 2 1/2 cups gluten free baking flour or almond flour (I used ~2 cups almond flour + 1 Tbsp coconut flour)
  • 1/2 tsp baking soda
  • 1/2 tsp baking powder
  • 1 1/2 tsp active dry yeast
  • 2 eggs plus more for frying (see directions below)
  • 1 1/2 cups milk
  • 1 1/2 cups warm water (warm, not hot)
  • 1/2 tsp honey
  • 3 Tbsp oil or butter
  • 1 cup grated sharp cheddar cheese
  • 1/4 cup finely chopped fresh herbs (such as thyme, chives, basil), plus more chives for garnish
  • bunch of pea shoots, trimmed, for garnish (optional)

Directions

  • Combine dry ingredients in a bowl and whisk to combine (flour through yeast)
  • Make a well in the middle, add 2 eggs, milk, water, honey and oil
  • Whisk until smooth
  • Stir in cheddar and herbs
  • Set aside until batter is doubled in volume and bubbly, about 10 minutes
  • Spoon into waffle iron according to waffle iron instructions
  • In lightly greased skillet over medium heat, cook remaining eggs until set, about 2 minutes
  • Serve fried egg over hot waffle, garnished with fresh herbs

dit-elle-Esther

Carrot Cake with Toasted Coconut Cream Cheese Frosting

Do you LOVE carrot cake? I do too! I love it for breakfast, a power snack, or dessert. And with all the carrot that goes in it, you’re getting at least a serving or two of veggies, right!? 🙂

Because of the oats and sugar I would not call this recipe paleo but it is gluten free, moist and pretty super delicious! Check out my Paleo Carrot Cake here, and if we haven’t convinced you yet, we’re all fans of carrot cake here on this blog. Check out Lauren’s Healthy Gluten Free Carrot Cupcakes and her Carrot Cake Muffins!

carrot cake blog (2)carrot cake blog (1)

Ingredients

  • 3/4 cup almond meal
  • 1/4 cup quick-cooking oats
  • 1 Tbsp coconut flour
  • 1.5 tsp cinnamon
  • 1 tsp baking powder
  • 1/2 cup coconut sugar
  • 1/4 cup melted butter, coconut or other oil
  • 1/2 cup apple sauce
  • 2 large eggs, lightly beaten
  • 1 1/4 cups grated carrot
  • handful of raisins

Directions

  • Preheat oven to 325
  • Combine the dry ingredients (except sugar) in a food processor (first 5 ingredients)
  • Transfer to a large bowl
  • Combine eggs, oil, sugar, applesauce in food processor and mix until blended
  • Add liquid to flour mixture and stir just until moist
  • Stir in grated carrots and raisins
  • Bake @ 325 for 40 minutes or until a wooden pick inserted in center comes out clean
  • Cool on wire rack before frosting

Frosting

  • 1/3 cup cream cheese, softened
  • 1 Tbps butter
  • 1 c powdered sugar
  • 1/2 tsp vanilla
  • 1/2 c unsweetened flaked coconut
  • Directions: combine cheese and butter and beat until creamy. Add powdered sugar and vanilla, beating until smooth. Spread over cake, sprinkle with coconut. Cover and chill.

Enjoy! 🙂

dit-elle-Esther

Carrot, Beet & Sesame Salad

This is a delicious raw salad – grated beets, carrots, and kale are tossed with some vinegar, maple syrup and sesame seeds. The results is a light, fresh and crispy salad. Make it a meal by serving with a side of avocado or fried eggs!

beet carrot kale salad blog


Ingredients

  • 2 medium red beets, peeled and grated
  • 3 medium carrots, peeled and grated
  • 1 cup baby kale
  • 3 Tbsp sesame seeds
  • 3 Tbsp apple cider vinegar
  • 1-2 Tbsp maple syrup

Directions

  • Grate the beets and carrots. The easiest way I’ve found to grate vegetables is to use the grater blade in a food processor – takes <30 seconds!
  • Finely chop the kale
  • Toss with vinegar, syrup and sesame seeds
  • Season with salt
  • Enjoy!

dit-elle-Esther

Monster Cookies

Every once in a while we deviate from healthy.  And…that is SO OK!!!  Everything in moderation, right??!

This is one of those times.  These cookies represent my childhood!  We made them every holiday season, and every season in between when we wanted to!! ;}

My only sadness is that when we made them as kids they were 1/2 inch thick, ginormous, basically it was a meal cookie!!  In my adulthood, I have yet to recreate the cookie of my youth.  I’ve asked my mom.  Was it my imagination?  NO!  They were absolutely thicker…

So…back to the drawing board.  BUT…the flavor is still the same.  YUM!!!Blog Monster Cookie-1 Blog Monster Cookie-2 Blog Monster Cookie-3What you need…

  • 1/2 Cup Butter
  • 1 1/2 Cups White Sugar
  • 1 1/2 Cup Brown Sugar
  • 4 Eggs
  • 1 Tsp Vanilla
  • 18 oz of Chunky Peanut Butter
  • 18 oz of Oatmeal
  • 16 oz of Chocolate Chips
  • 8 oz of Butterscotch Chips
  • 2 1/2 tsp Baking Soda
  • Optional (we didn’t have either this time, so we didn’t add either) 1/4 Cup Coconut + 3 small bags of M&M’s

What to do…

  • Preheat oven to 350 degrees
  • In a really big bowl or Kitchenaid Mixer, cream butter and sugars
  • Blend in eggs and vanilla.
  • Blend in Peanut Butter and baking soda, and chips/M&M’s.
  • Slowly add in oatmeal.  If you are doing this in large bowl, make sure you have a REALLY strong spoon!  Many a wooden spoons have been broken in the making of these Monster Cookies!
  • Original recipe calls to drop 1/4 cups of batter on cookie sheet and bake for 13-14 minutes, or until the edges get a little brown.  Middle will still look uncooked, but they are super moist and chewy then-aka doughy 😉
  • Can also make the cookies smaller

Ok, truth be told.  I didn’t realize she was going to try and crack the egg.  It didn’t end well…

So….this recipe has one egg, somewhat cracked + an egg.  But, I turned my back for a minute, and she was so proud.Blog Monster Cookie Baking with Toddlers-4 I mean…Blog Monster Cookie Baking with Toddlers-5Blog Monster Cookie Baking with Toddlers-6 Blog Monster Cookie Baking with Toddlers-7Blog Monster Cookie Baking with Toddlers-8
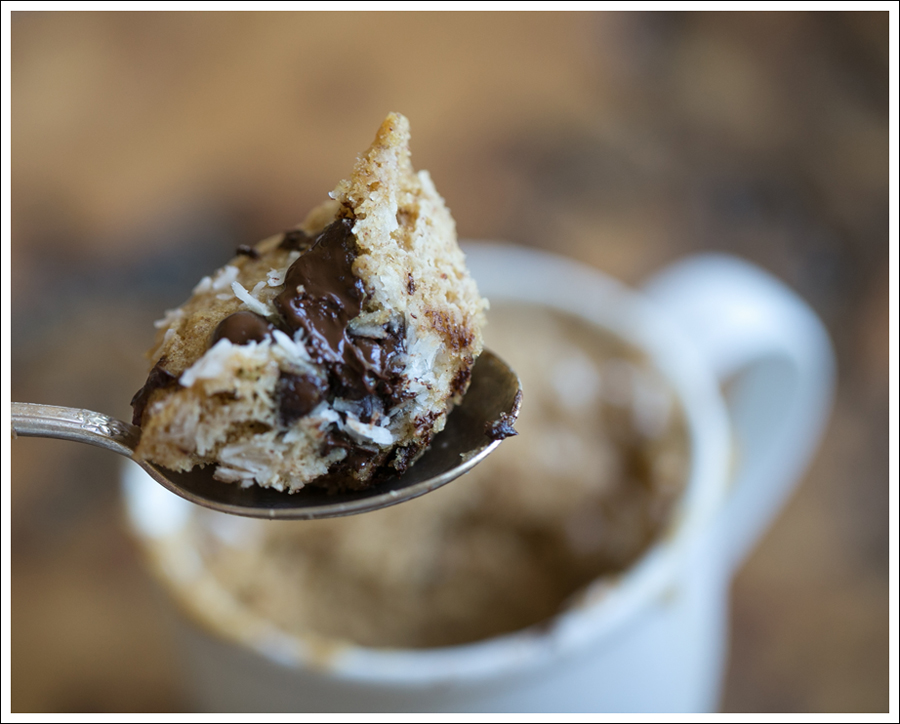
Who loves the dough of cookies even more than the actual cookies?  We sure do!!  I know everyone’s all scared of salmonella, but I grew up eating cookie dough, and I’m just fine.  I even remember they used to sell cookie dough cones at Mrs. Fields!!  Yup, I used to get them-SO GOOD 🙂  No chance they could do that now!
Blog Monster Cookie Baking with Toddlers-9 Blog Monster Cookie Baking with Toddlers-10

Enjoy!dit-elle-Lauren

Believe….I Can Do That.

This has been ingrained in me ever since I was little.  It has helped me accomplish a lot of things in life, simply because…I believed I could do that.  Some of that was because I couldn’t afford to pay someone else to do what I wanted, but once you have that mindset, I truly believe anything is possible… It’s so important to me, that I actually have it tattooed on the inside of my arm.  What better message could I have Maya see on the daily?

I’ve been debating how personal I wanted to make this post.  I try and keep things pretty light and fun, mainly because I want Maya to look back on this, and have a reminder of how much fun we had.  Well…the last 6 months or so have not been light and fun.  It’s been one major thing after another stresswise.  I remember one night, my husband and I were sitting on the couch having a glass of wine and we started laughing at the absurdity of it all.  Like….is THIS it??!!  Have we turned the corner YET??  Well, on a few things, yes.  On some others, not quite yet.

ALL THAT TO SAY…I have not been as healthy as I normally like to be.  Some people don’t eat in times of stress, but that is NOT me!!  I still have been working out 4-5 days a week (hello, stress reliever!!), but if I wasn’t…I’d for sure be 15-20 lbs heavier vs only 5.  I’ve been eating a lot more junk, snacking way more than normal, and drinking more than I should…

Well, I’ve had it.  It’s not the weight so much, because really…I go up and down 5 lbs even when I’m not stressed 🙂  I’m so tired of being exhausted all the time, my stomach not feeling so great, and waking up puffy and bloated… I started thinking about doing a juice cleanse.  I’m not even sure I’d have the willpower to do a full cleanse, but I thought maybe I’d sub in some healthy juice for all the crappy snacking I was doing!  I looked into a few different companies, but started getting overwhelmed with options.

I kid you not.  A few weeks later I was contacted by Suja Juice!  They asked if I’d be interested in trying some of their juices!!  Um, hello universe!!  You sure do work in mysterious ways.  I couldn’t believe the timing!  They were ridiculously generous, and sent me a lot of YUMMY juices to try.  Previously, I’ve always been against drinking juice, because it seemed like empty calories.  I’d rather just eat the fruit!!  BUT…there are so many delicious fruits, vegetables, and nutrients packed into these, that I didn’t feel guilty at all.

SO…I’m determined.  I am going to get my diet and health back on track.  And I don’t mean I’m going on a diet.  I just want to feel good again!  I want to have energy!  I can totally do that!! 🙂

This one, Uber Greens has Uber Greens– cucumber, celery, grapefruit, green chard, green leaf lettuce, lemon, kale, spinach, parsley, peppermint tea & spearmint tea!!  And…it’s only 50 calories!  It was totally refreshing, and I felt great after drinking it. Blog Suja Juice Dit-Elle-1 This one was one of my favorites!!  Twilight Protein.  It’s more like yummy smoothie!!  The added protein is great if you work out, or even if you don’t! 😉Blog Suja Juice Dit-Elle-2I’m not going to list them all…  Truth be told, there was one “Greens” drink that I had to make myself choke down.  Hey…all in the name of honesty, right??  BUT…this Berry Goodness, was just that.  YUM! Blog Suja Juice Dit-Elle-3SO…. I thought I might hold myself more accountable if I put this out there.  I’m determined to get back on track, and I can’t thank Suja Juice enough for giving me some tools to make that happen!!  They didn’t ask me to write this post, and if all the juices had been horrible or gave me a stomach ache, I absolutely wouldn’t be singing their praise!!

I’m still totally new to working juices into my diet, so I’d love to hear from anyone who has done it successfully!!

(all pictures taken with a tripod and remote shutter release by me :))dit-elle-Lauren

Marzipan “Strawberries”

I made marzipan “strawberries” for Valentine’s Day this year. They are a fun and festive and really a super cute dessert to make any season! The kids made marzipan snakes, but those snakes were eaten faster than I could take a picture! Next time. 🙂

marzipan strawberries blog (2)marzipan strawberries blog (1)

Create a batch of marzipan by following the instructions here and substitute some beet juice for egg white. It really is that simply, but I realize that may seem a bit ambiguous. Here’s what I did. I cleaned and peeled some beets, put them in a pot of water to boil and when done set beets aside to cool and saved about 1/8 cup of the beet juice. Then when mixing the marzipan I added beet juice a tablespoon at a time to get the desired color pink. If your marzipan gets too runny, add some more almond meal and sugar and then work with the dough to get desired consistency and color. Note that marzipan will firm up overnight as well. So make a batch, wrap it in plastic, and then make your confections when you’re ready to do so! We are going to make marzipan “oranges” (and more snakes!) next, so stay tuned for that. 🙂

The stems are tomato vine stems! And after making these strawberries, dipped them in chocolate. Recipe included in instructions above.

dit-elle-Esther

Coconut Almond Dark Chocolate Mug Cakes // Paleo + Gluten Free

I made one other mug cake here, and I have NO idea why I don’t do them more often.  There’s no shortage of variations, and they are ridiculously easy to make, enough for one or two to share, and with nominal clean up=TOTAL WIN!!Blog Paleo Coconut Flour Almond Mug Cake-1 Blog Paleo Coconut Flour Almond Mug Cake-2

Ingredients

  • 2 tablespoons coconut flour
  • ¼ teaspoon baking powder
  • 1 egg
  • 2 tablespoons Almond Butter (can use Sun Butter for a nut free option)
  • 1-½ tablespoons melted coconut oil
  • 1-½ tablespoons raw honey
  • 1 tablespoon almond milk (or any milk you’d like)
  • ½ a vanilla bean (scrape out the inside, throw away the shell) or ¼ teaspoon vanilla extract
  • Optional topping ideas- dark chocolate chips, coconut flakes, or berries (dried or fresh)!

Directions

  • In a separate bowl whisk together coconut flour, and baking powder.
  • Add egg, almond butter, coconut oil, honey, almond milk and vanilla bean and blend until creamy.  Super easy to have your child do all the mixing!  Not so easy to keep them from eating the batter 😉Blog Paleo Coconut Almond Mug Cake with Banana Ice Cream-2
  • It will look like this in the mug before you microwave it.
  • Blog Paleo Coconut Flour Almond Mug Cake-3
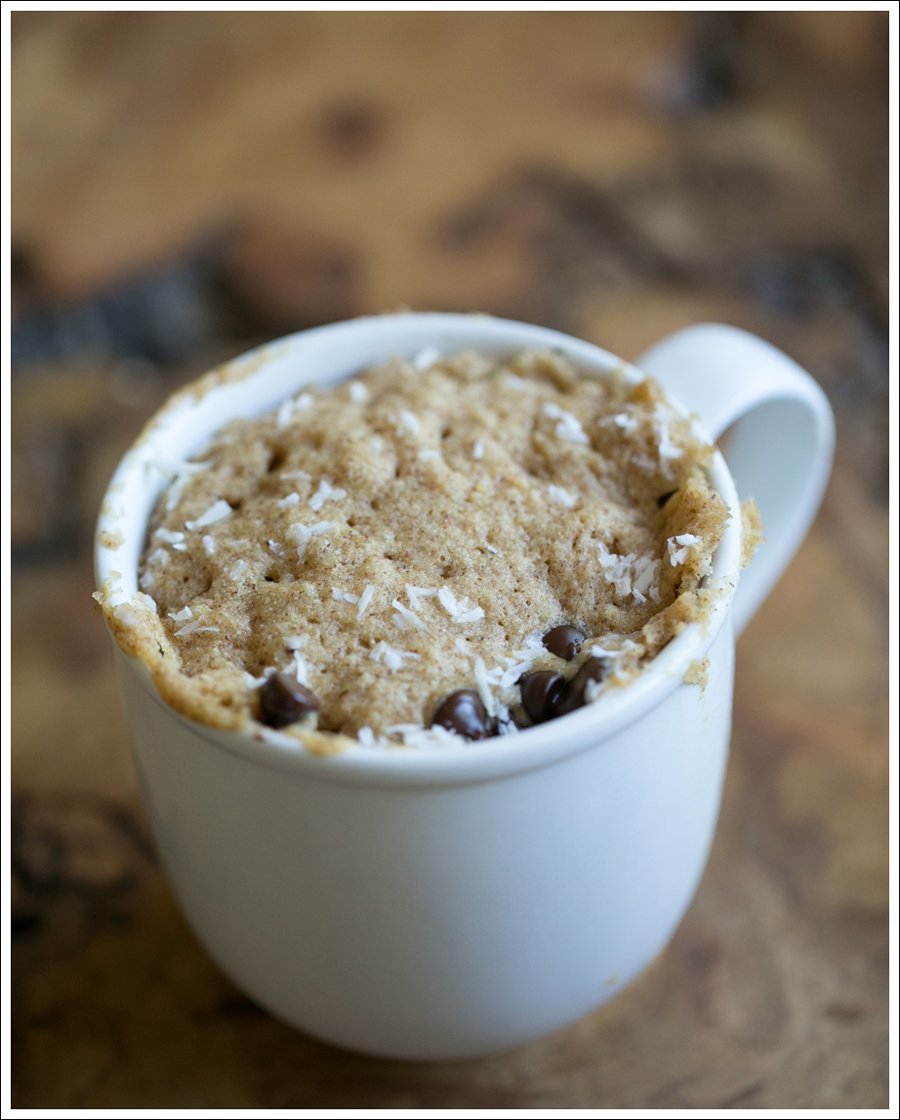
Microwave for 2 minutes (depending on your microwave) and you magically have cake!!
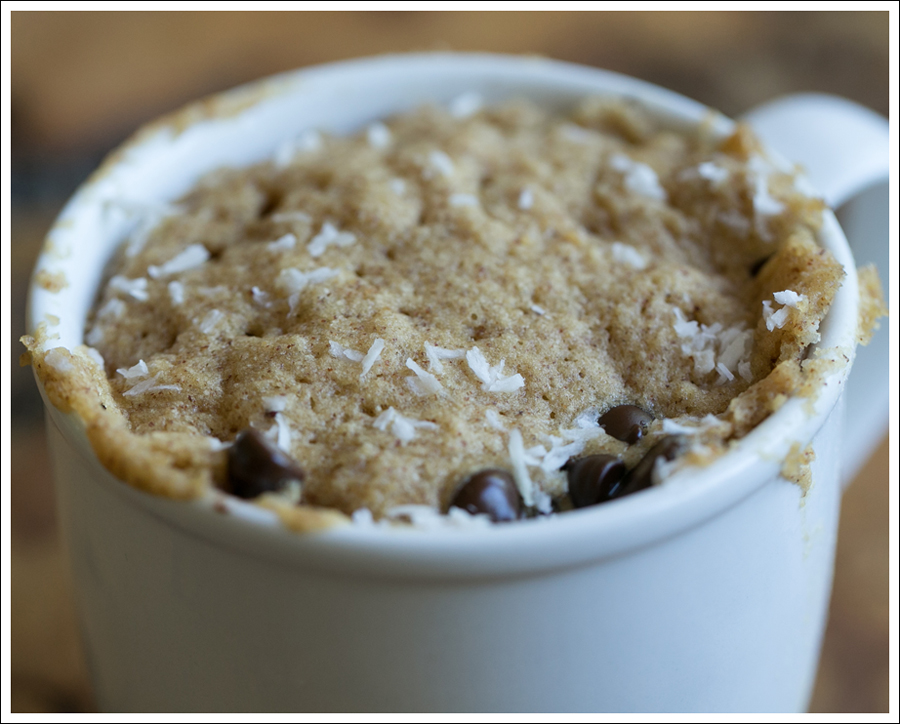
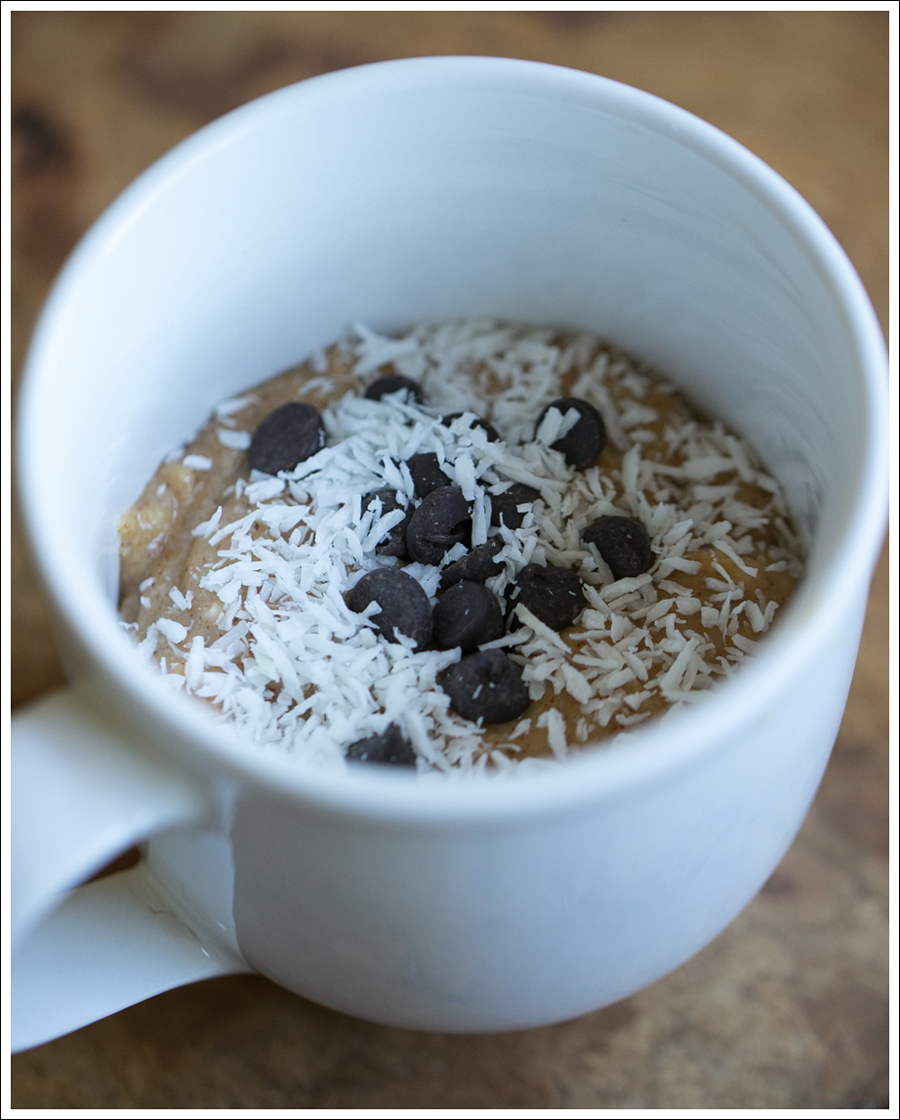
Blog Coconut Flour Dark Chocolate Almond Mug Cake-5
  • That’s IT!!!

Enjoy!

Thank you to Regina, from Leelalicious for the inspiration!dit-elle-Lauren

Avocado Sweet Potato “Toast” with a Fried Egg…

I’ve talked before about my love of avocado toast and…having it as breakfast for dinner.  Honestly, we eat a variation of avocado toast with eggs quite a lot for dinner.  Maya requests it all the time, and it’s such an easy thing to whip up, that I rarely say no haha.

We didn’t have any good bread the other night, but we did have a sweet potato.  SO, we unintentionally went the  healthier route haha.  And it was SO GOOD!!!! Blog Whole 30 Avocado Sweet Potato Toast Fried Egg-1 Blog Whole 30 Avocado Sweet Potato Toast Fried Egg-2 Blog Whole 30 Avocado Sweet Potato Toast Fried Egg-3Ingredients

  • 1 Medium size sweet potato
  • Avocado (amount varies on how many people you are going to feed)
  • Eggs (depends on how many people you want to feed)
  • Olive oil + Salt + Pepper to lightly coat the sweet potato

Directions

  • Preheat oven to 400 degrees.
  • Cut sweet potato in 1/2 inch slices
  • Lightly coat in olive oil (or oil of your choosing), and salt and pepper to taste
  • Bake in the oven for 20-25 minutes, flipping over half way through.
  • Once the sweet potatoes are crispy on the outside, take them out.
  • Fry up your eggs.  I like mine runny, so they only take a few minutes.  I cook Maya’s for a little bit longer, so her yolks aren’t runny.
  • Mash up the avocado on top of the layered sweet potatoes, then top with your egg.
  • Serve as is or with a yummy salad or slaw (check out Esther’s recipes here,  here,  and here.
  • I cheated and used Trader Joe’s Cruciferous Crunch Collection of Chopped Kale, Brussels Sprouts, Broccoli and Green Cabbage & Red Cabbage, and added some bell peppers, tomatos, and avocado.  It was delicious!!!  And Maya chowed the whole thing down 🙂

Enjoy!dit-elle-Lauren

Papaya Avocado Smoothie

Here’s my latest smoothie crave. Papaya, avocado, coconut milk, and lime! It was rich, creamy and delicious. The only thing that wasn’t great was the color. As you might know from painting, that’s what you get when you mix red (papaya) with green (avocado)! But who cares right?

Happy Thursday! 🙂


Ingredients

  • 1/2 papaya
  • 1/2 avocado
  • 1/2 cup coconut milk
  • 1/2 cup (or more) water
  • 1 tsp (or more) honey (optional)

Directions

  • Combine ingredients
  • Using a blender or inversion blender mix ingredients adding more water as needed
  • Enjoy!

dit-elle-Esther