Maya’s school recently had a “Healthy Snack” contest. Truth be told…there wasn’t a lot of advanced notice on the specifics, but thankfully I volunteered in the class the day before it was due! And…let’s be honest. I probably wouldn’t have DONE anything until the day before, so…perfect timing!! haha.
The rules were that it had to be 5 ingredients or less. Couldn’t use an oven or a microwave. Needed to include ingredients, steps, AND…a picture!
Of COURSE we had to enter!! 😉
If I’m honest…I went through our archives to see if I could just reuse something haha-CHEATER!
BUT…nothing we had done so far fit all those, so…we (ok, I) winged it and made something up!
Maya suggested a smoothie, but…duh. Who doesn’t think of that?!
Next was a banana concoction, but we were out of bananas, and on short notice…NO, not going to the store!
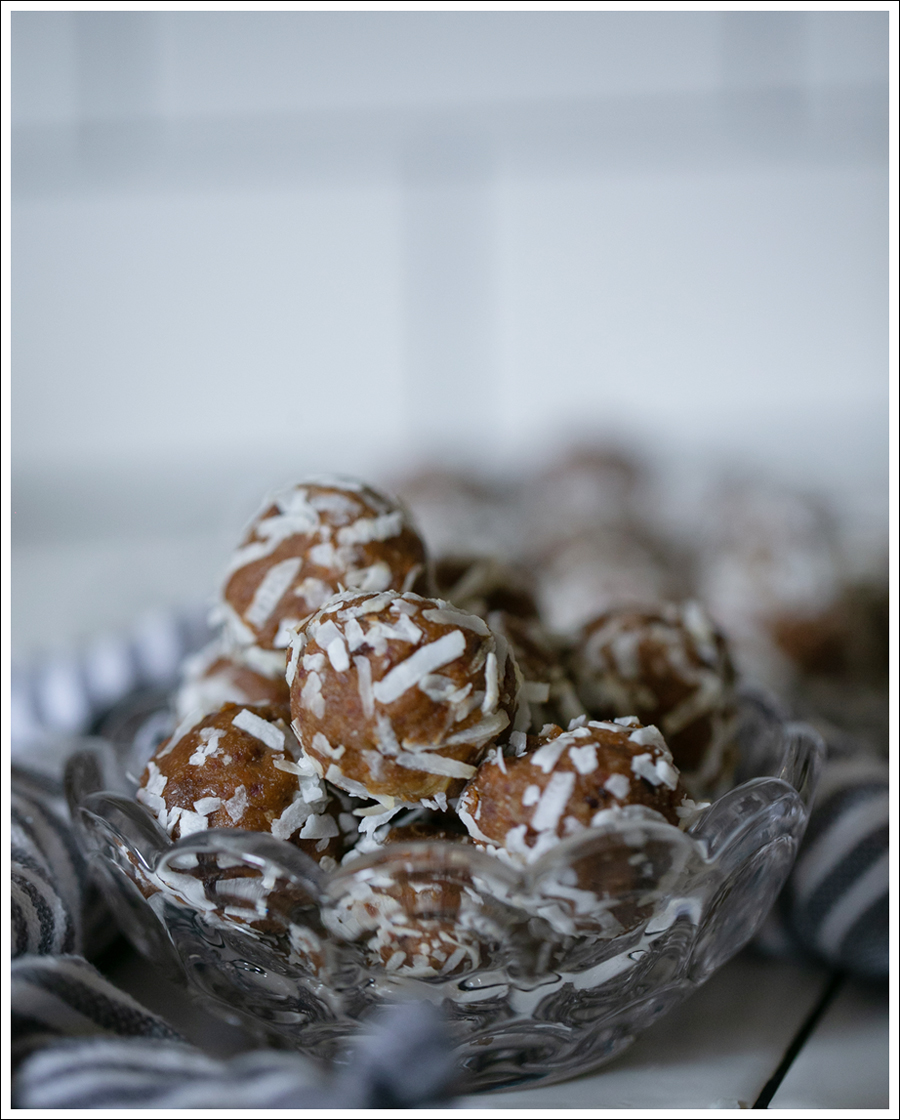
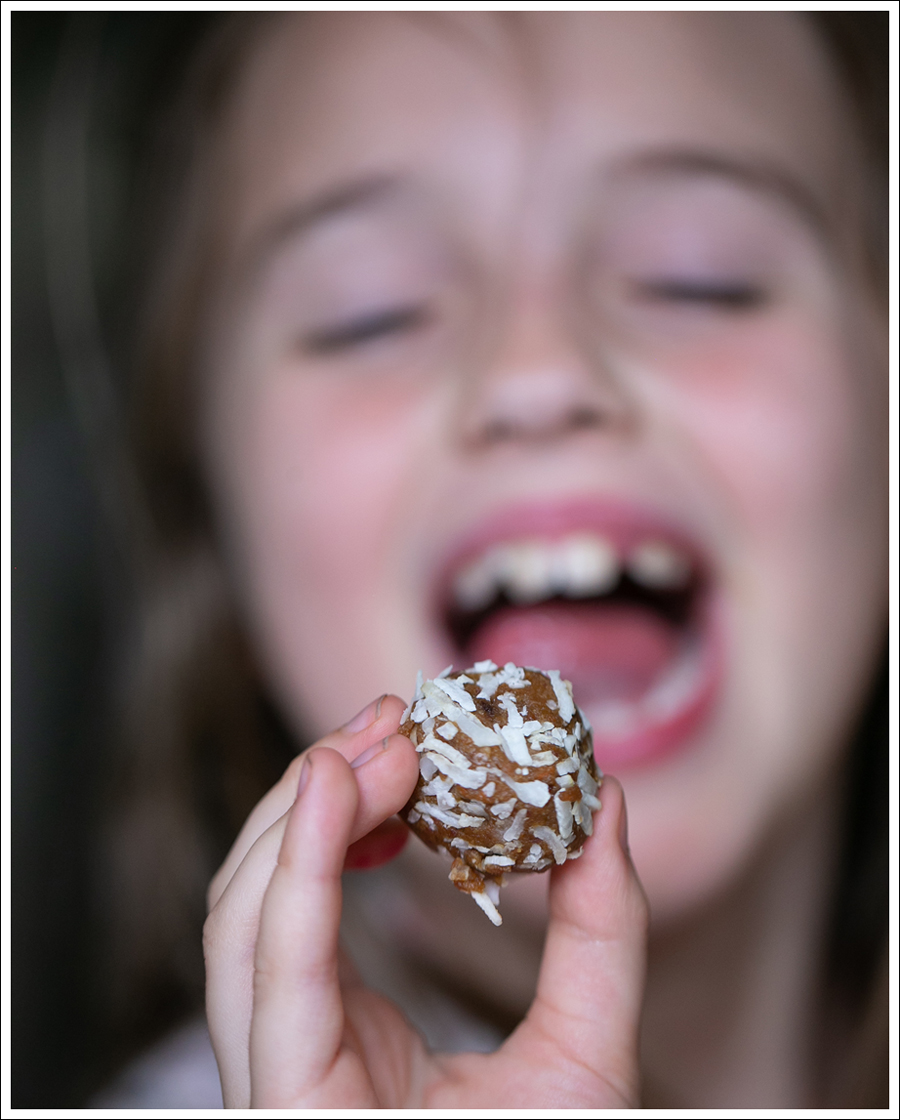
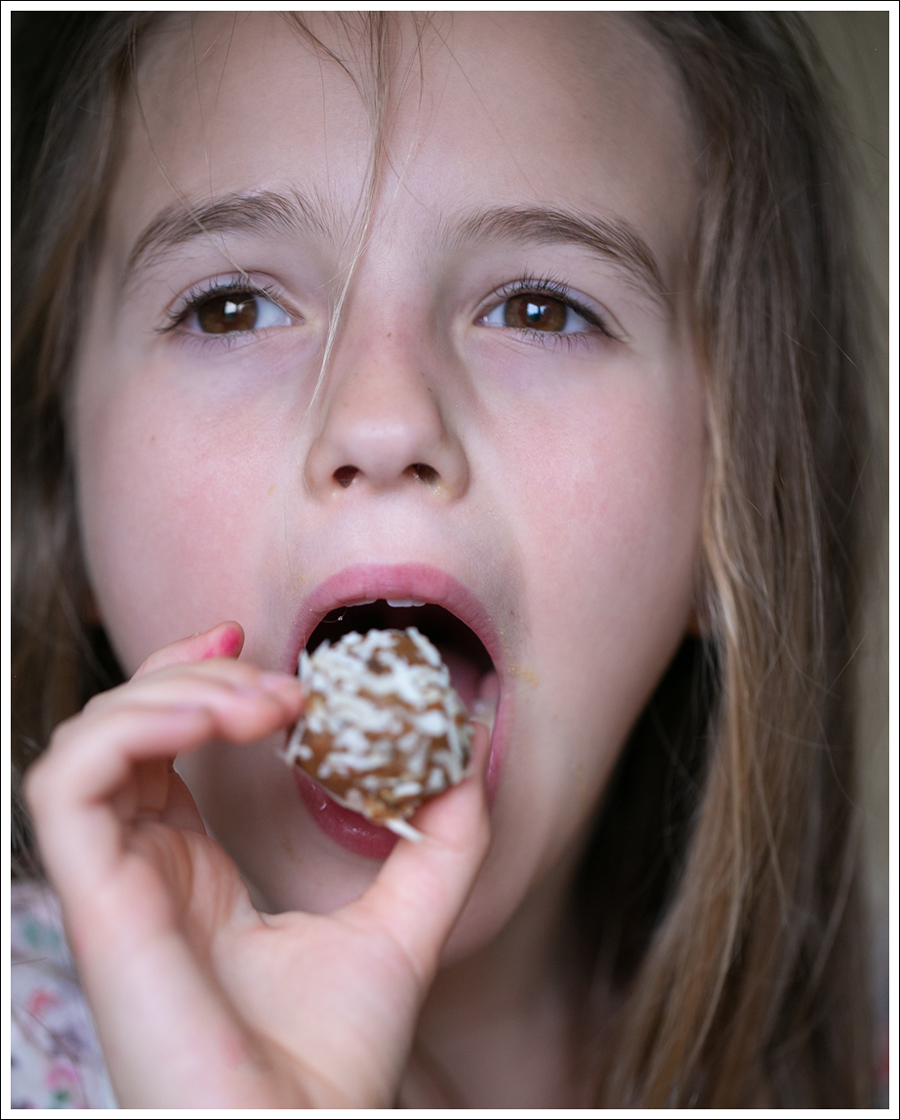
We have CARROTS! And dates! And…little energy balls are all over the place, so…yup. We made our own version. Could have been better, but honestly, I keep going back to all the things I would have added and think that maybe, simple is better?
In any case…we both loved them! I asked her teacher if we could bring them in for the class, and she was excited!
I had to give Maya a pep talk about the fact that a lot of the kids might not like them, and to not get her feelings hurt. Turns out, over half the kids loved them! I even had 3 girls run up to me at drop off and ask if I could share the recipe with their moms so they could make them-MADE MY DAY!!!
Well….we found out that the recipe won!!! For the entire school! Fairly certain not a lot of people entered, but pretty cool regardless!
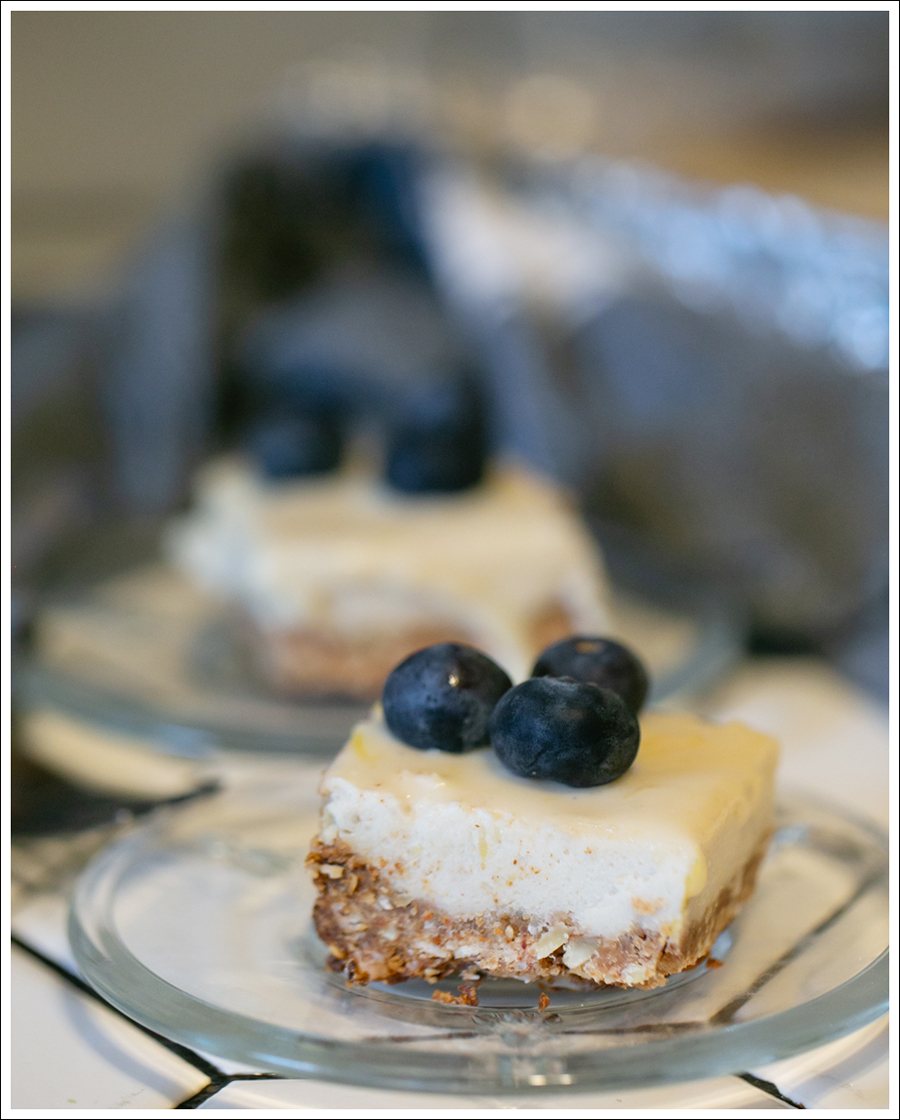
SO…go ahead and make these “Award Winning” energy balls!
HAHAHAHA.
But seriously…do. So easy and yummy! 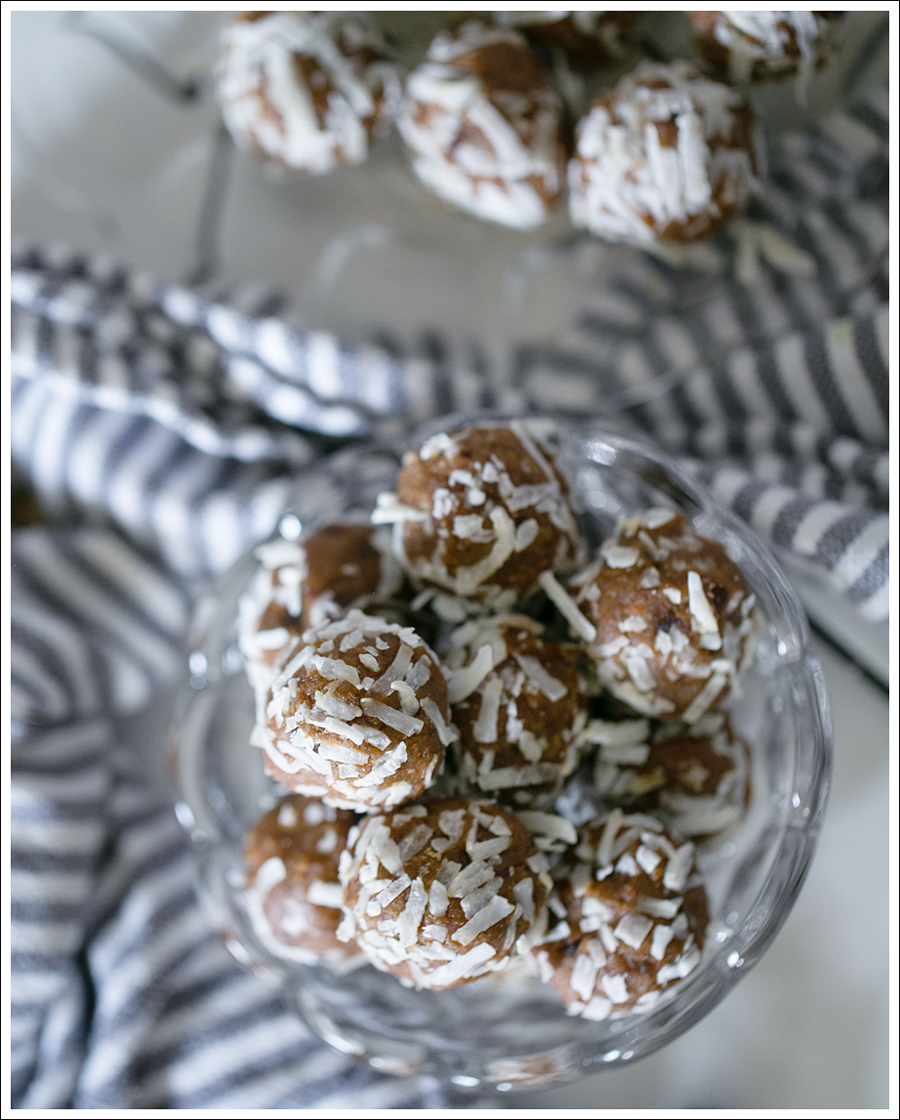
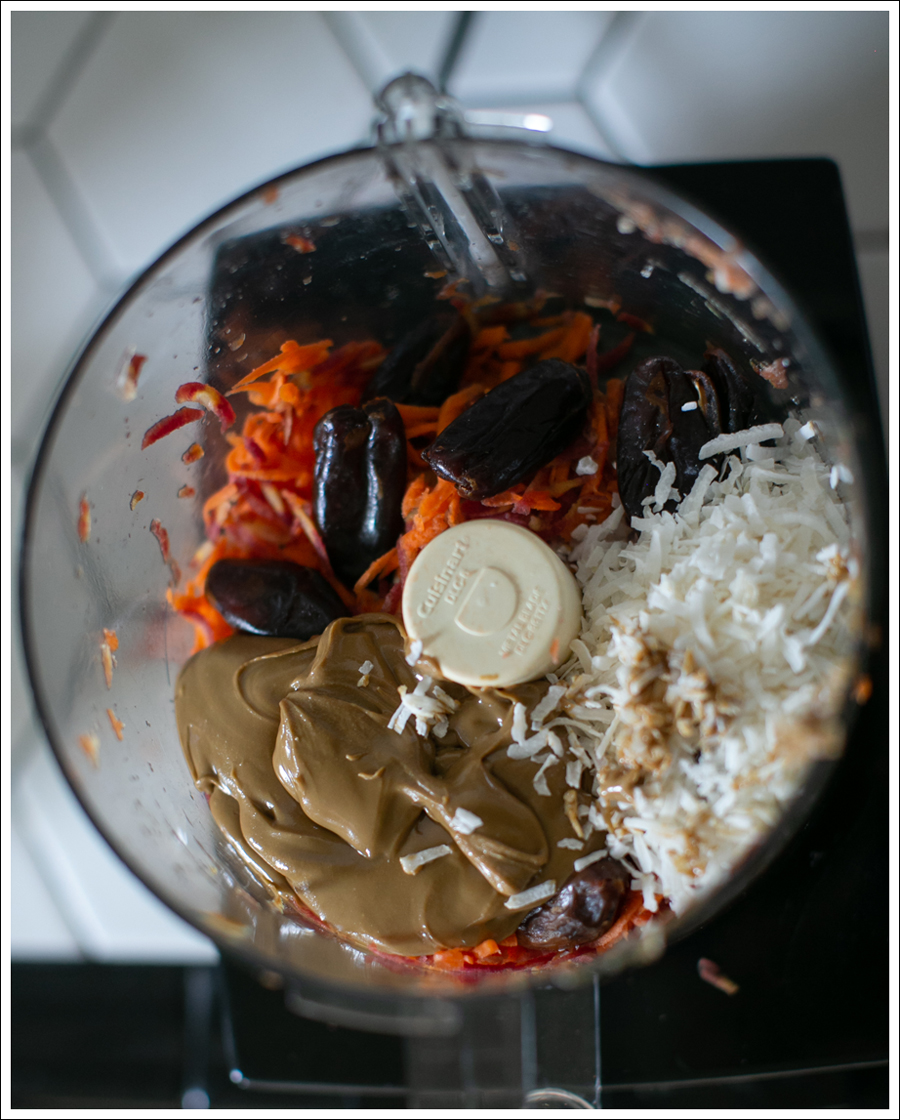
Ingredients
- 1 Cup Shredded Carrots
- 1/2 Cup Unsweetened Sun Butter
- 1/2 Cup Unsweetened Coconut (plus about another cup to roll the balls in)
- 1/2 Cup Pitted Dates
- 1/2 Cup Gluten Free Flour
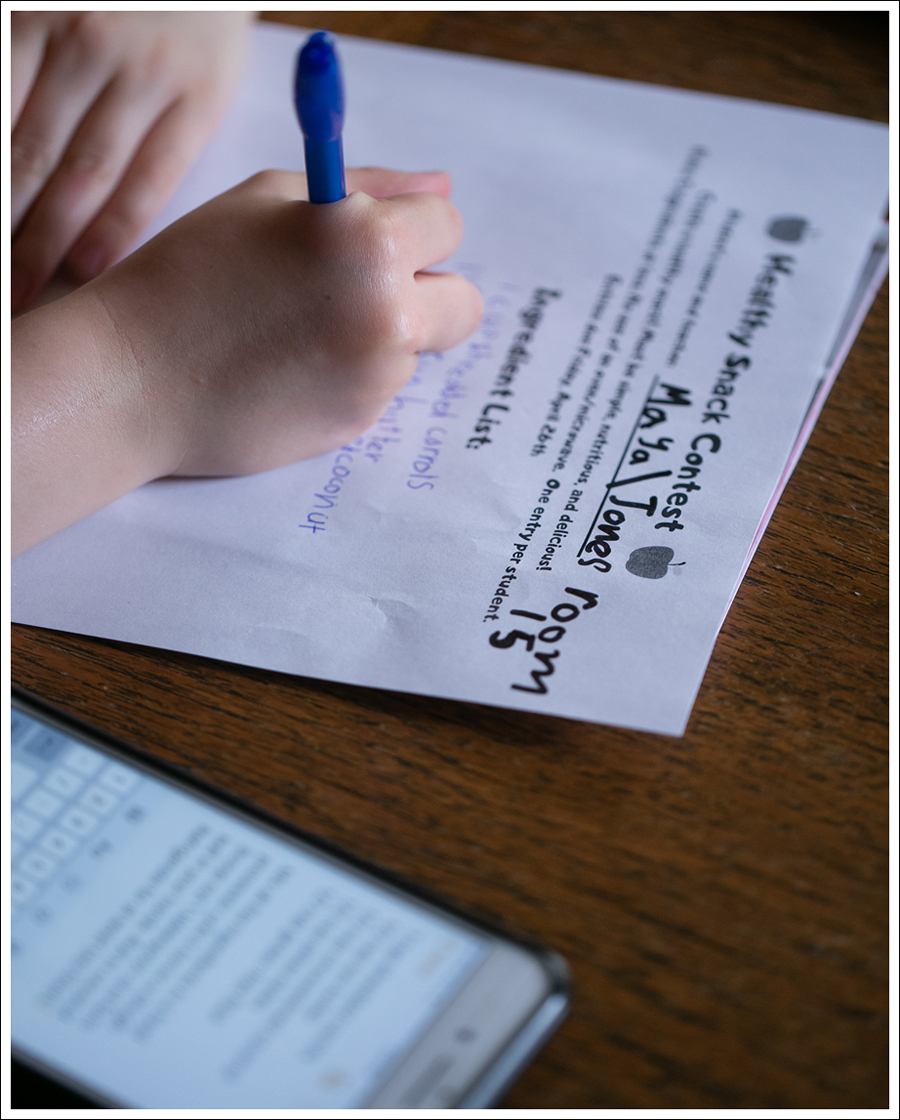
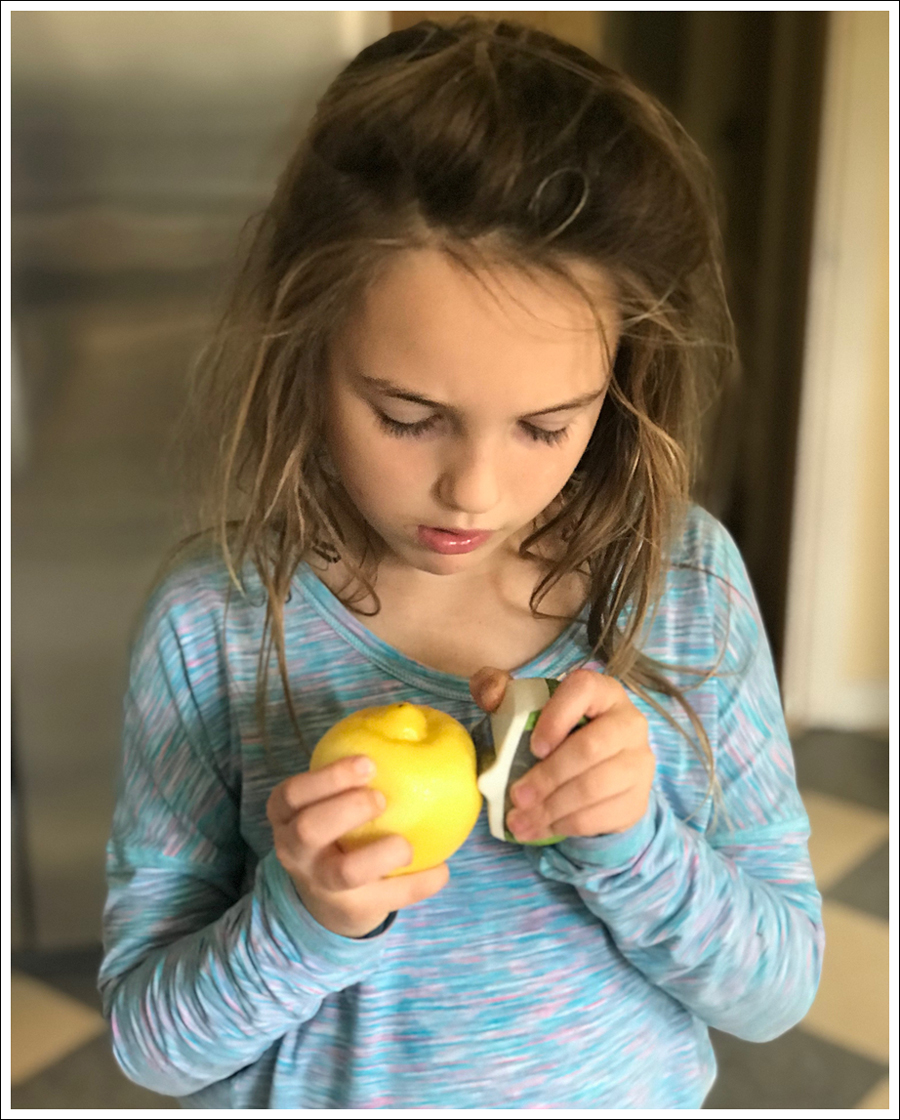
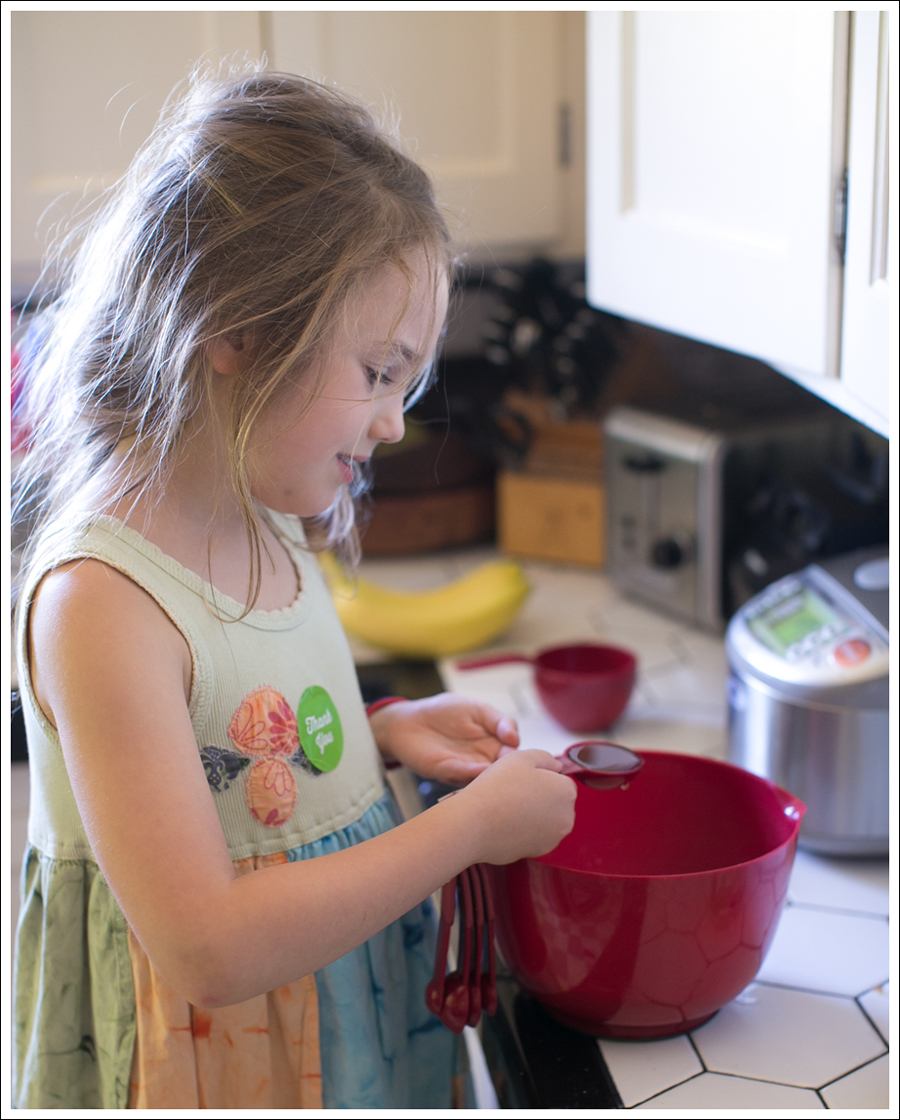
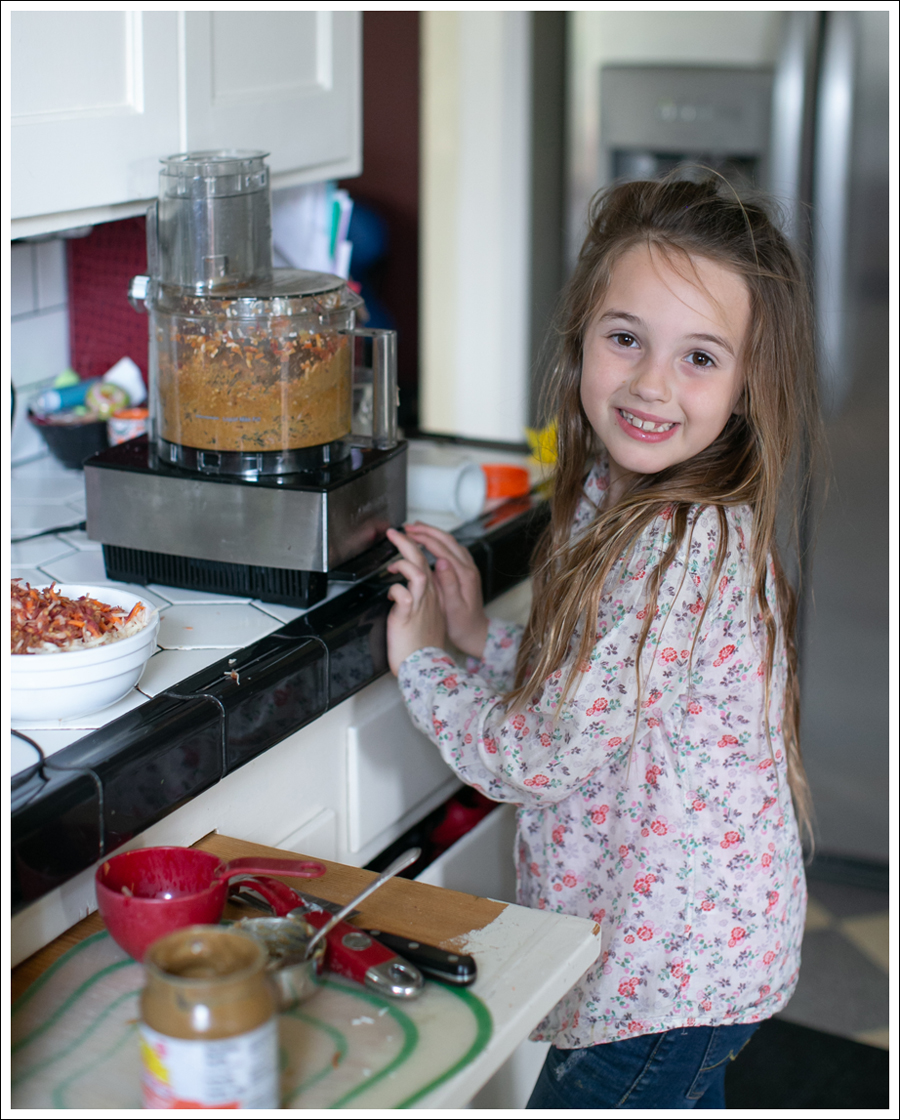 I did make sure she scrubbed her hands vigorously before she helped. That pen didn’t want to come off… 🙂
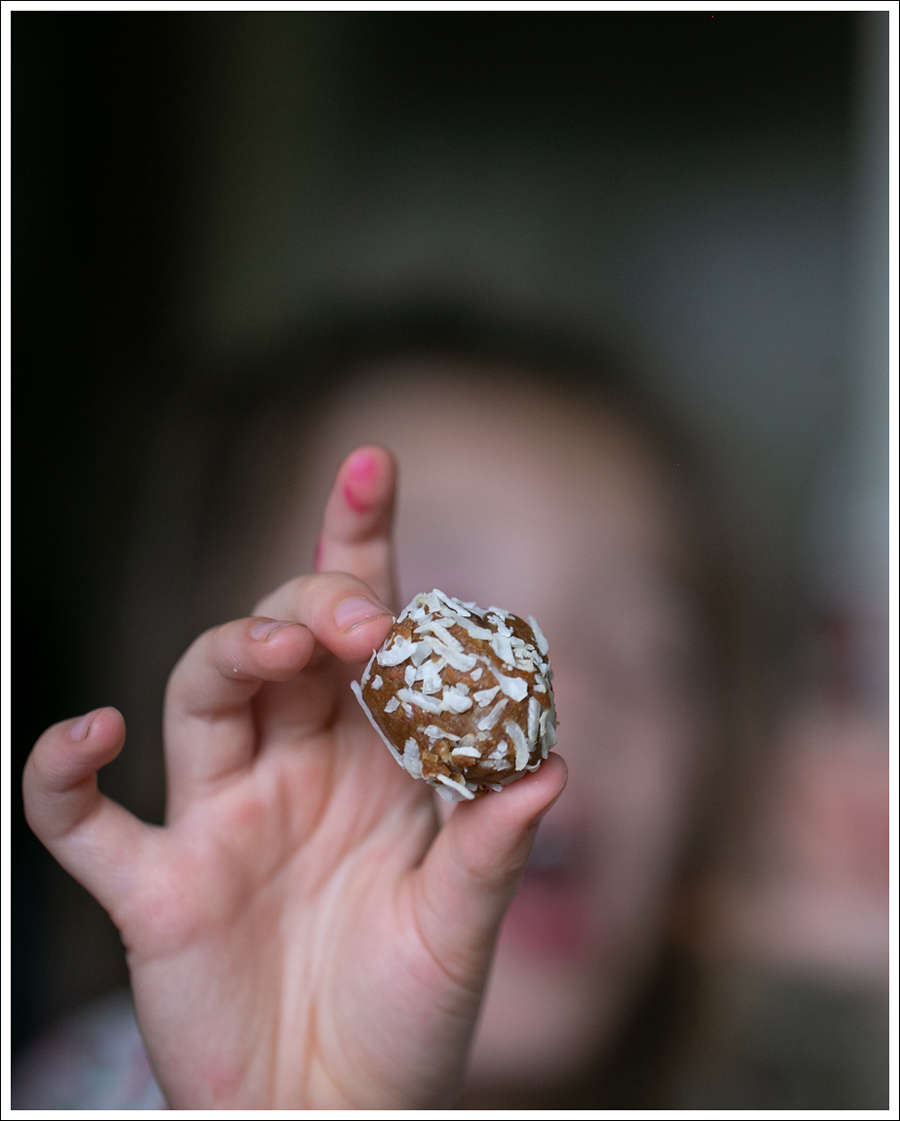
 I was so impressed. She wrote out all the ingredients AND the instructions!
 ENJOY!

 Ingredients
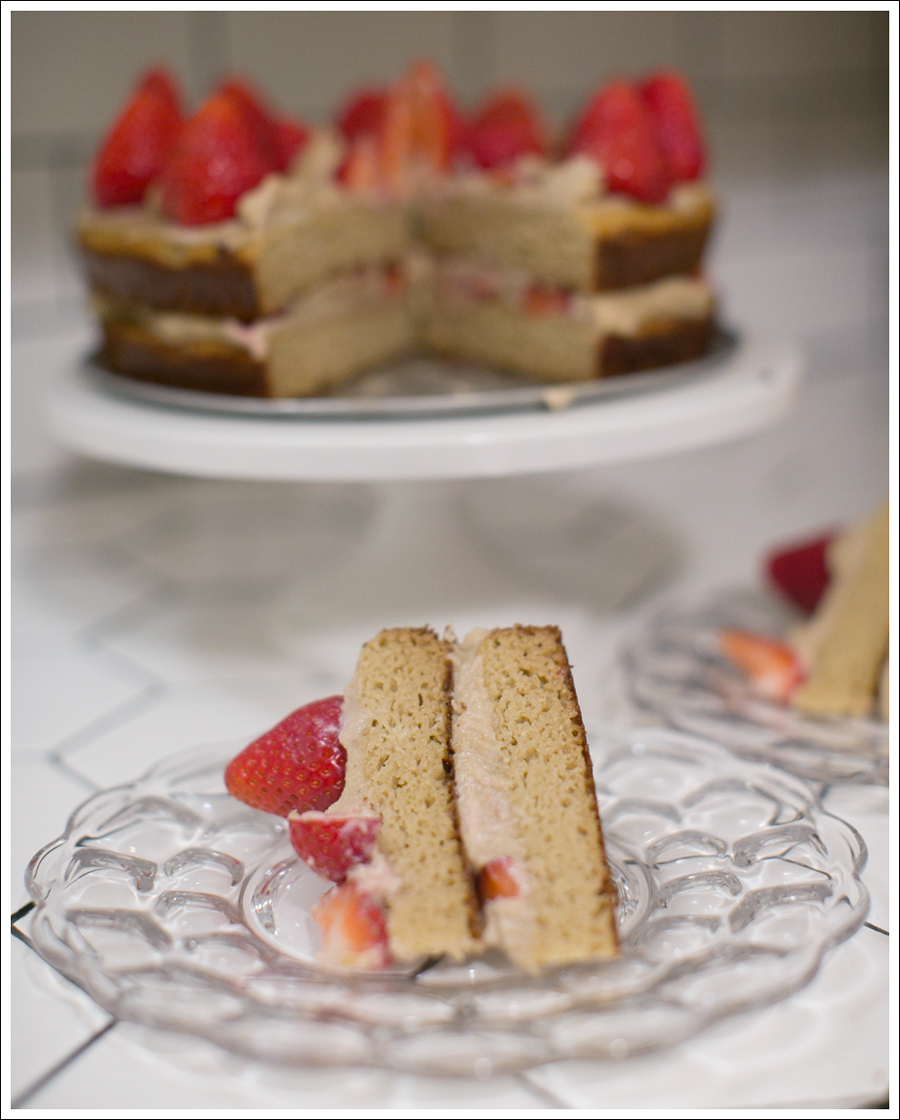
 I used
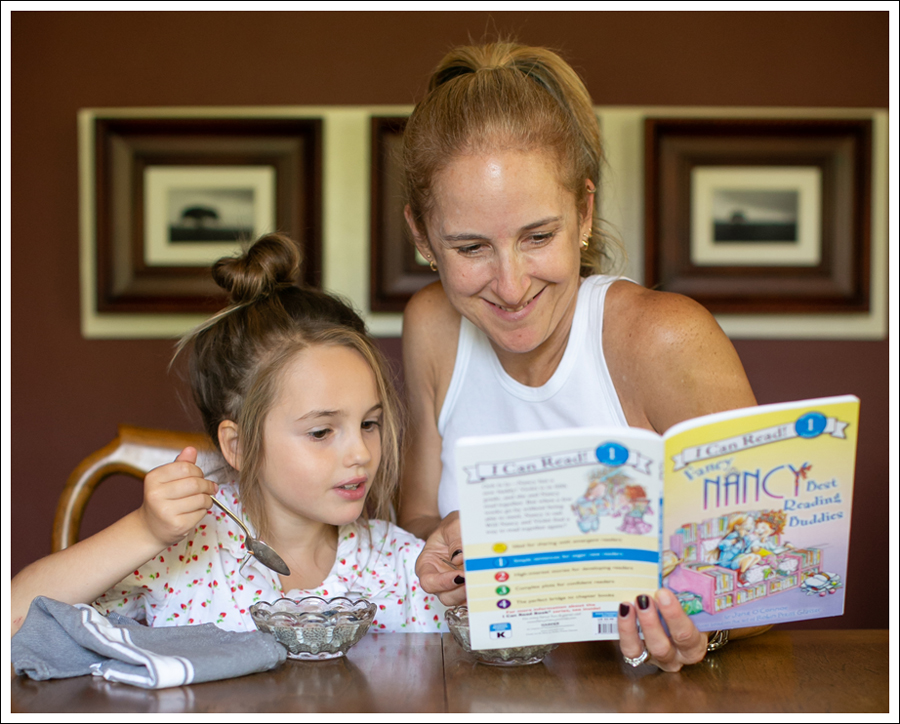
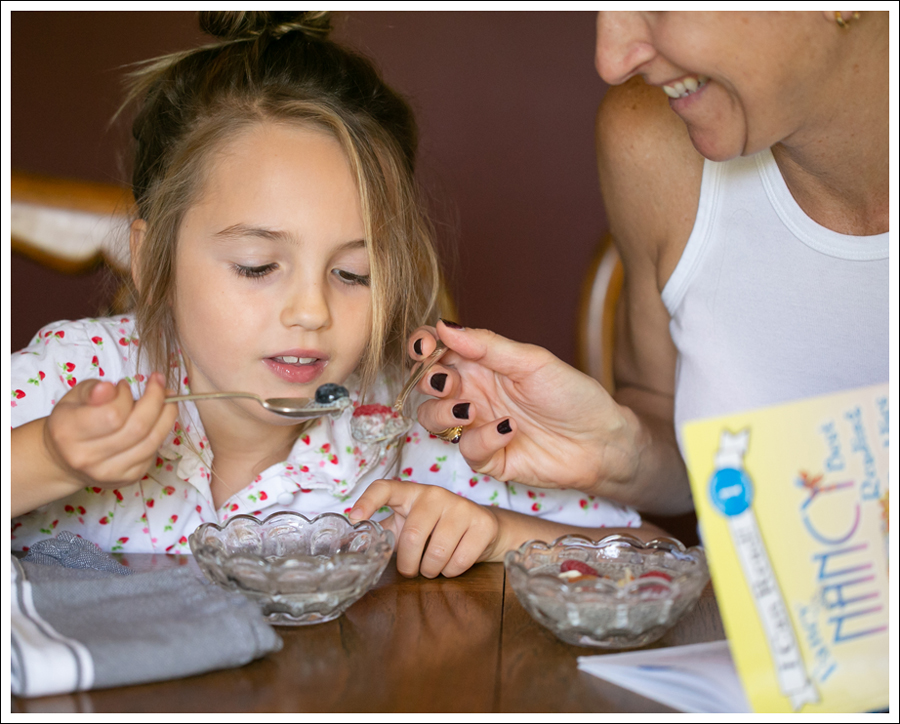
 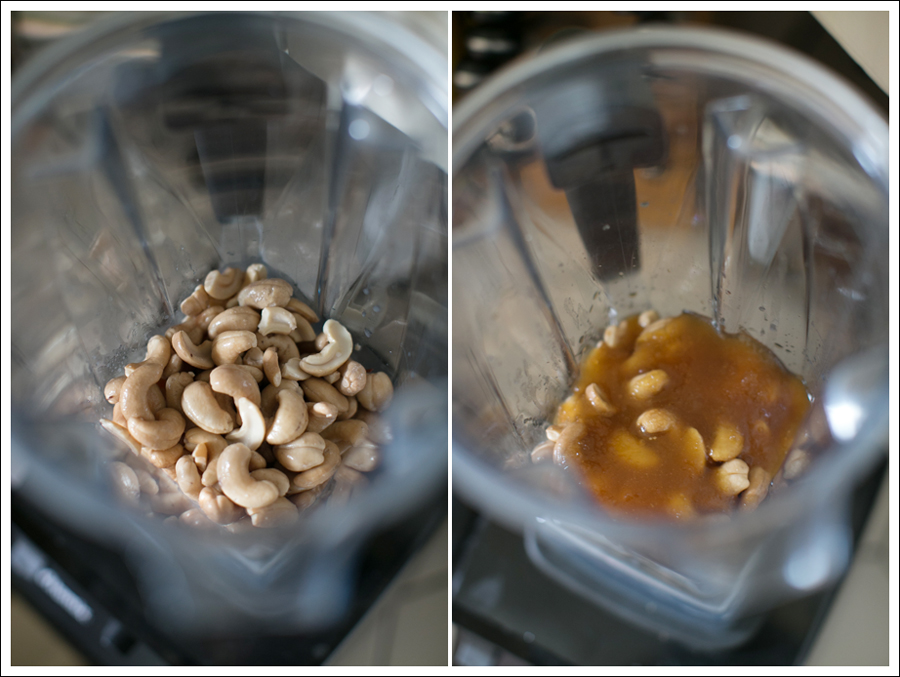 Having a cute assistant adds even more sweetness 😉 . Ok, that was bad…but true! 🙂
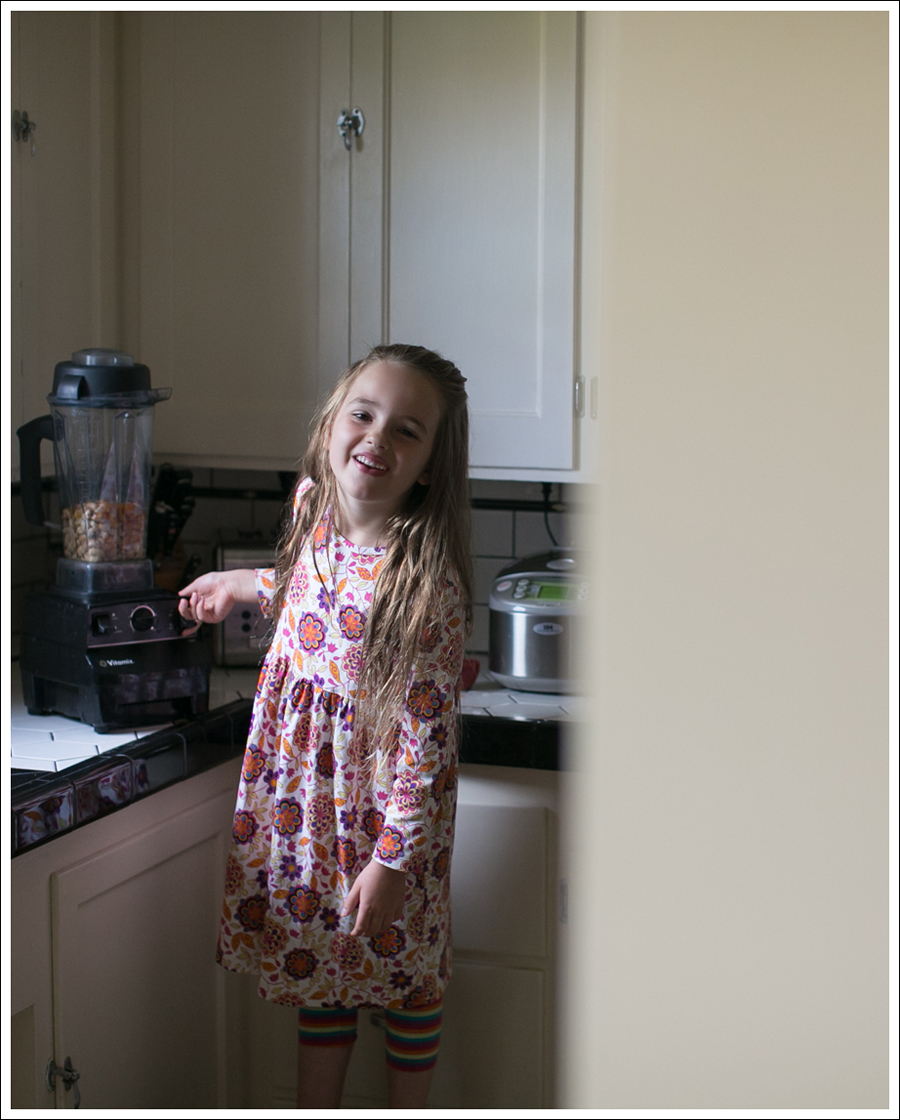
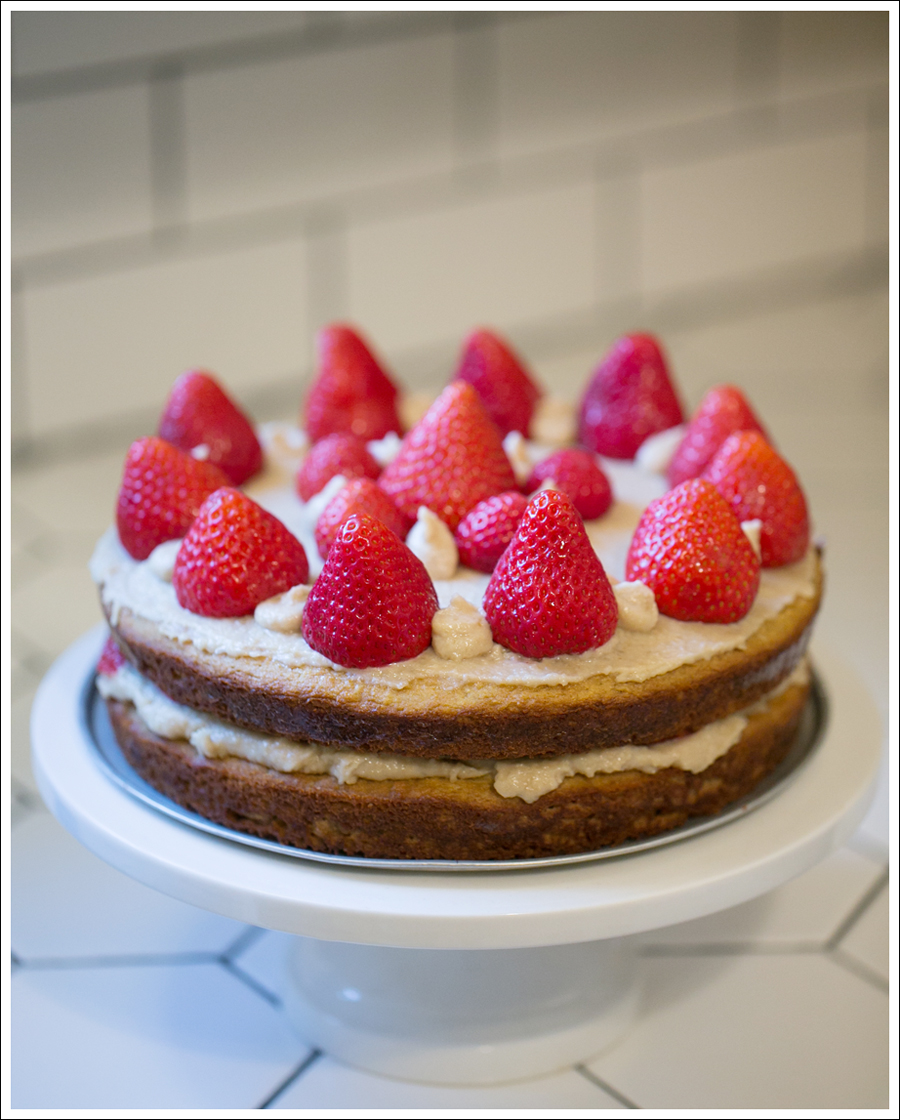
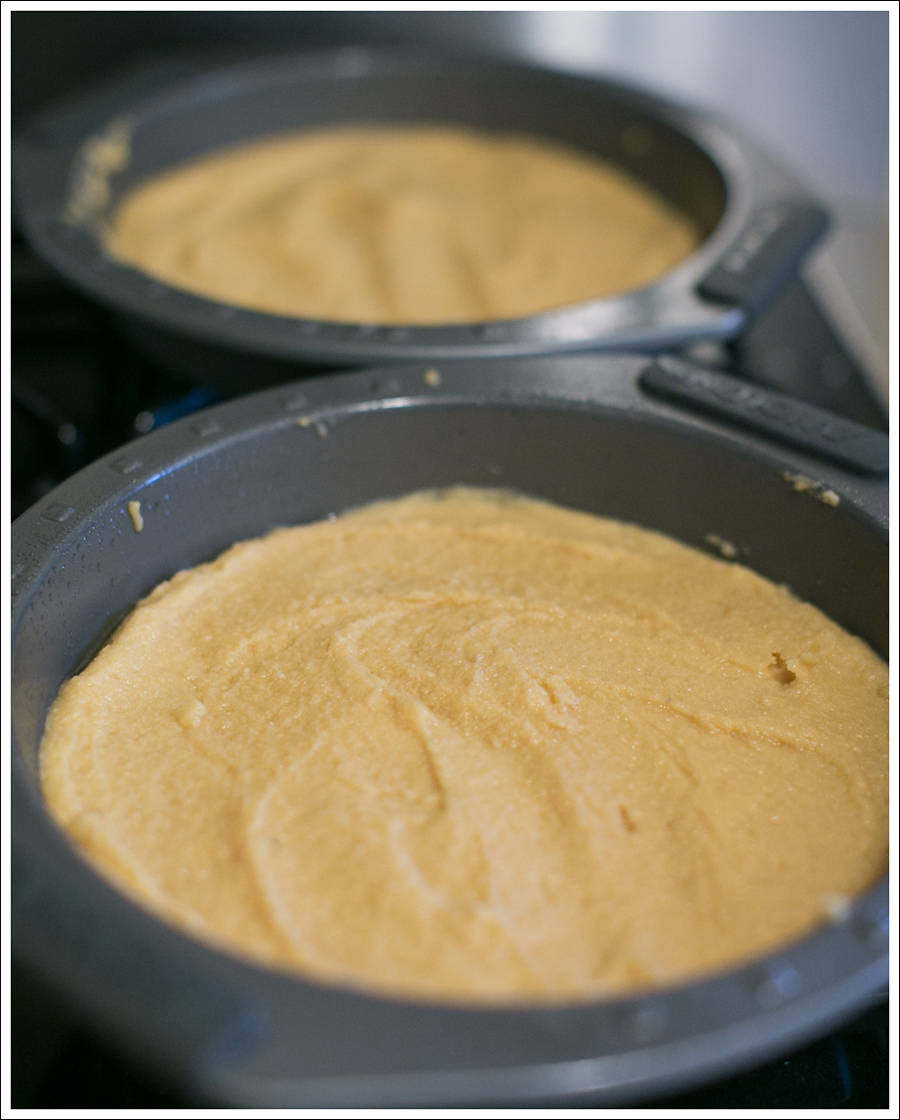 And it won’t rise much after cooking.
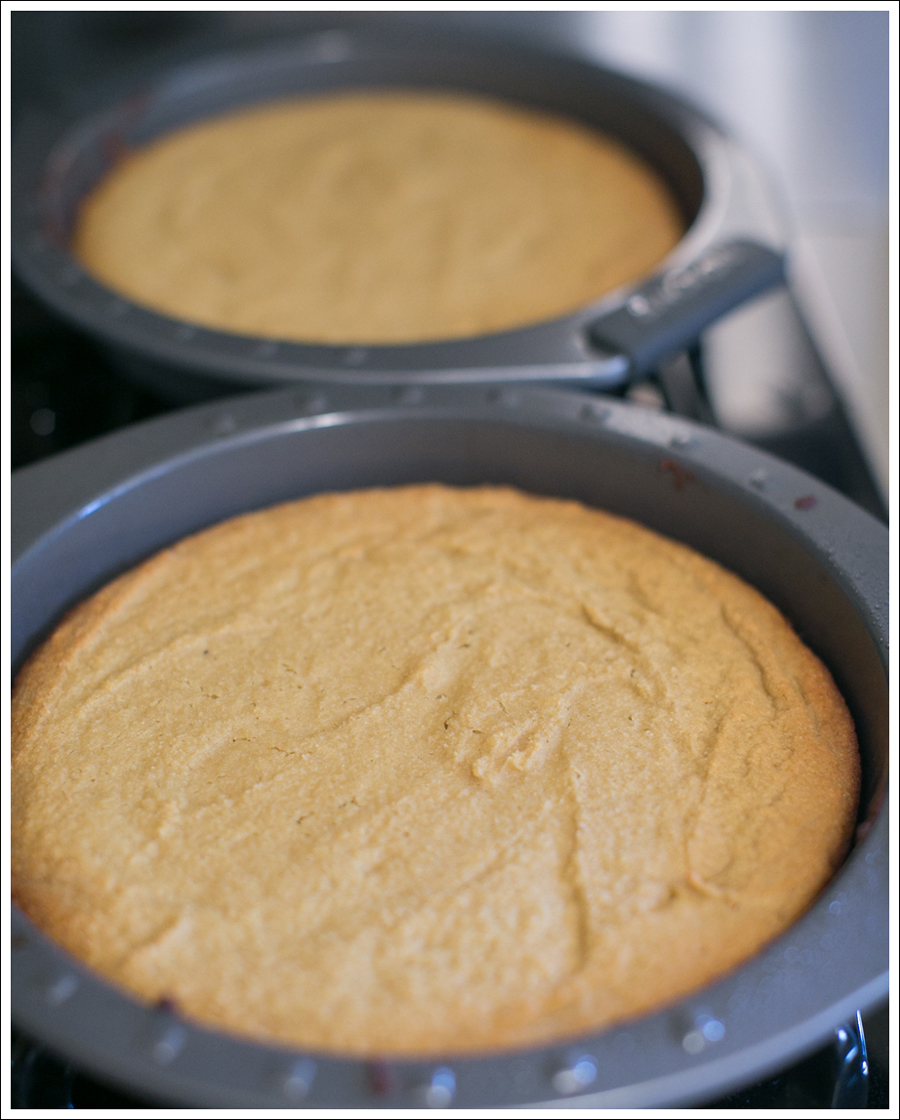
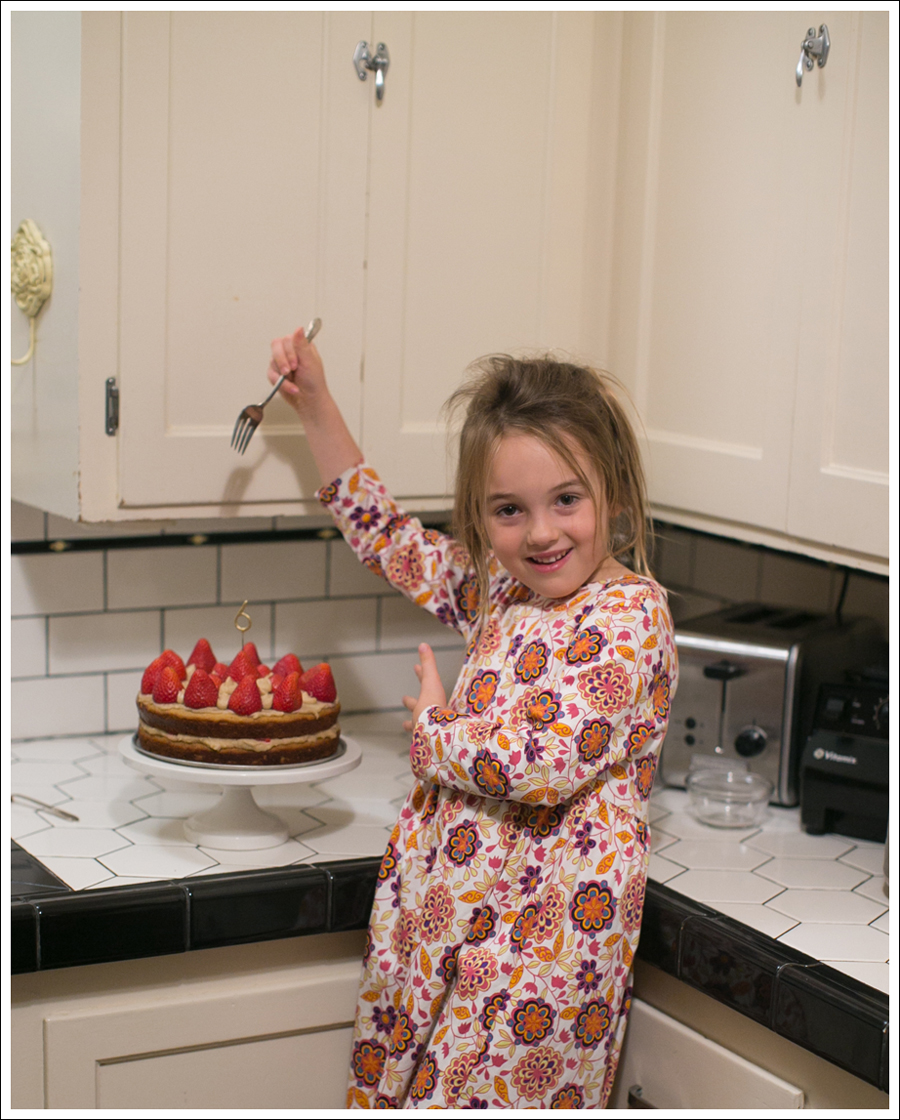
 I haven’t had much time to bake lately, much less take pictures and blog about it! BUT…I had a client reschedule this past weekend, and I knew it would make Maya super happy if we made something together, so…we did!
 She’s usually up for being my baking assistant, but not always the willing photography assistant. Totally understandable since it was first thing in the morning 🙂
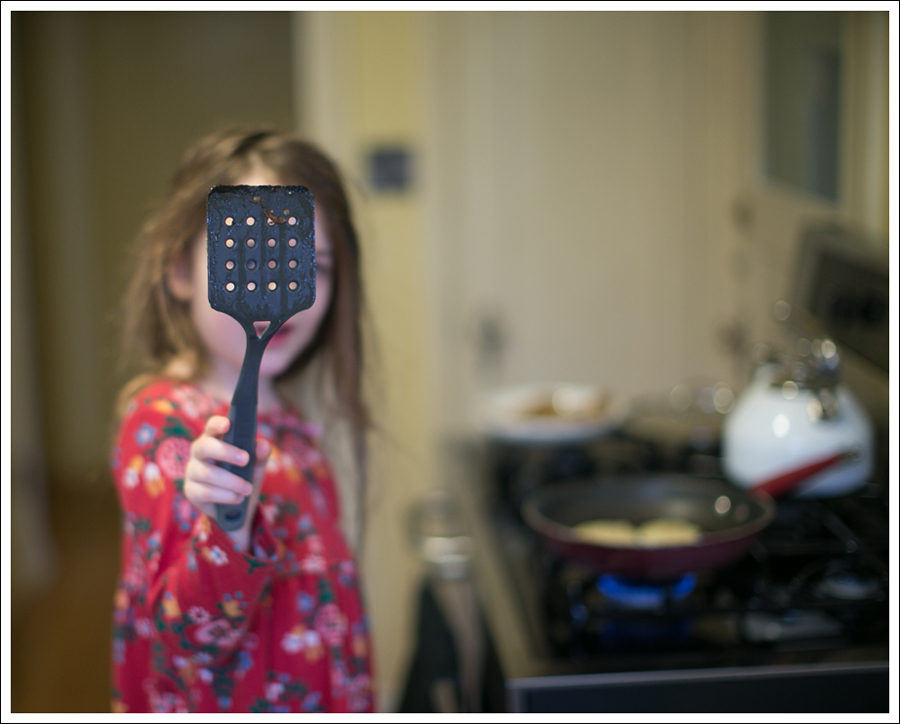
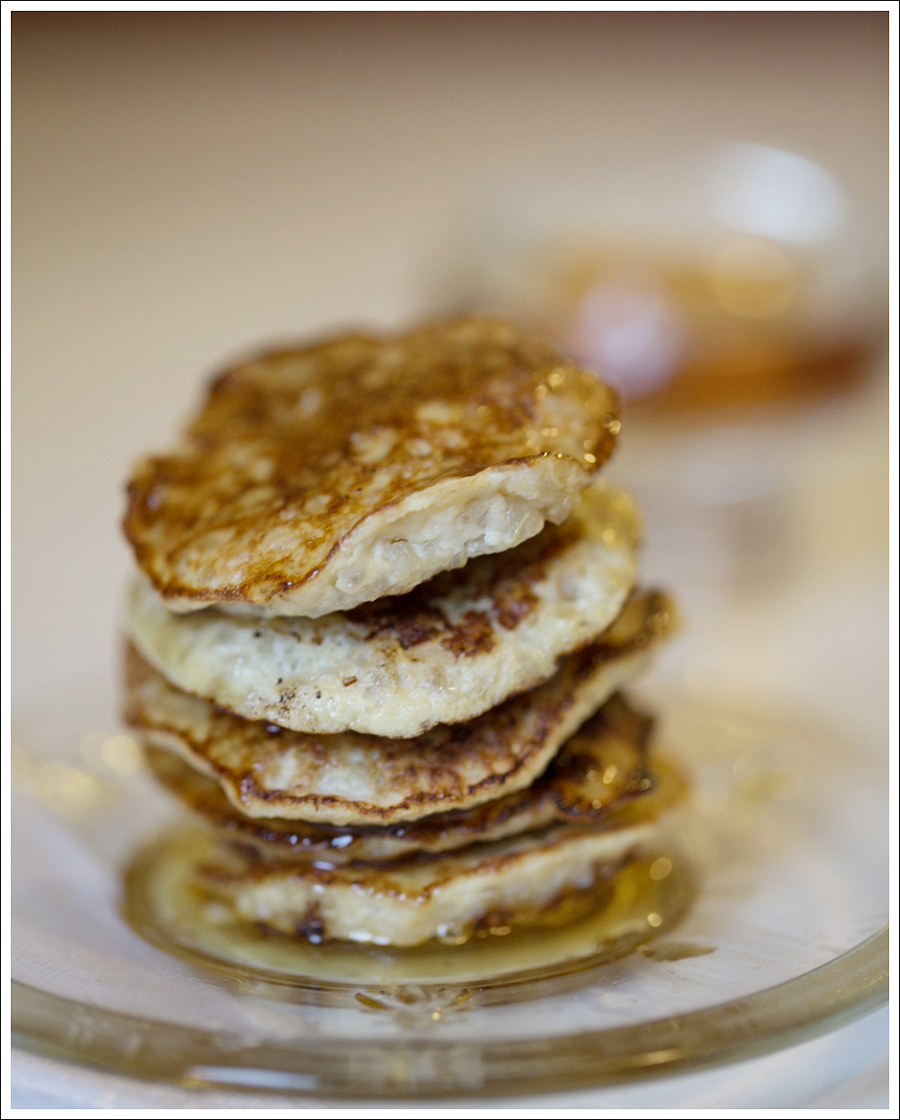
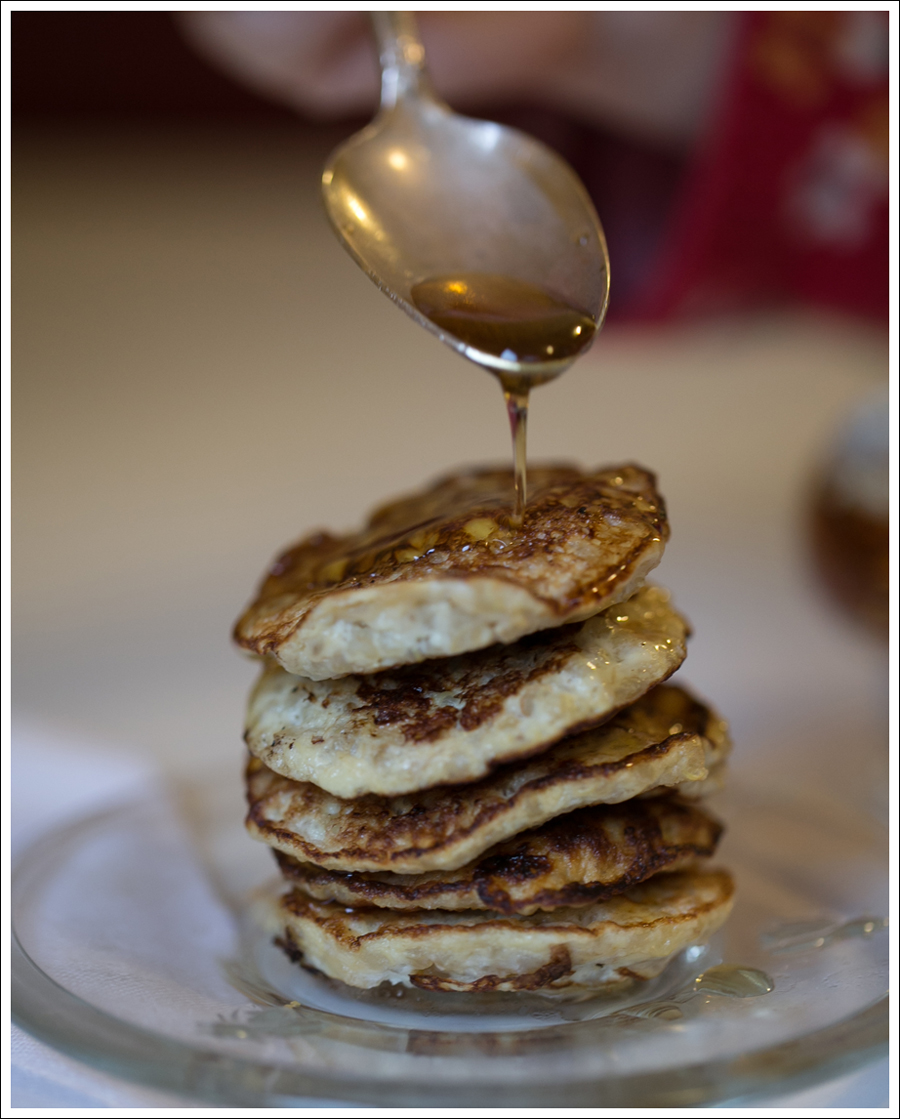
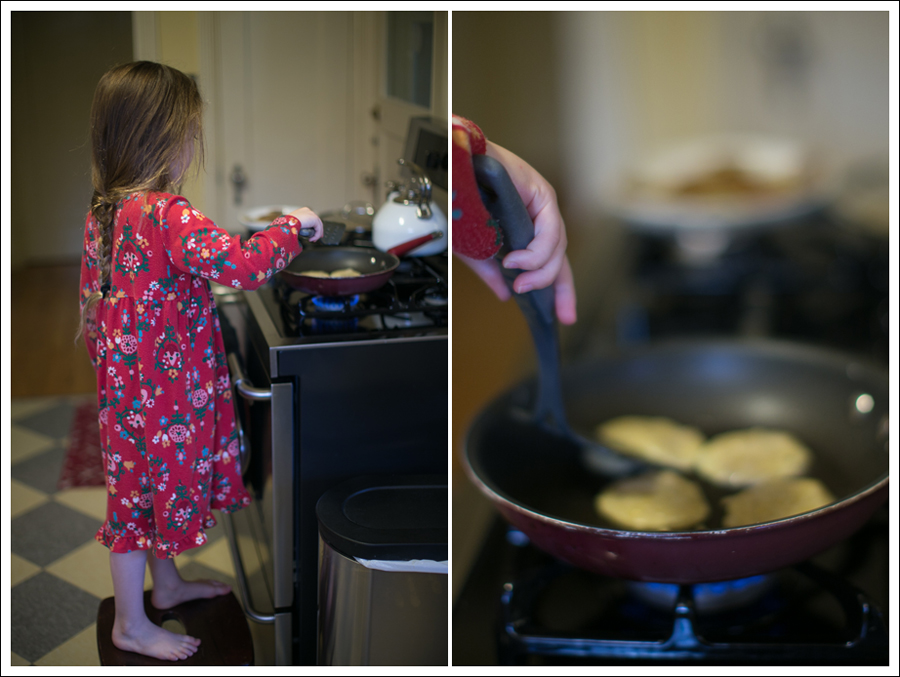 Above are Tablespoon mini pancakes for Maya, which she’s flipping (and are pictured stacked later)
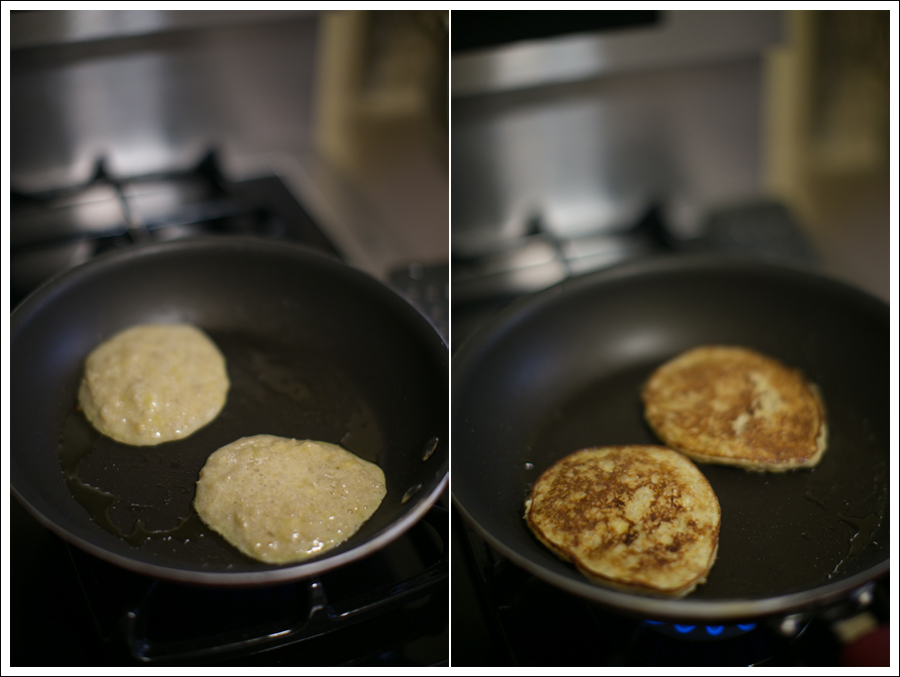 The mini ones were easier to photograph, and….could she be a better assistant???!!
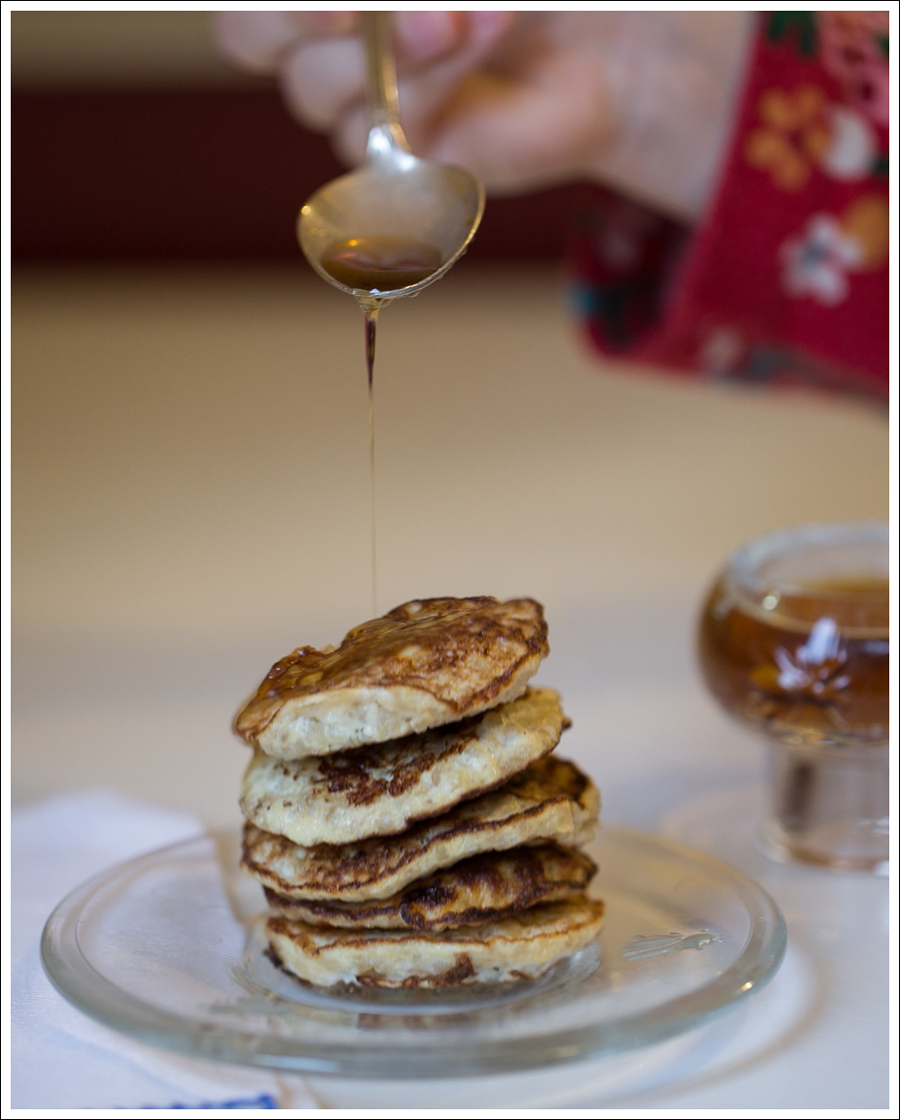
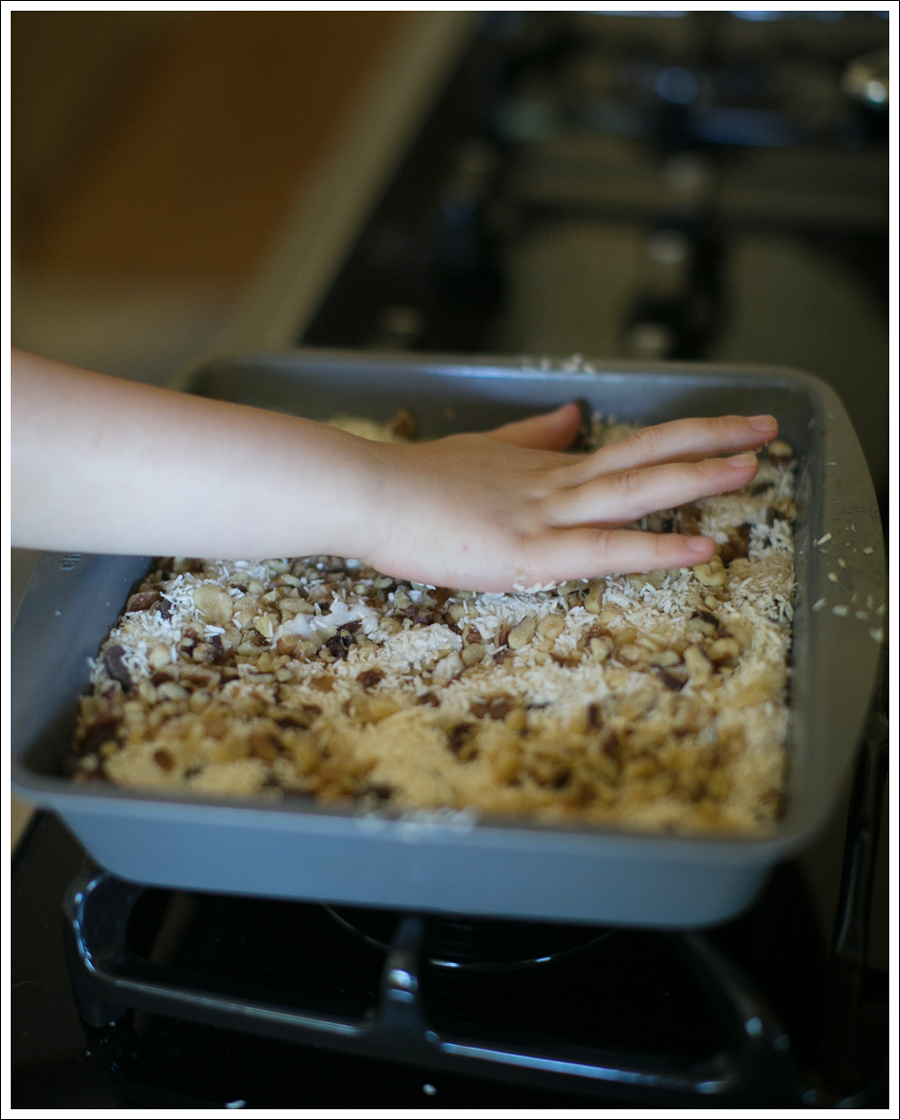
 Maya had a play date the other day, and I promised them we could make something. I’ve been wanting to try a healthier apple muffin, and these turned out so good!! You could leave out the walnuts for a nut free option for school!

 So moist and yummy!!


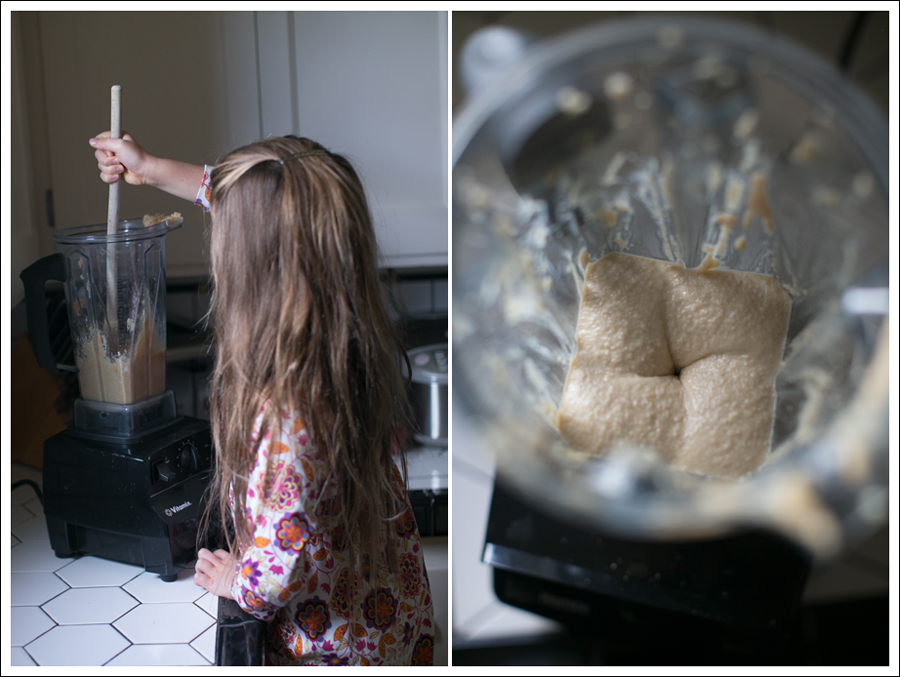
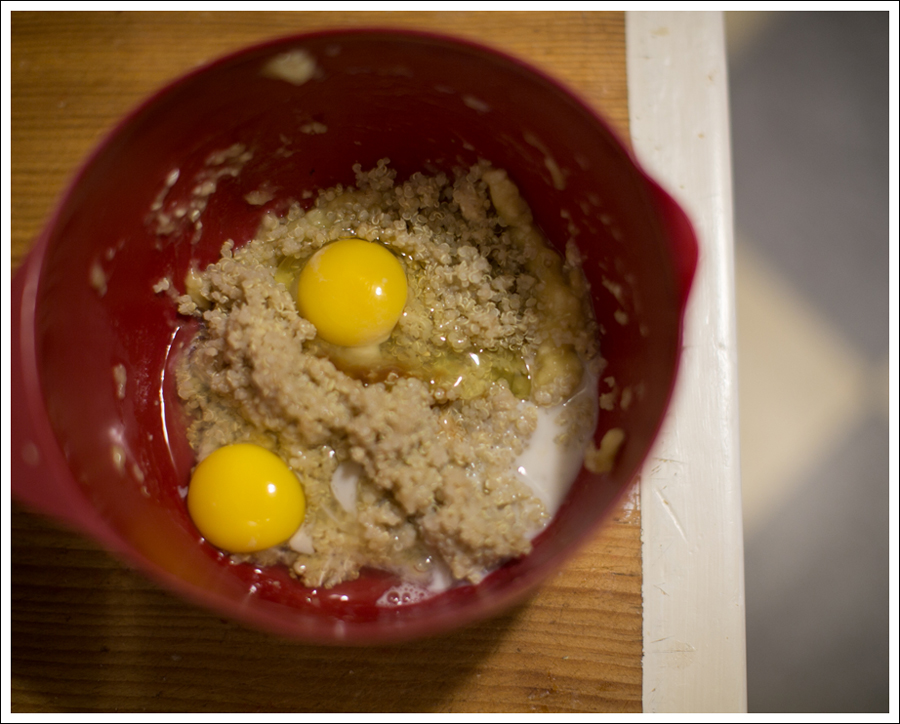
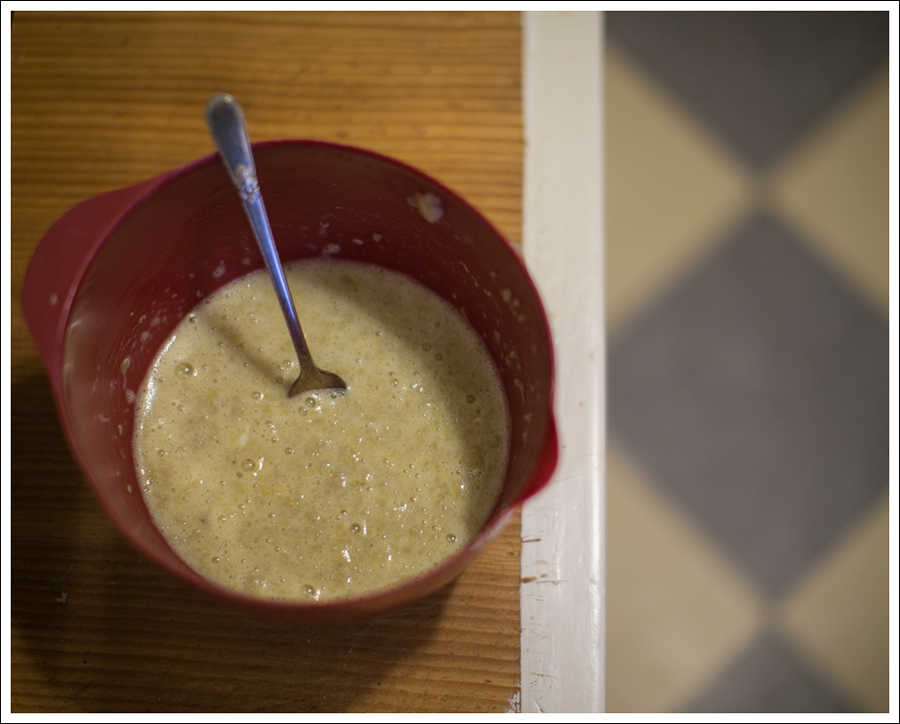
 Using cocunut flour can be challenging, so I love to see what the consistency looks like! In my opinion, it’s more cookie dough like than muffin, but it all works out in the end!
 The original recipe called for only filling it to 3/4th full batter, but mine never raise that much, so…I filled them up!
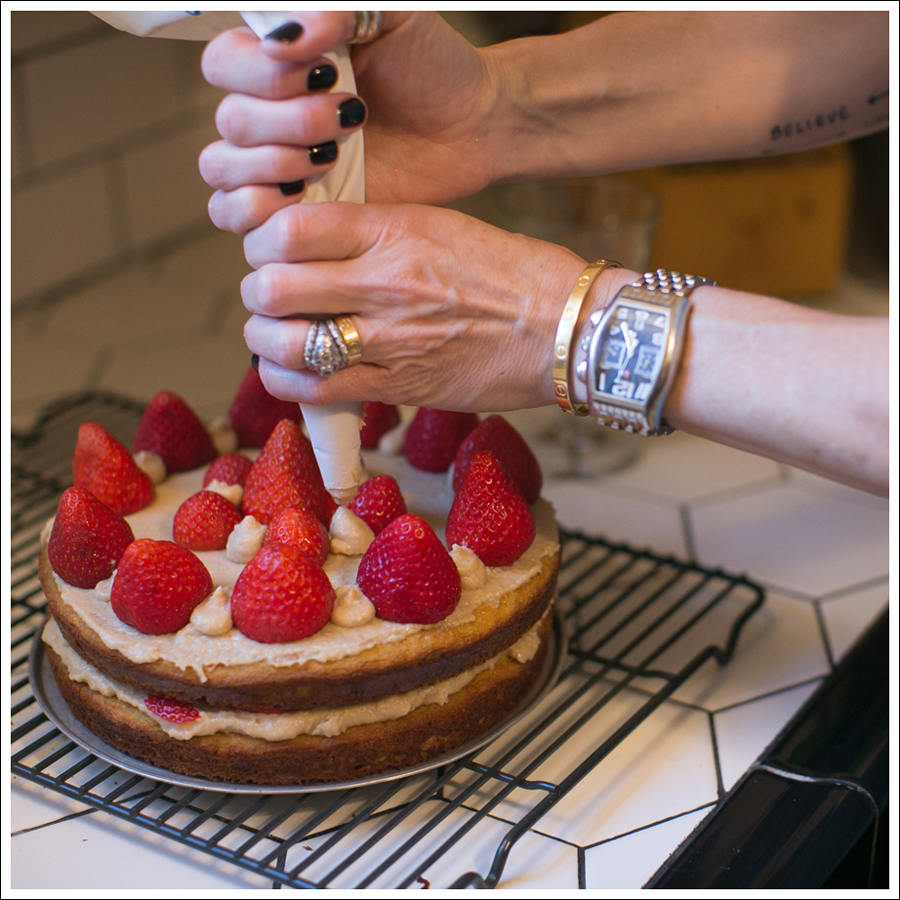
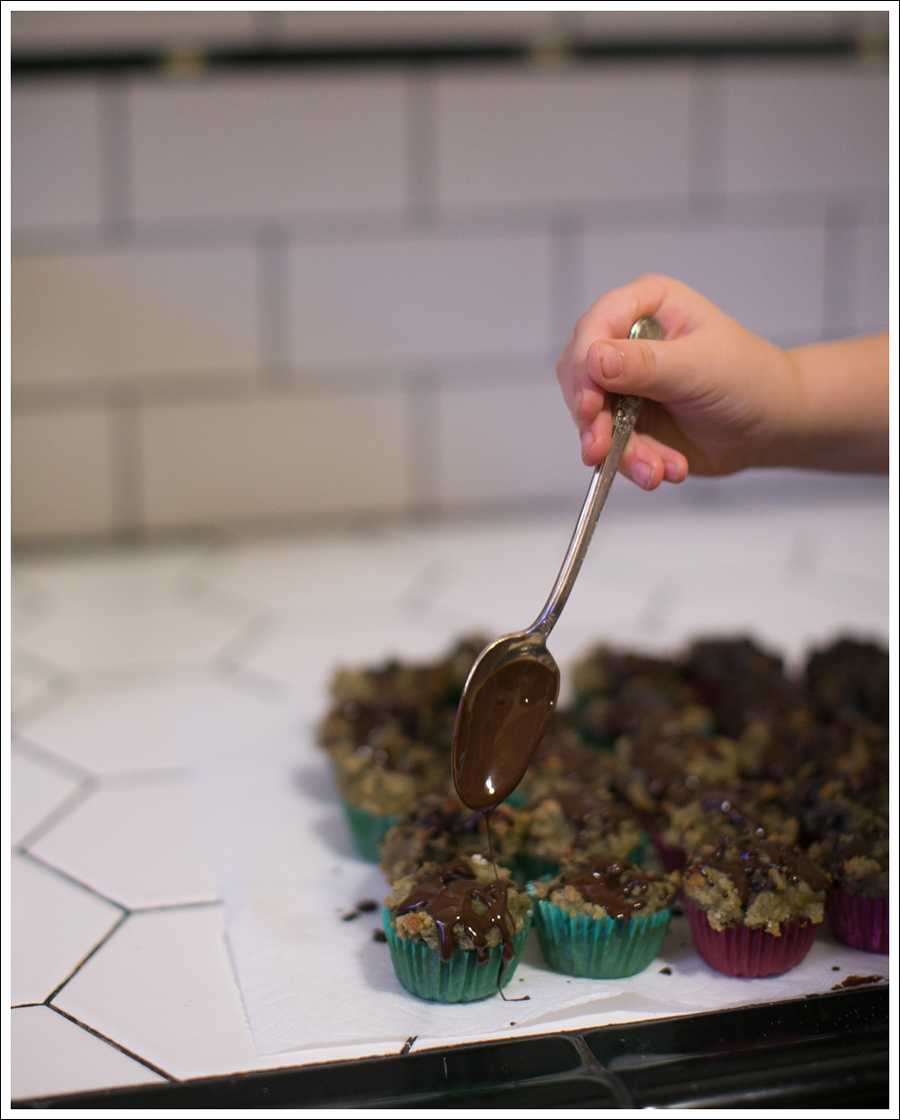
 And Maya drizzled dark chocolate on them once they came out of the oven…
 YUM!
YUM!