Ever since finding out that Maya can’t eat a LOT of foods, baking has become a lot harder…
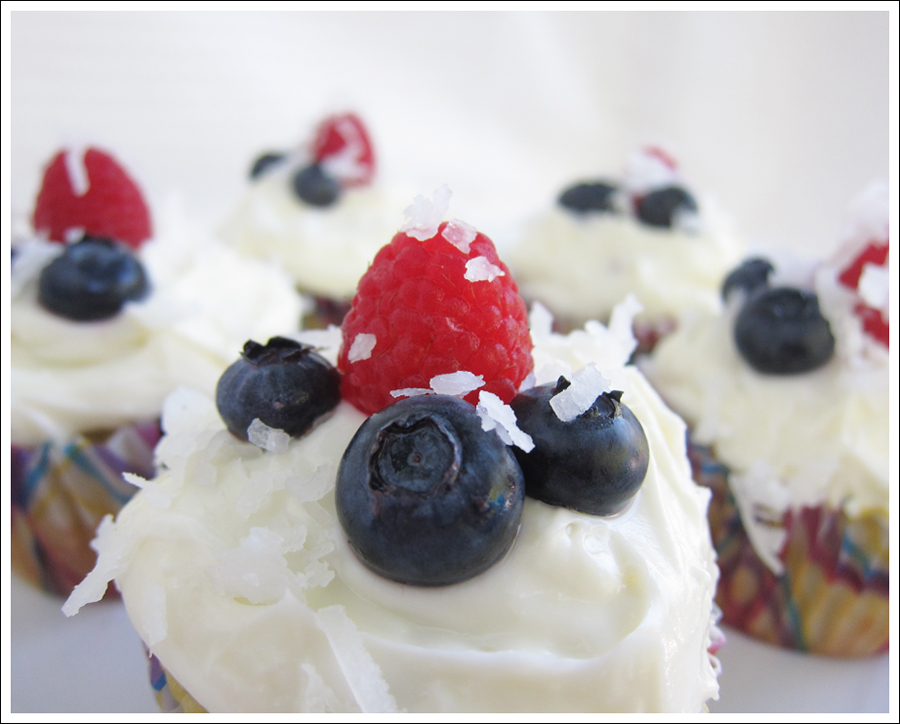
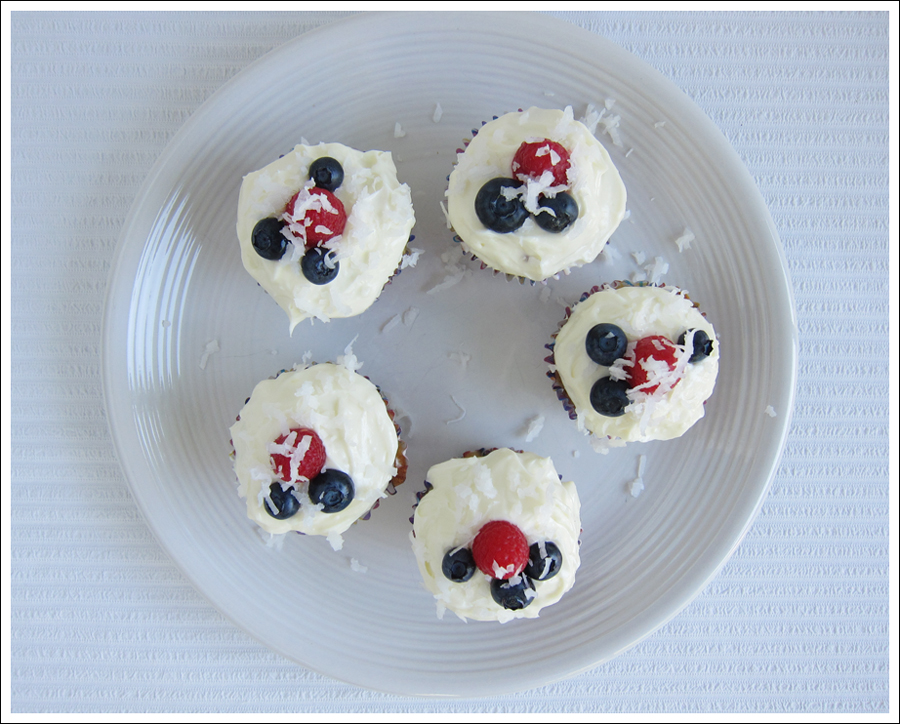
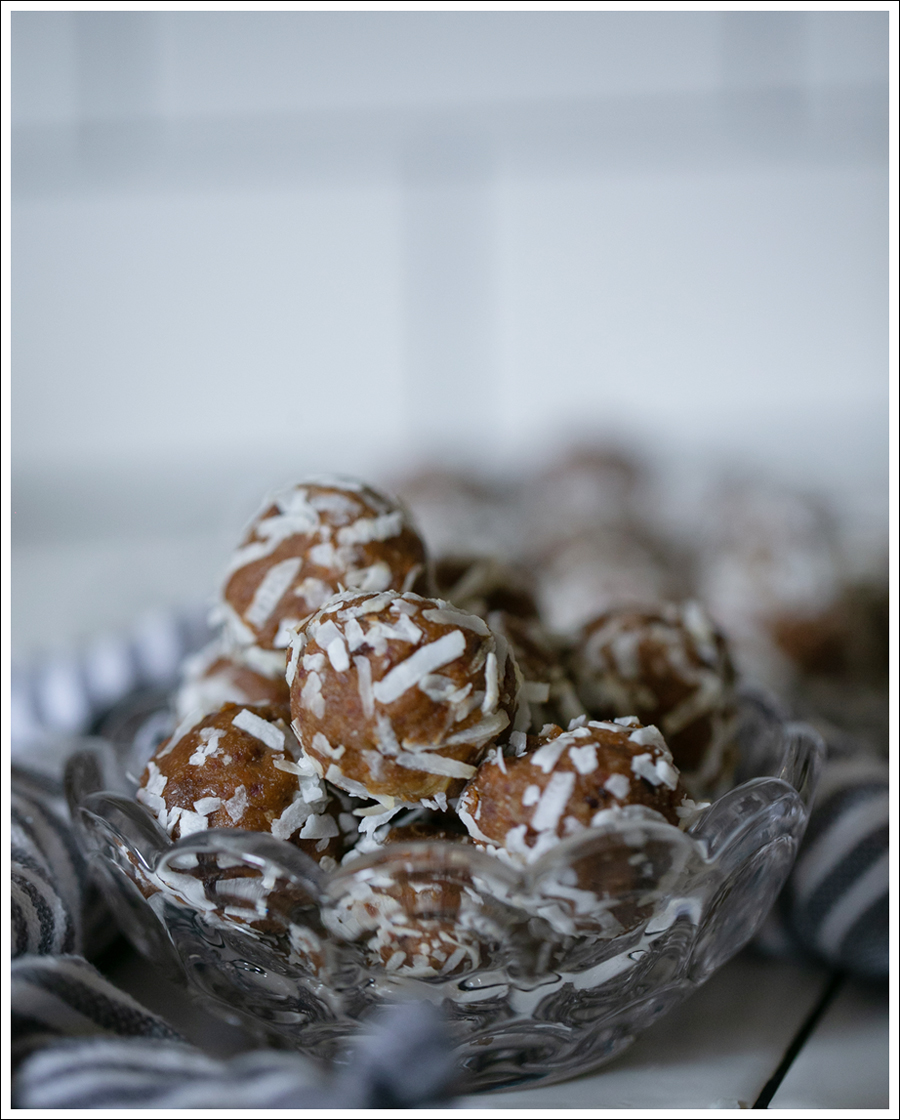
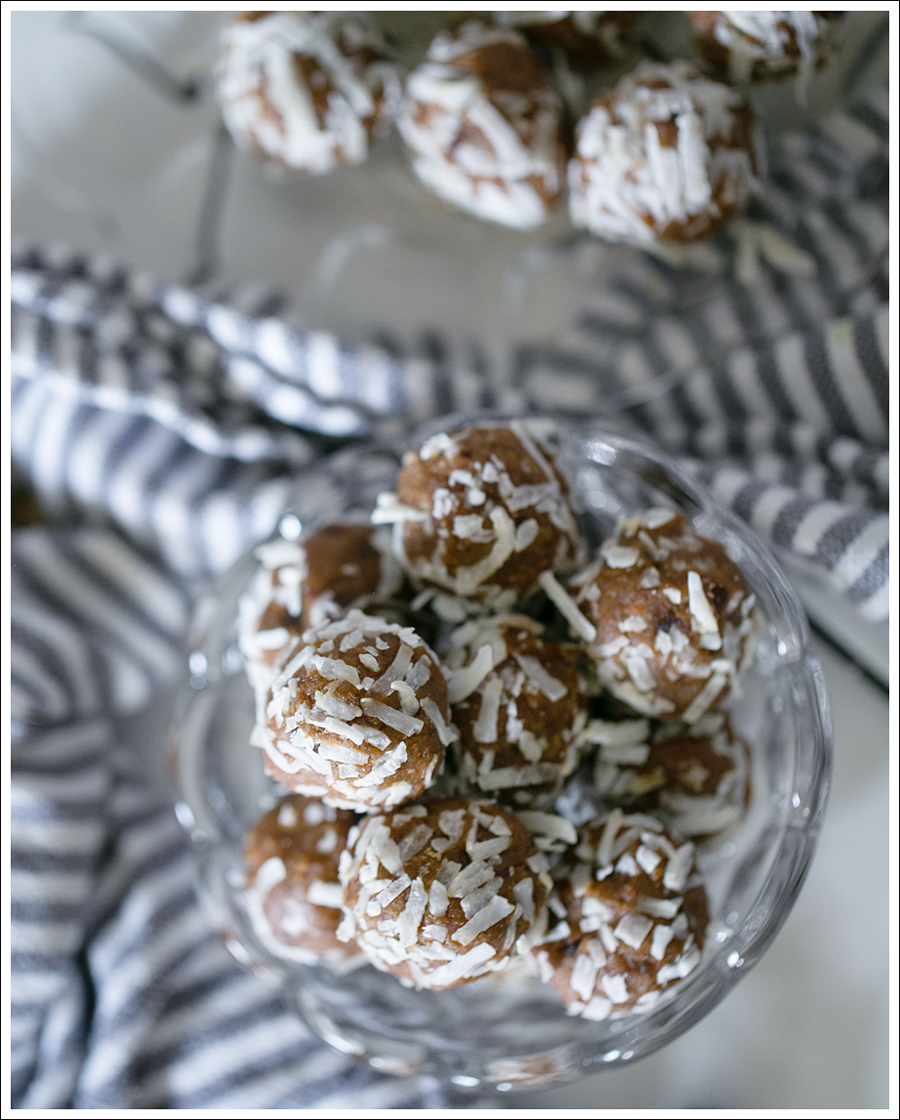
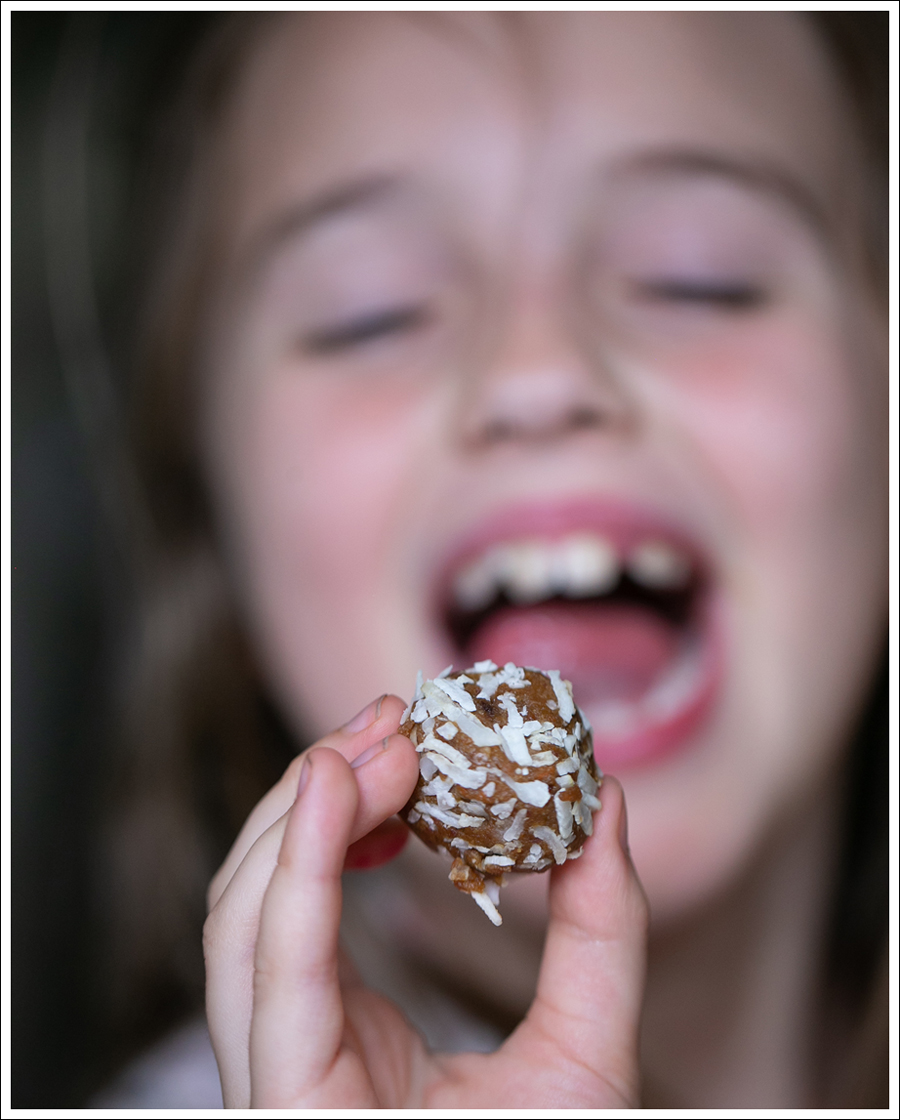
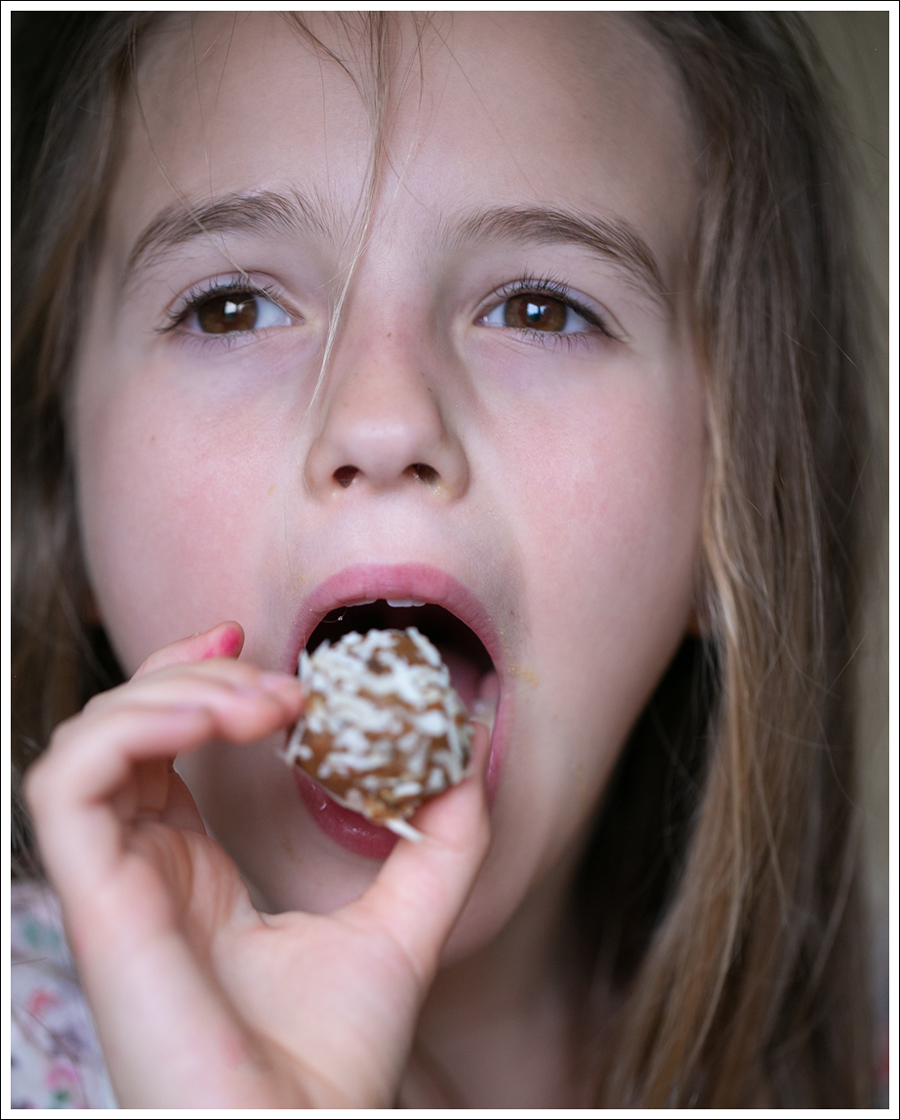
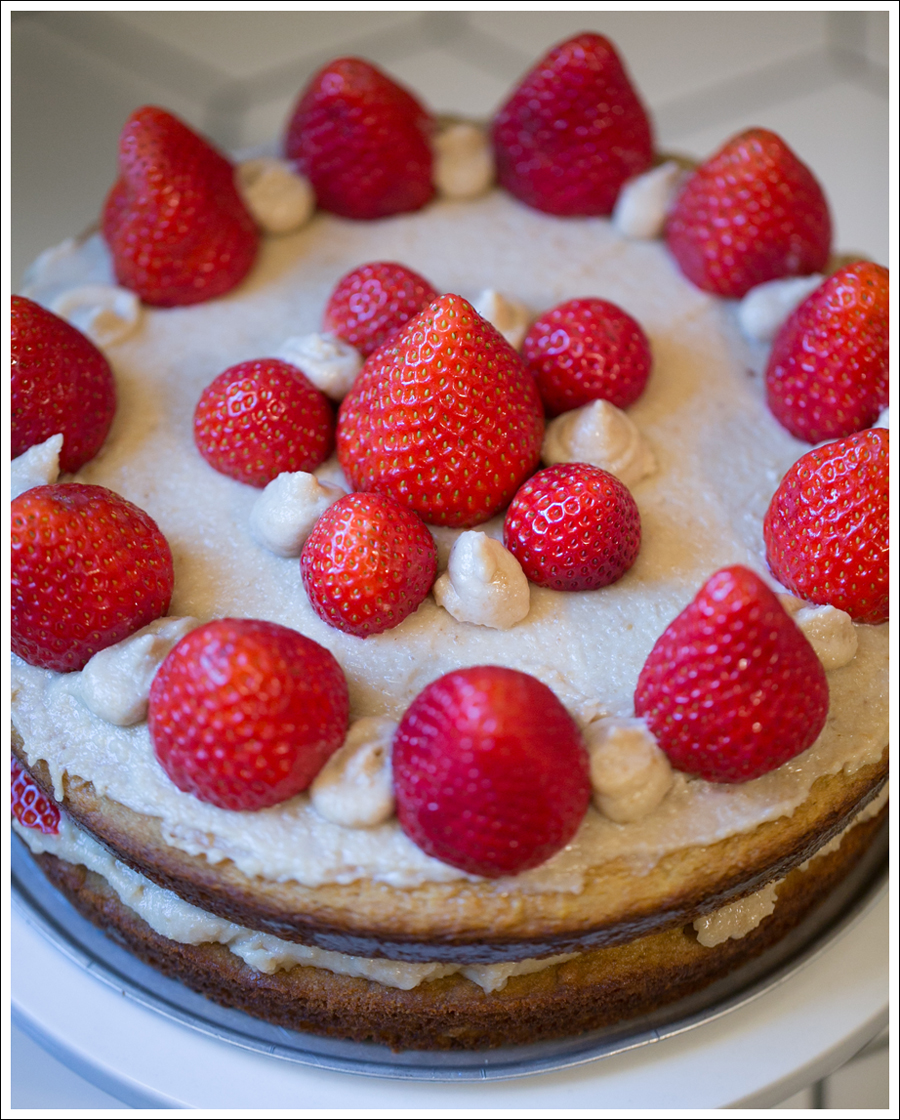
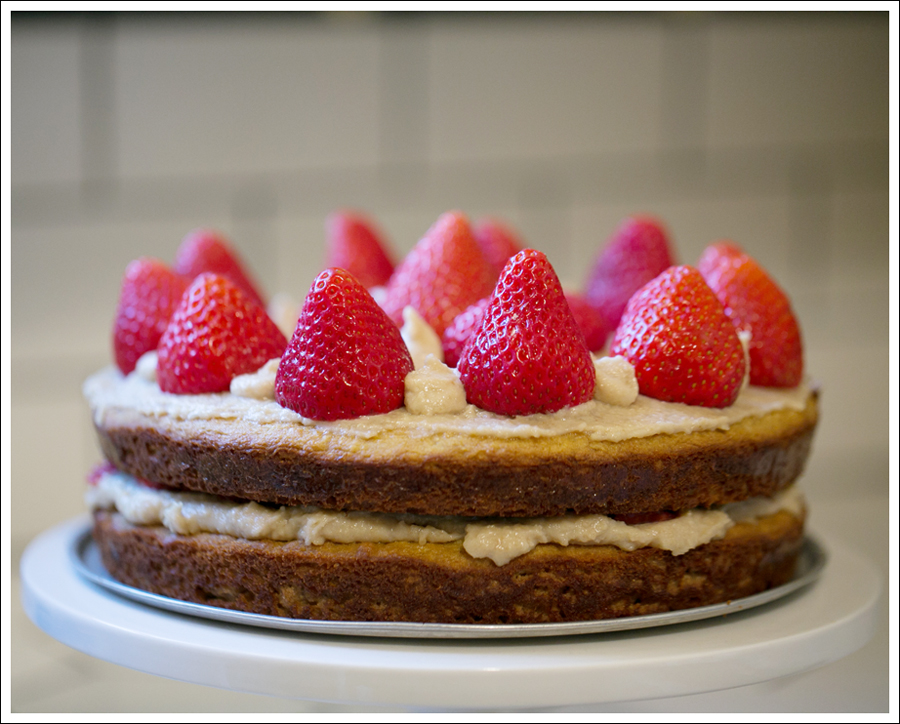
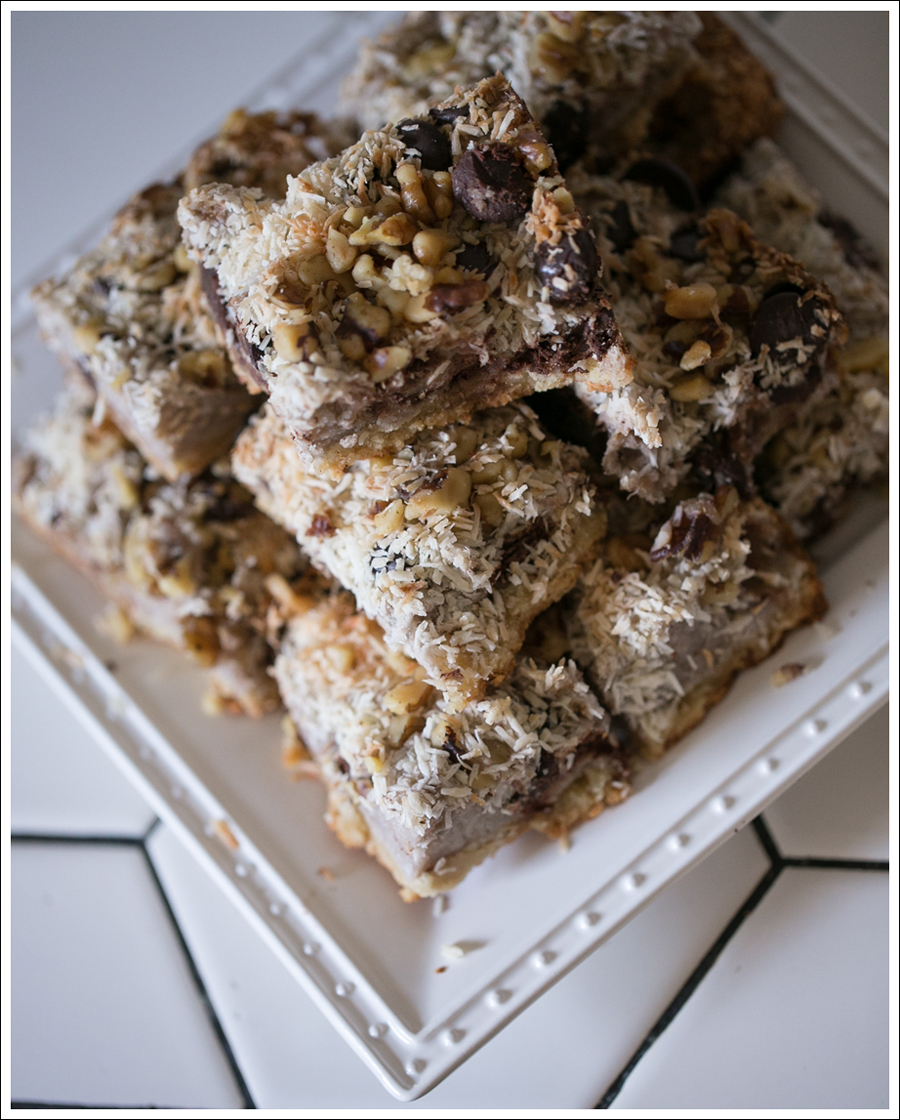
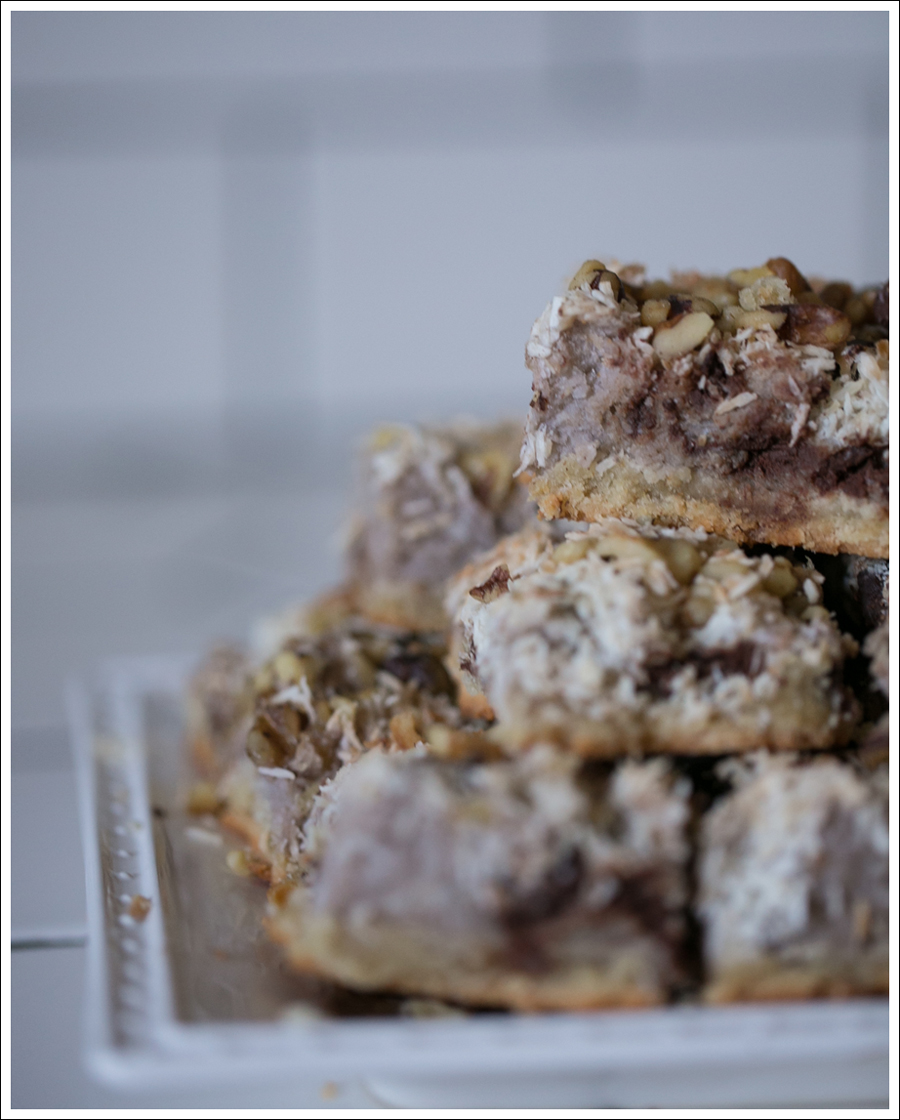
BUT! My mom found this amazing Raw Almond Joy Bar recipe from Rawmazing , and it was a HIT with everyone!!
It’s SO hard to decipher recipes that LOOK good from bloggers, but…don’t really taste good. THESE TASTE AMAZING!!
GREAT for the holidays for those that are allergy challenged…or for special occasions 🙂


Crust:
- 3/4 cup almond butter
- 1/4 cup coconut oil, melted
- 1/3 cup cacao powder
- 1/3 cup raw coconut sugar
- 1/4 teaspoon vanilla bean paste
- pinch Himalayan salt
- Whisk all ingredients together and pour into oiled, parchment lined 8 x 8-inch glass pan. Set in refrigerator aside making topping. The bottom layer should be set up (but not completely hard) before adding the next layer.
Coconut Layer
- 2 cups of dried, unsweetened, raw coconut
- 2/3 cup coconut butter, softened
- 3 tablespoons raw agave nectar (or liquid sweetener of choice)
- 1-2 teaspoons organic almond flavoring (not raw)
- Place coconut in medium bowl.
- Whisk coconut butter (not the same as coconut oil), agave and almond flavor. Pour over coconut and mix well.
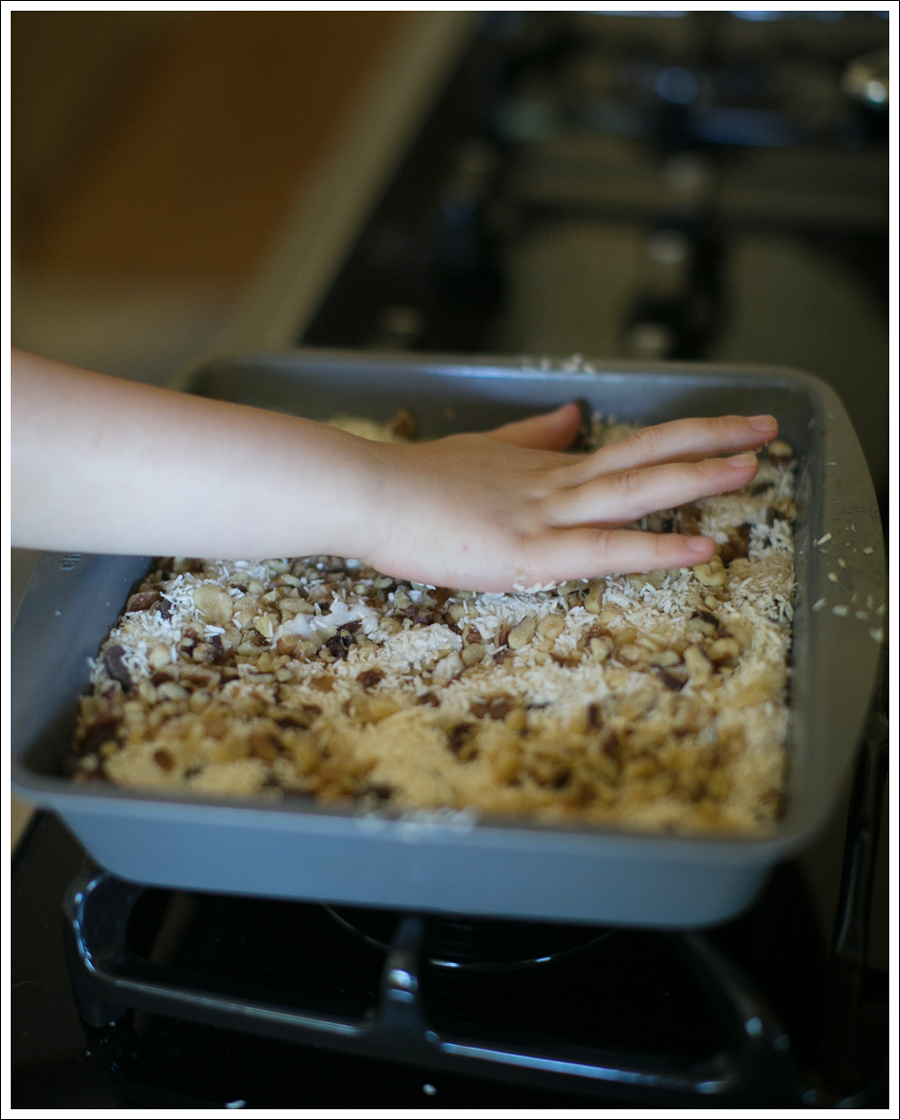
Topping
- 1/3 cup almonds, coarsely chopped
- Sprinkle these on top of the coconut layer
Ganache:
- 1/2 cup raw cacao powder
- 1/2 cup maple syrup
- 1/4 cup coconut butter, softened
- Drizzle ganache over the top and refrigerate to set!
Enjoy!
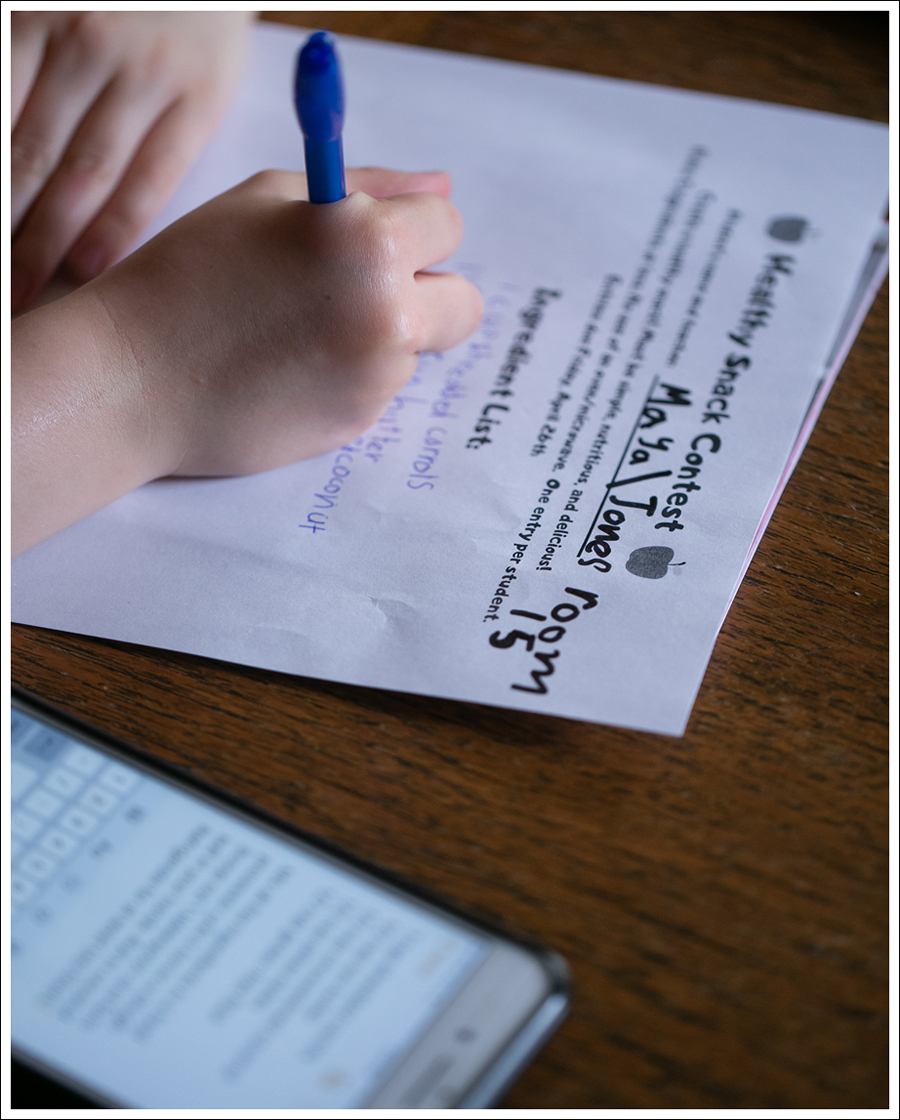
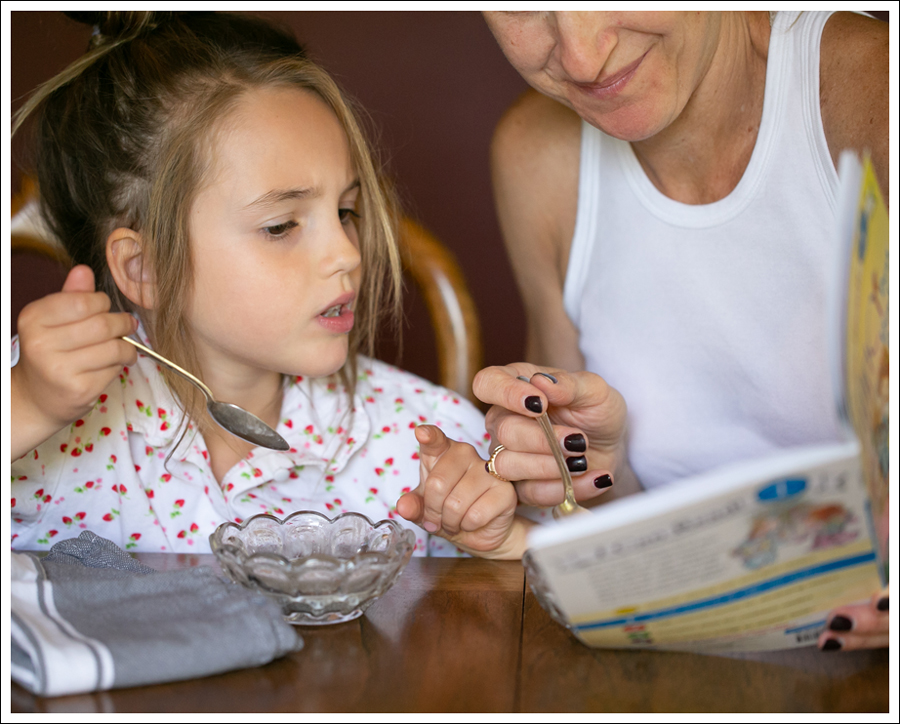
 I did make sure she scrubbed her hands vigorously before she helped. That pen didn’t want to come off… 🙂
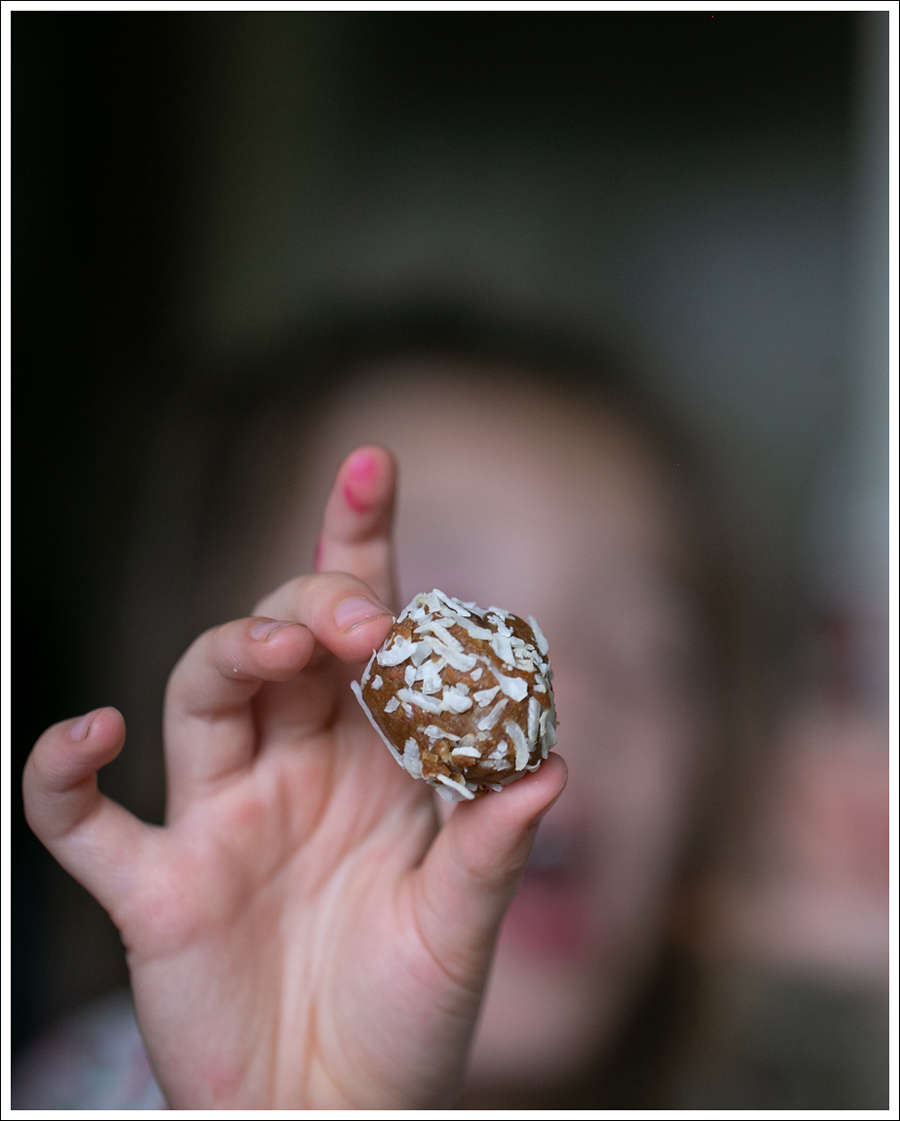
 I was so impressed. She wrote out all the ingredients AND the instructions!
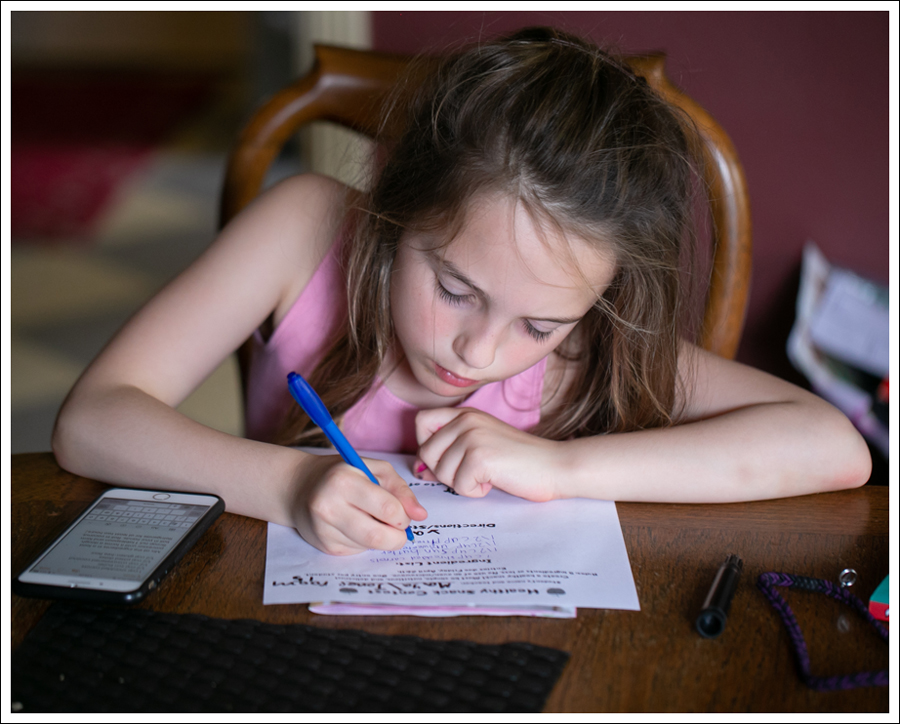
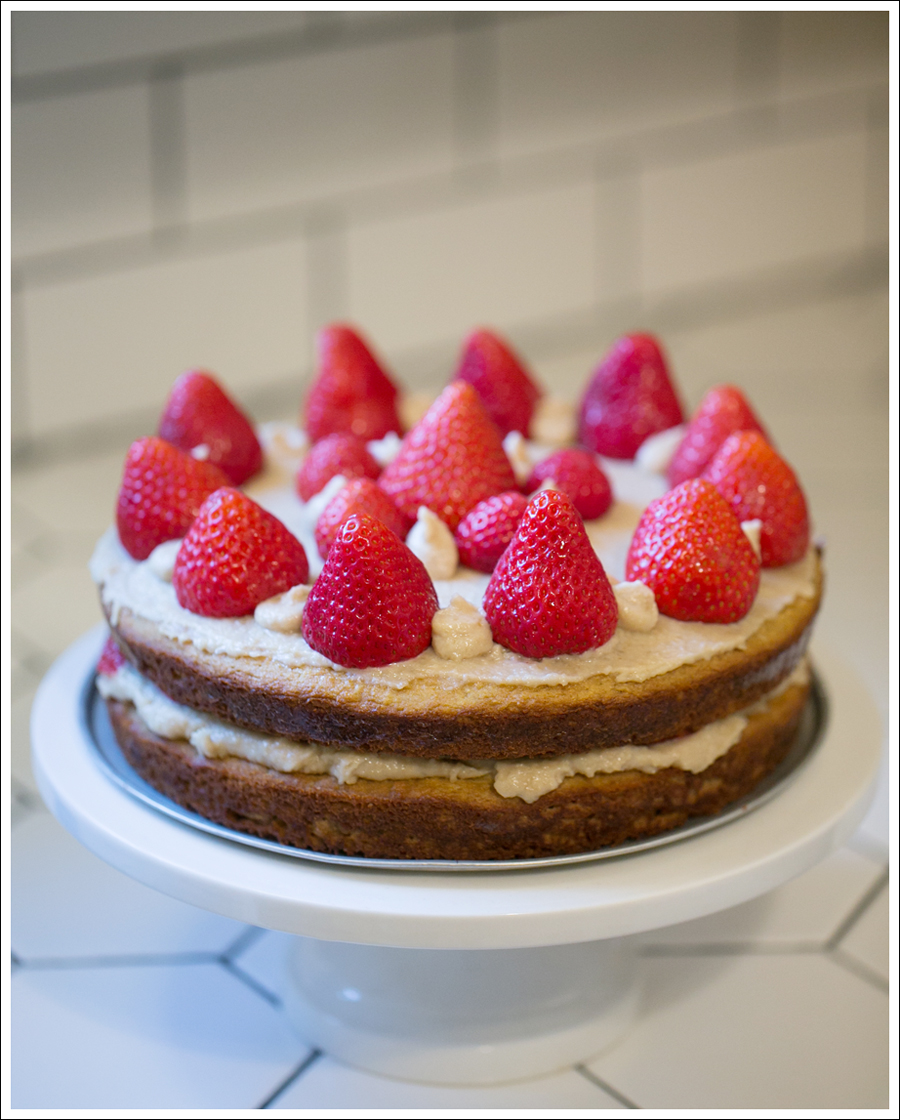
 ENJOY!
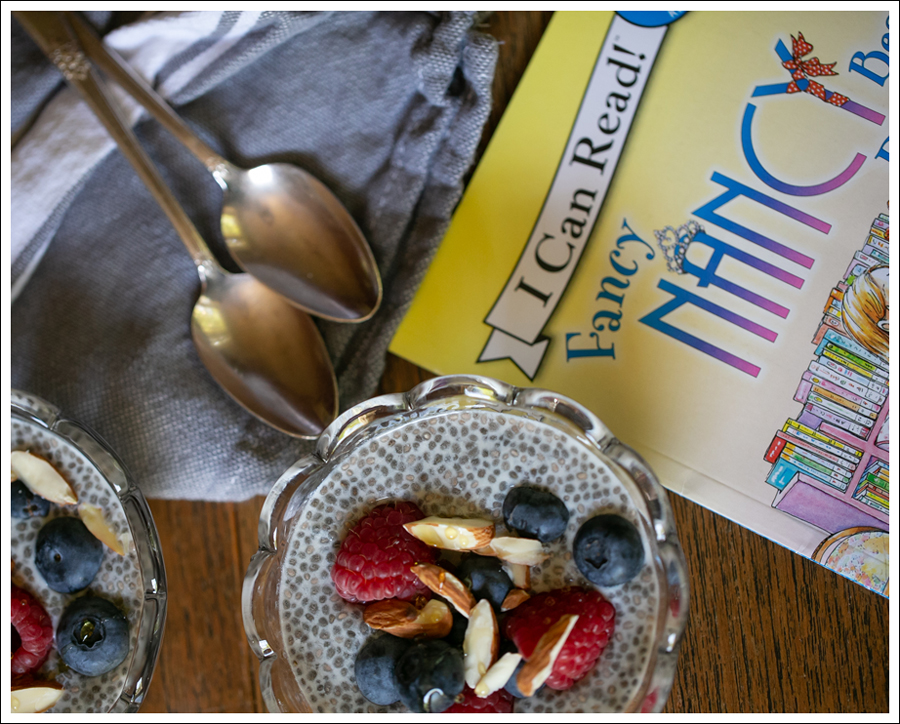
 Ingredients
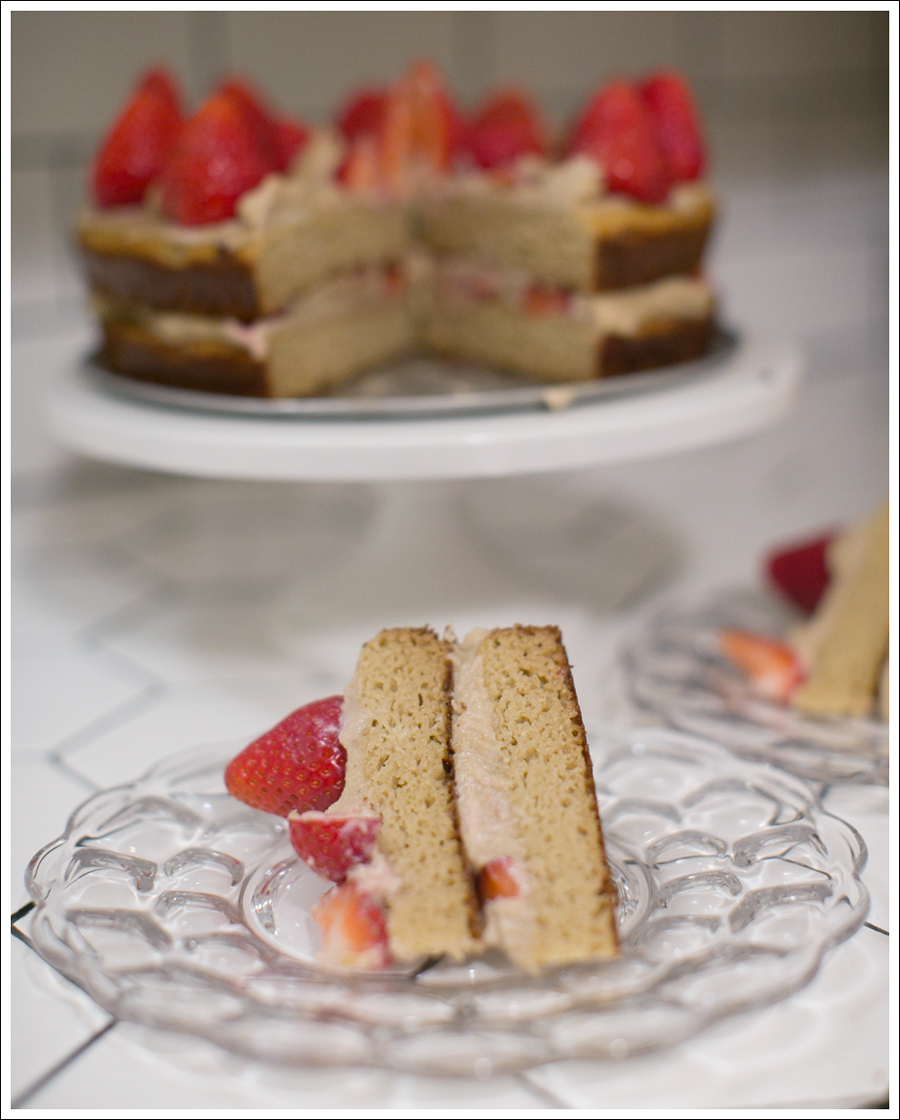
 I used
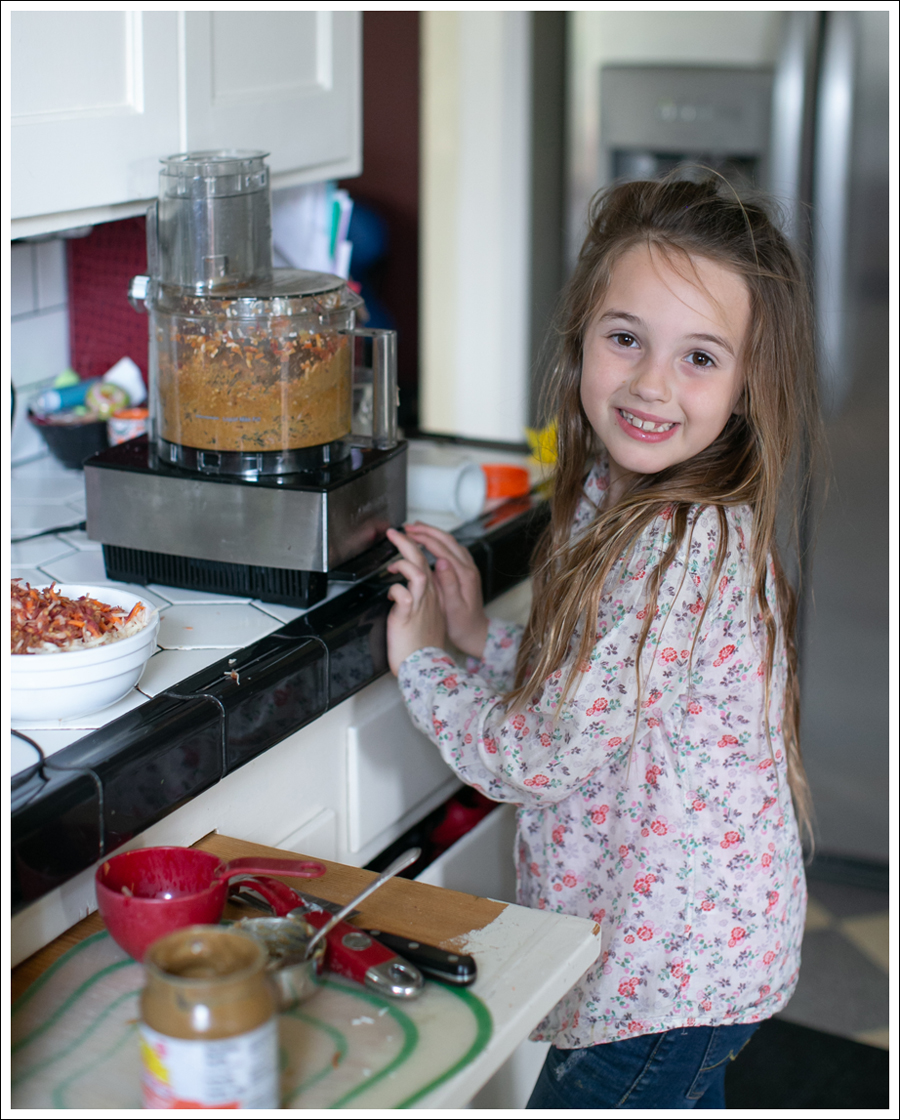
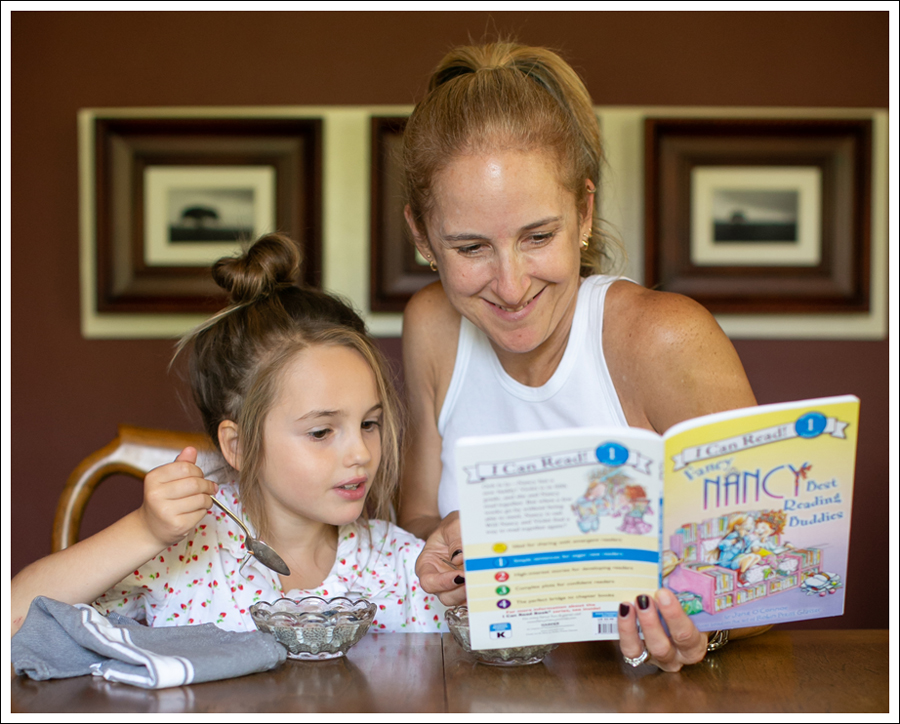
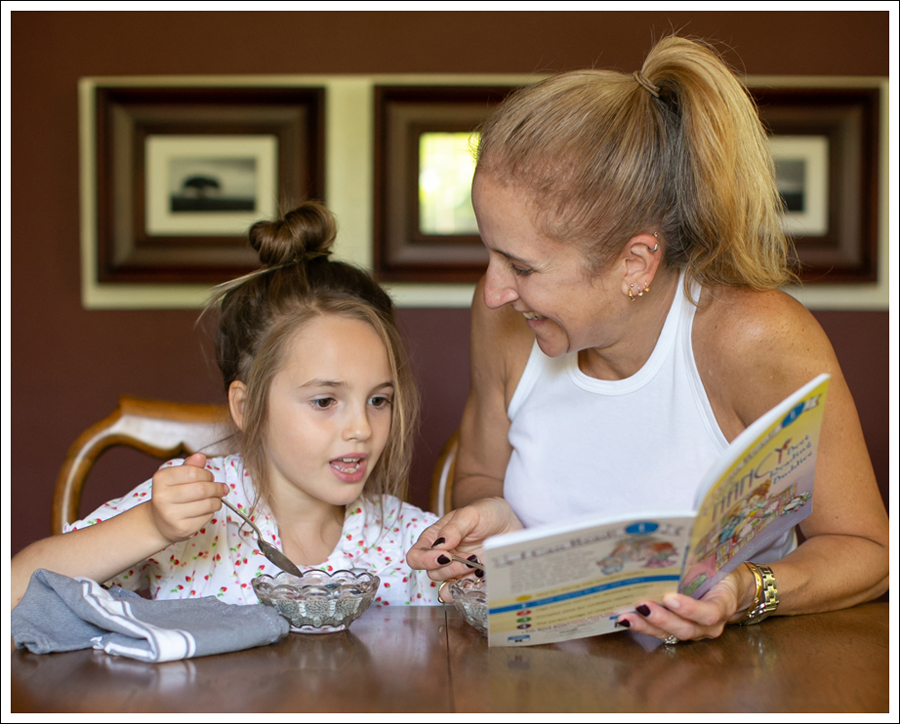
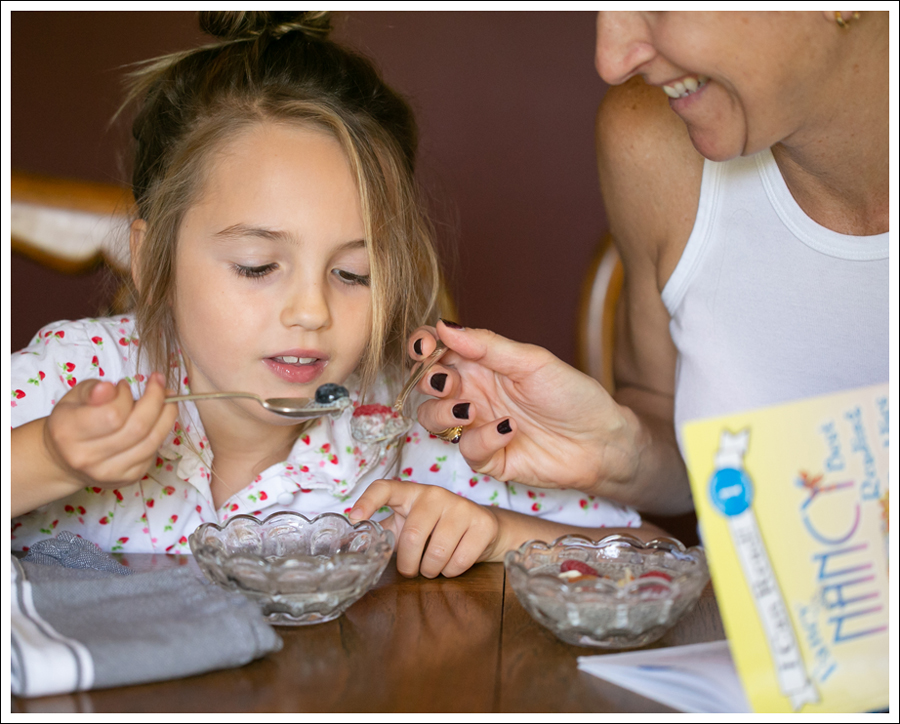
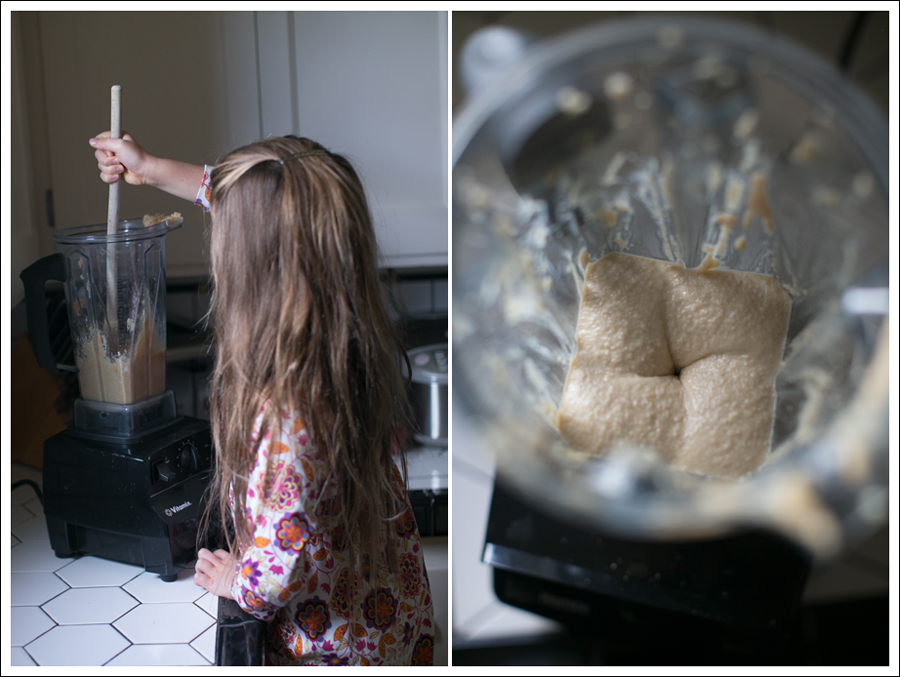
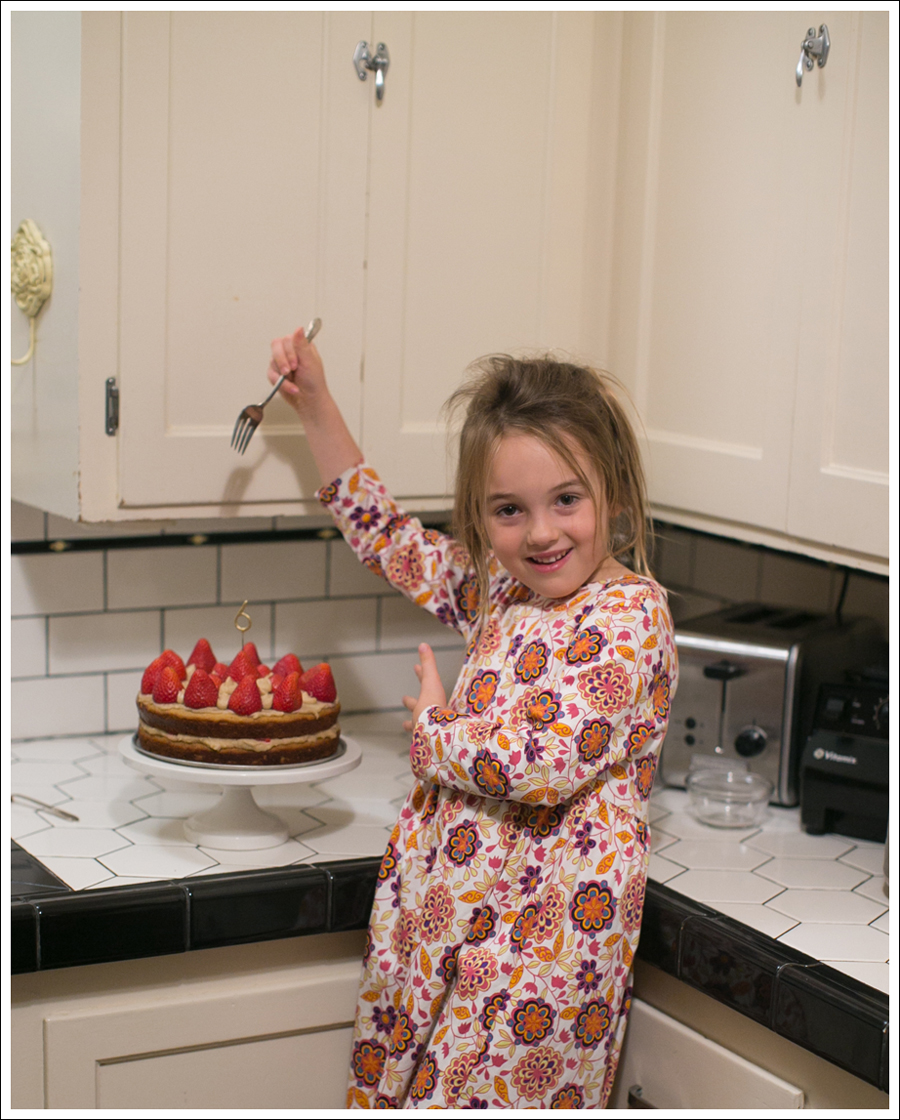
 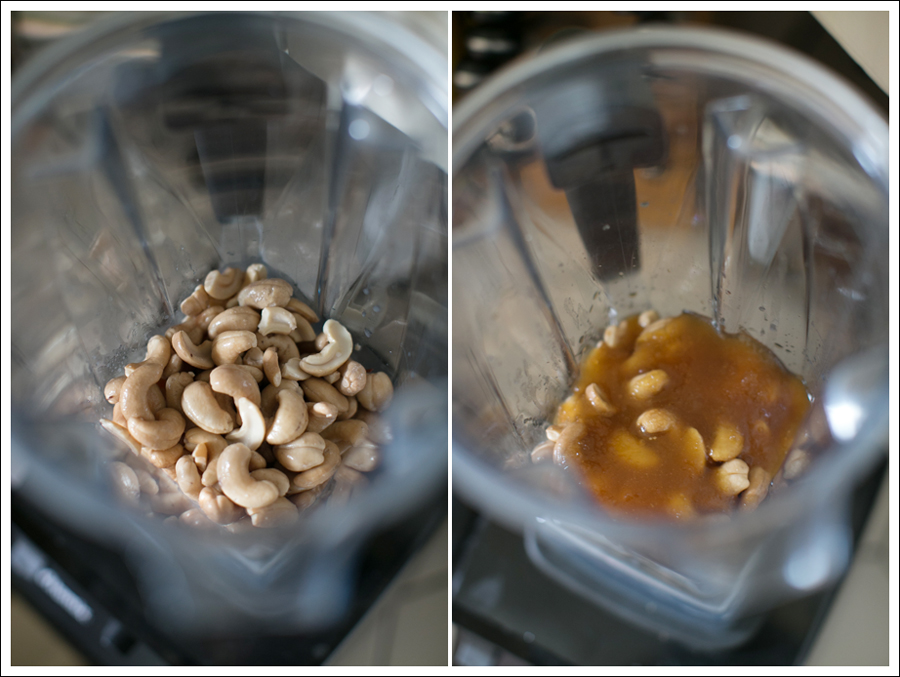 Having a cute assistant adds even more sweetness 😉 . Ok, that was bad…but true! 🙂
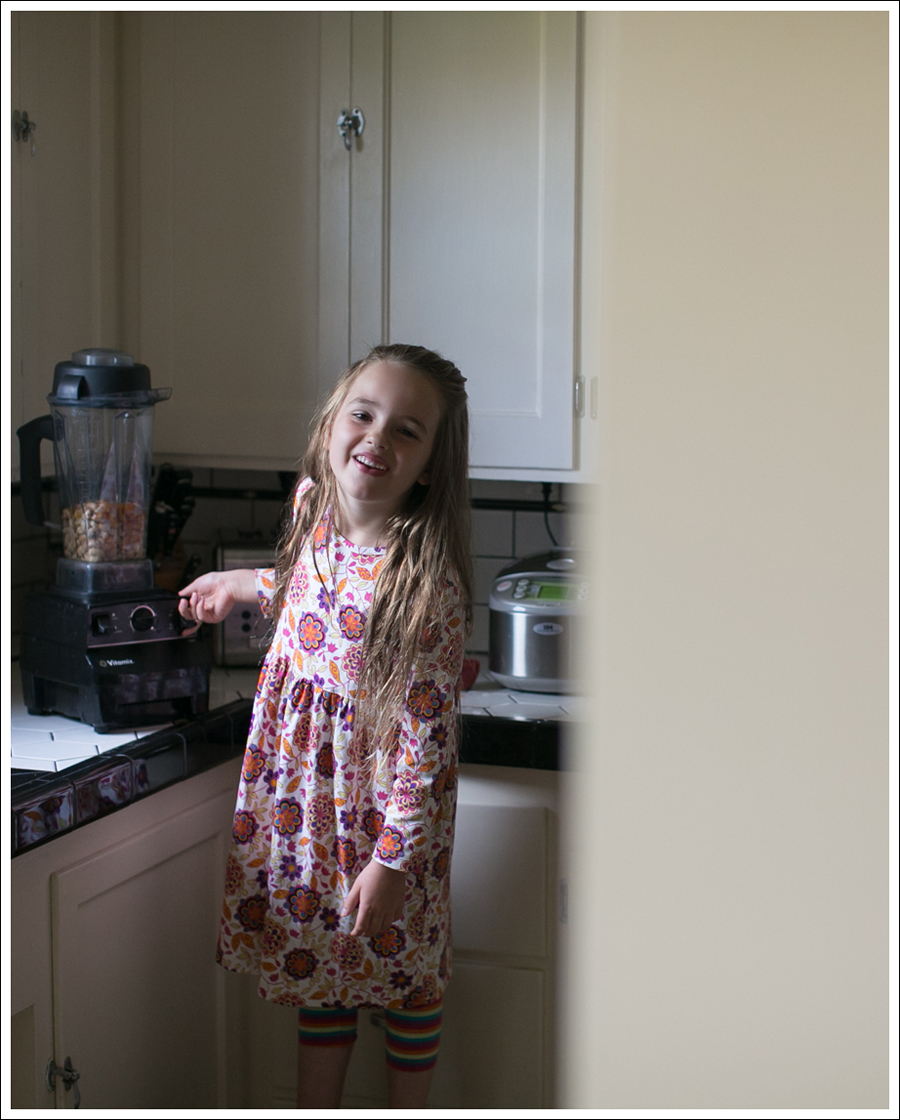
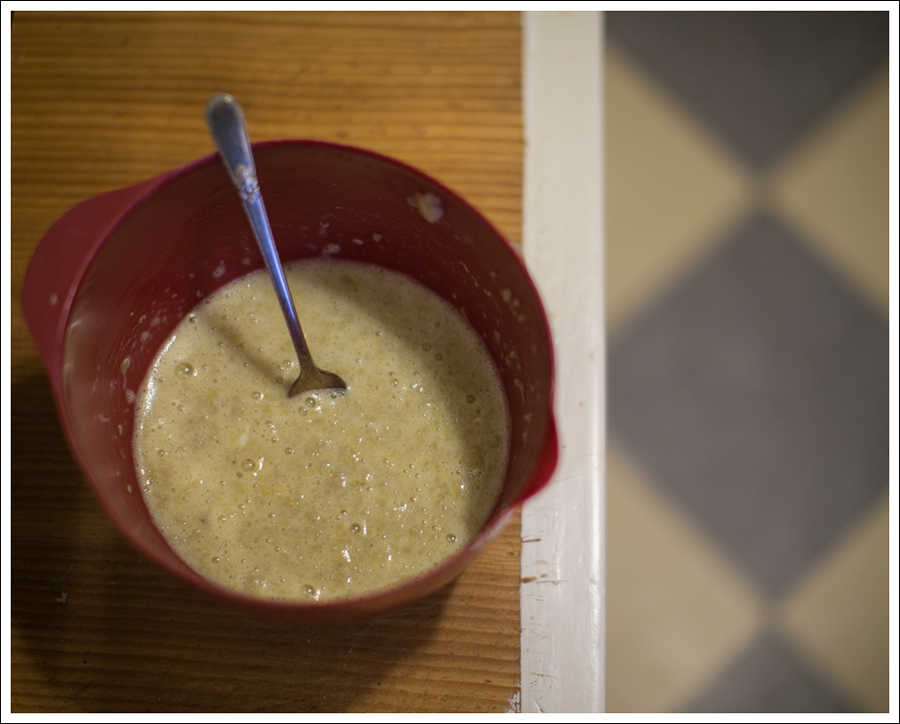
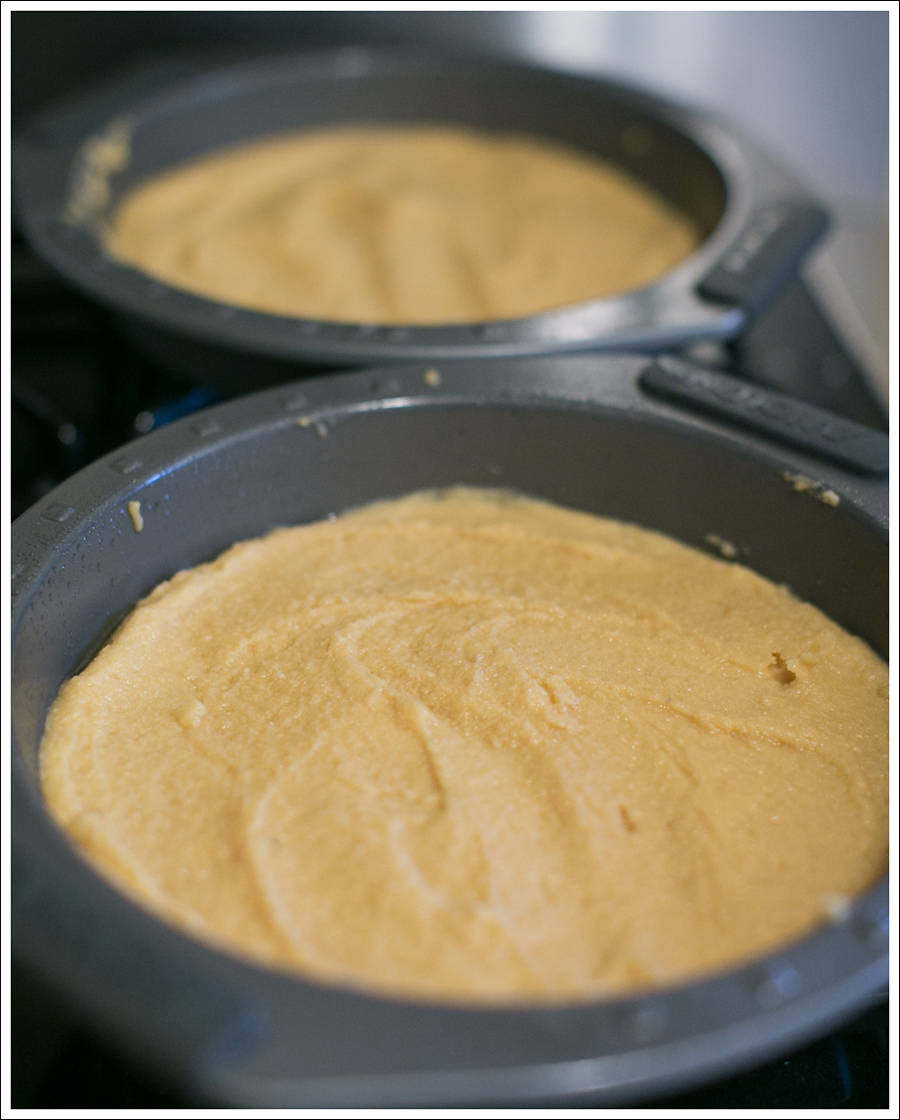 And it won’t rise much after cooking.
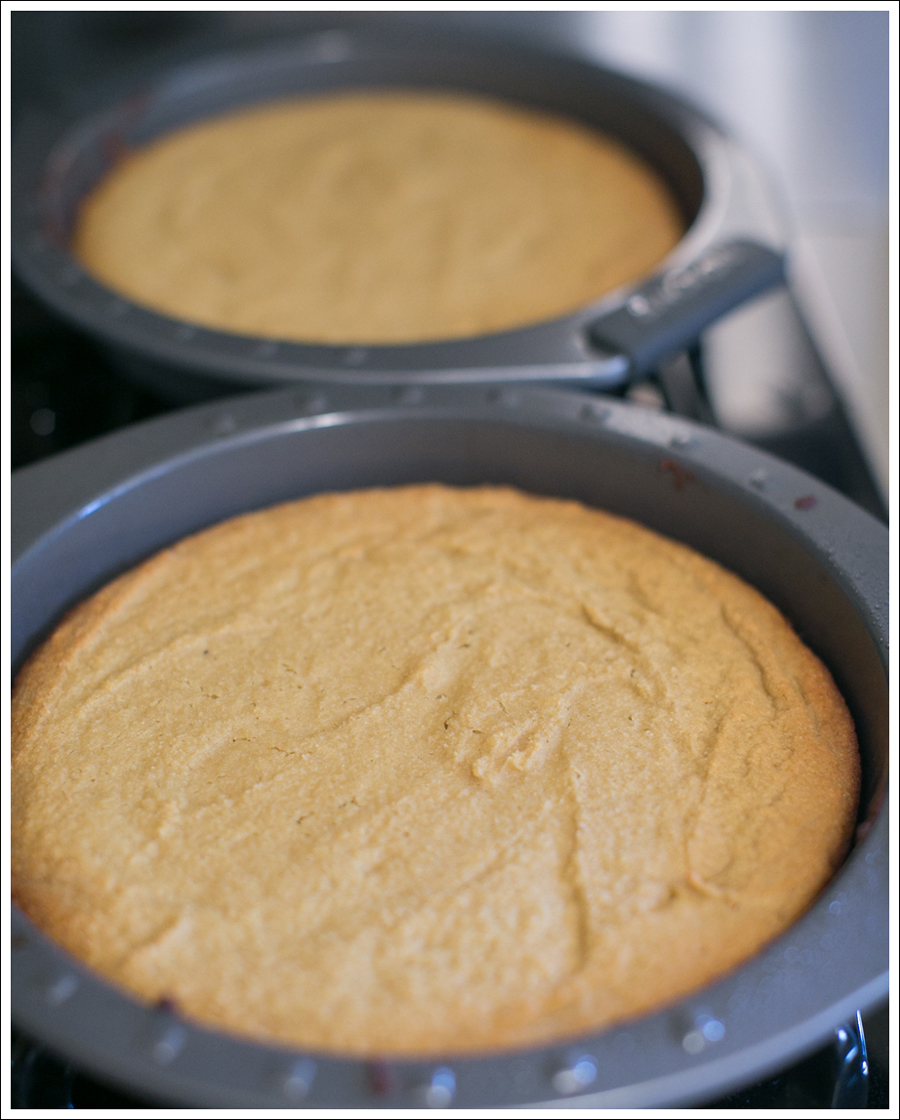
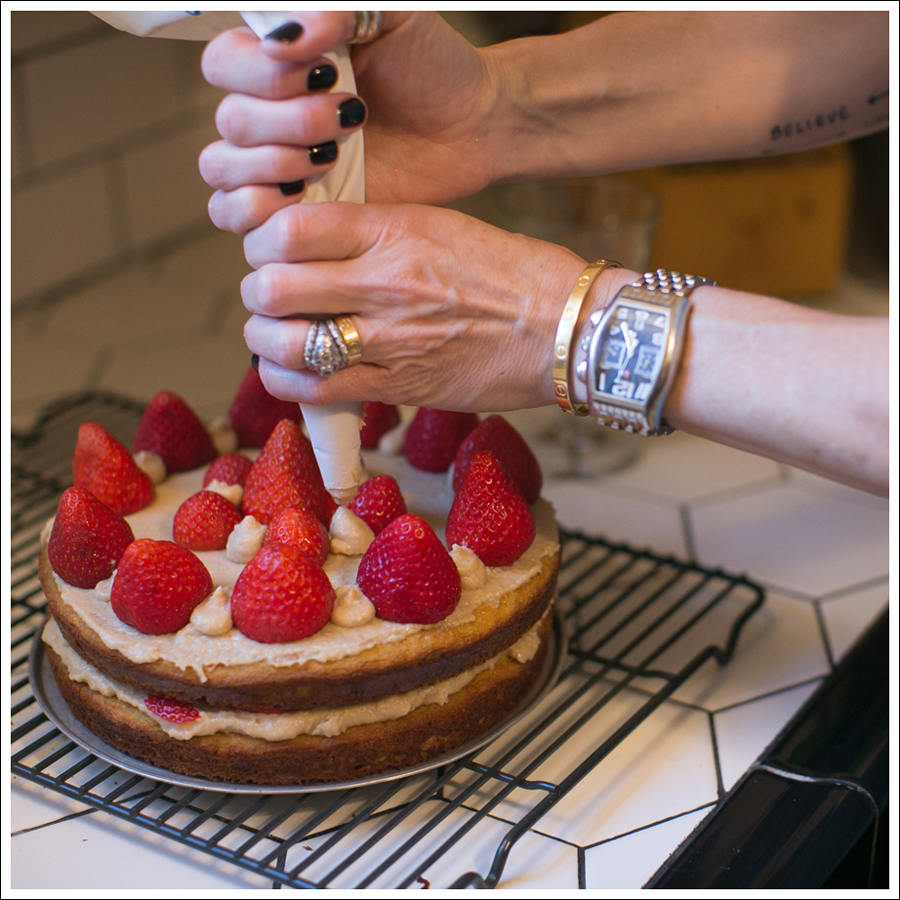
 I haven’t had much time to bake lately, much less take pictures and blog about it! BUT…I had a client reschedule this past weekend, and I knew it would make Maya super happy if we made something together, so…we did!
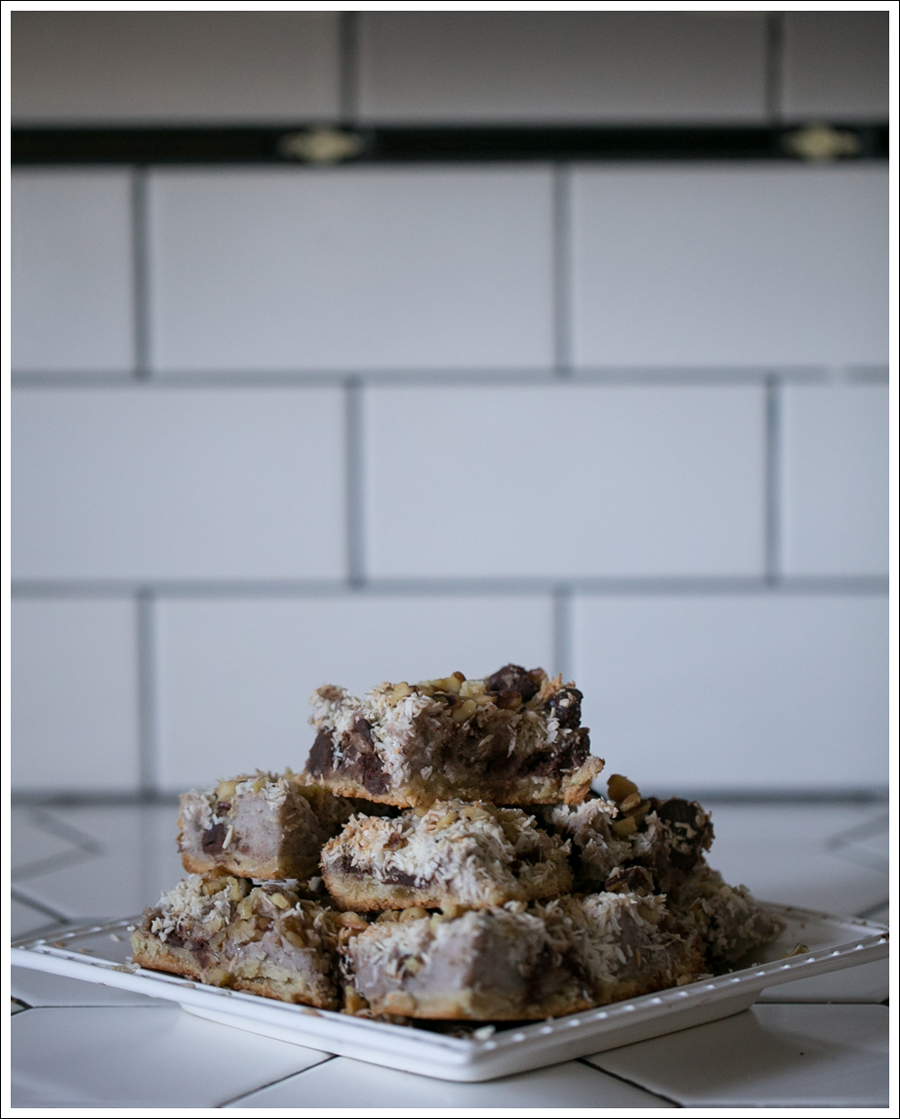
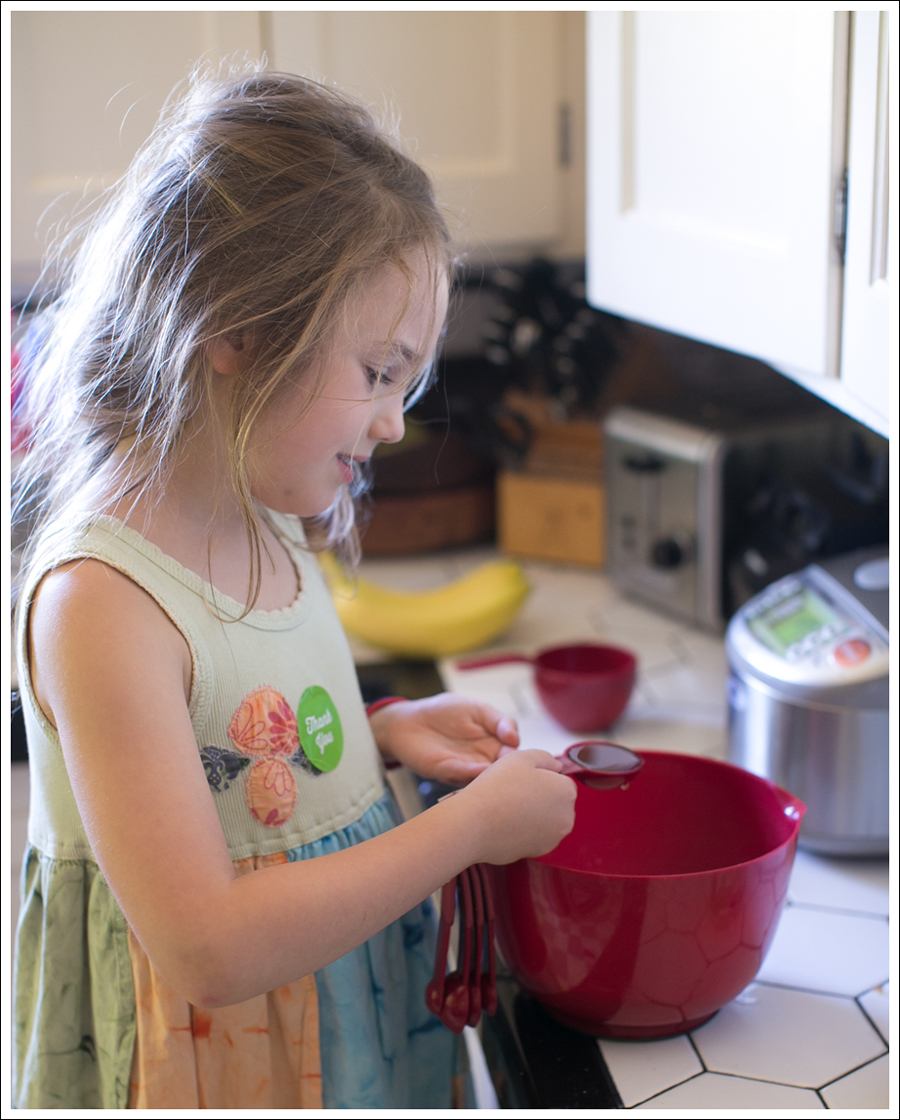
 She’s usually up for being my baking assistant, but not always the willing photography assistant. Totally understandable since it was first thing in the morning 🙂
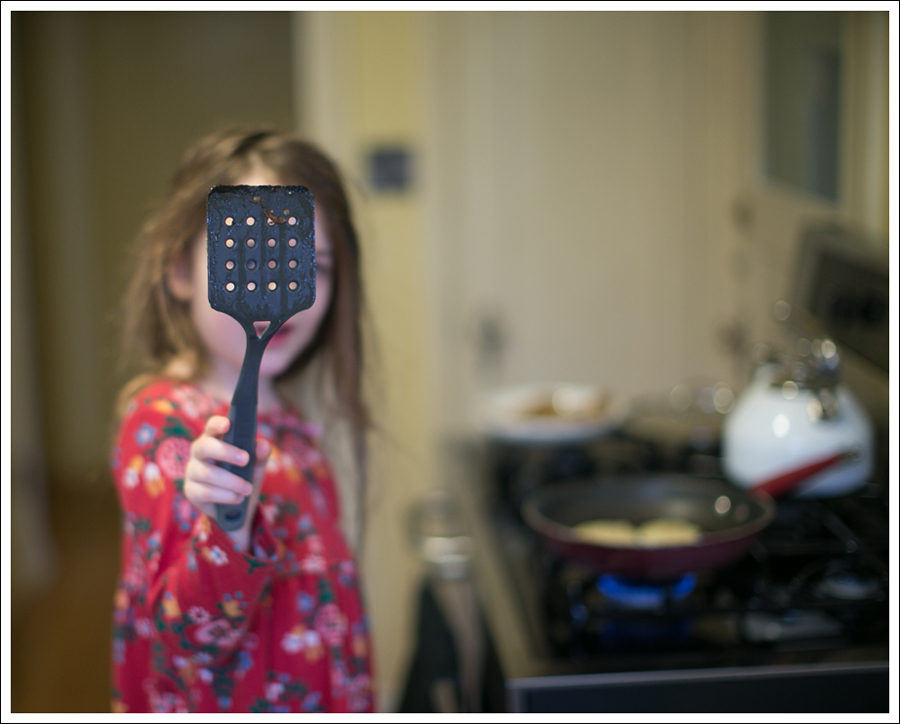
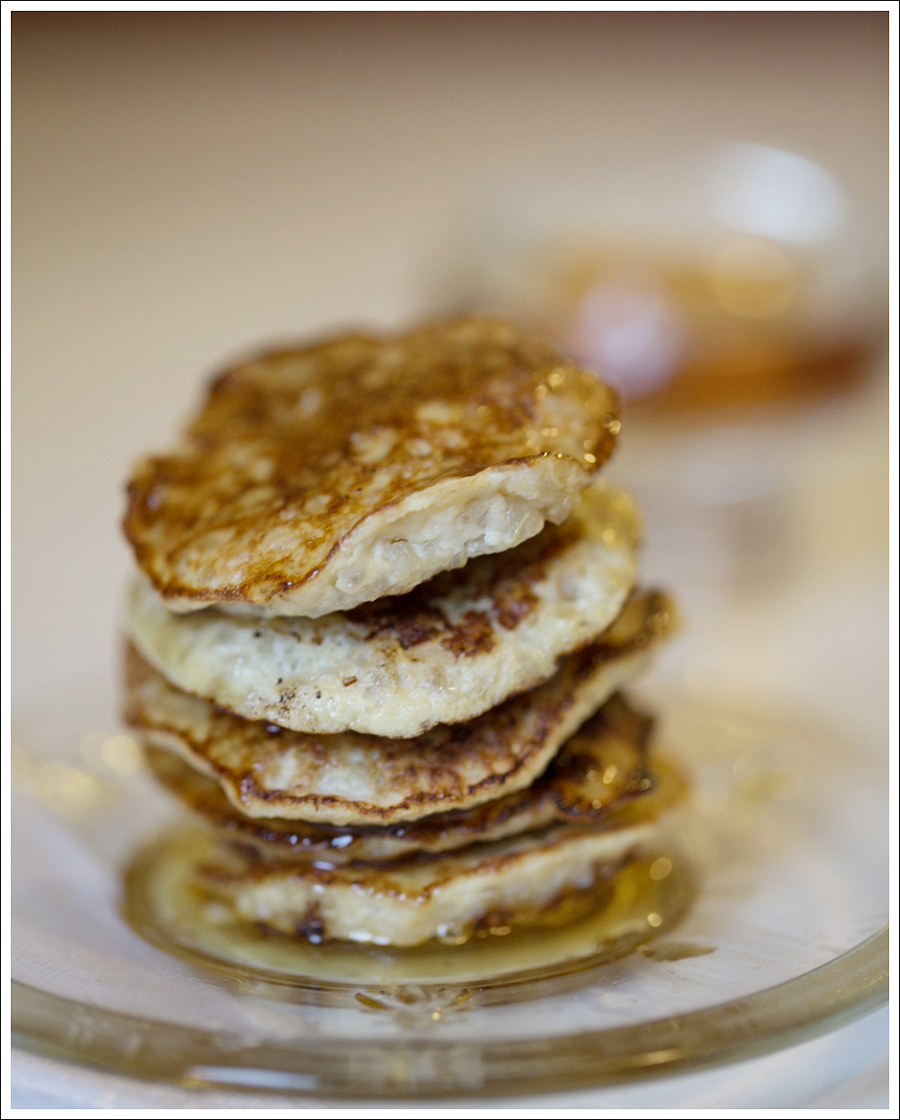
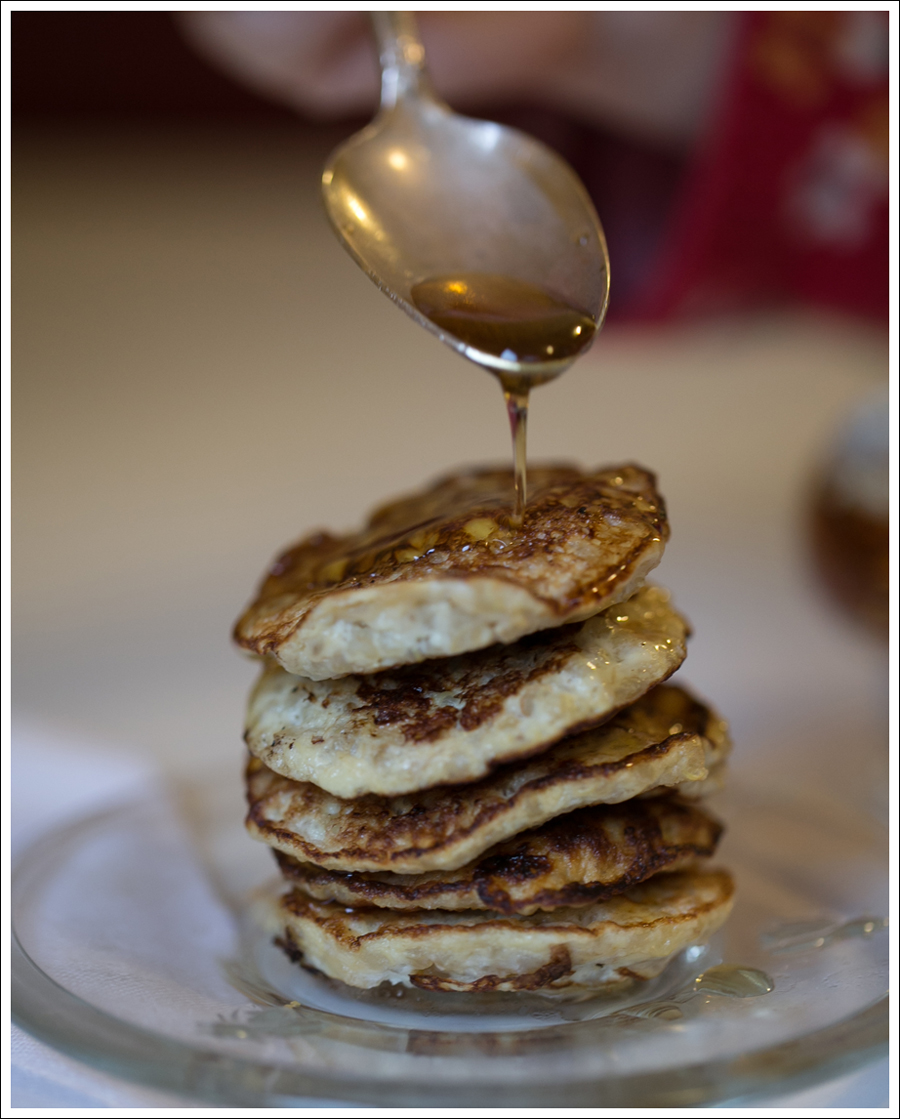
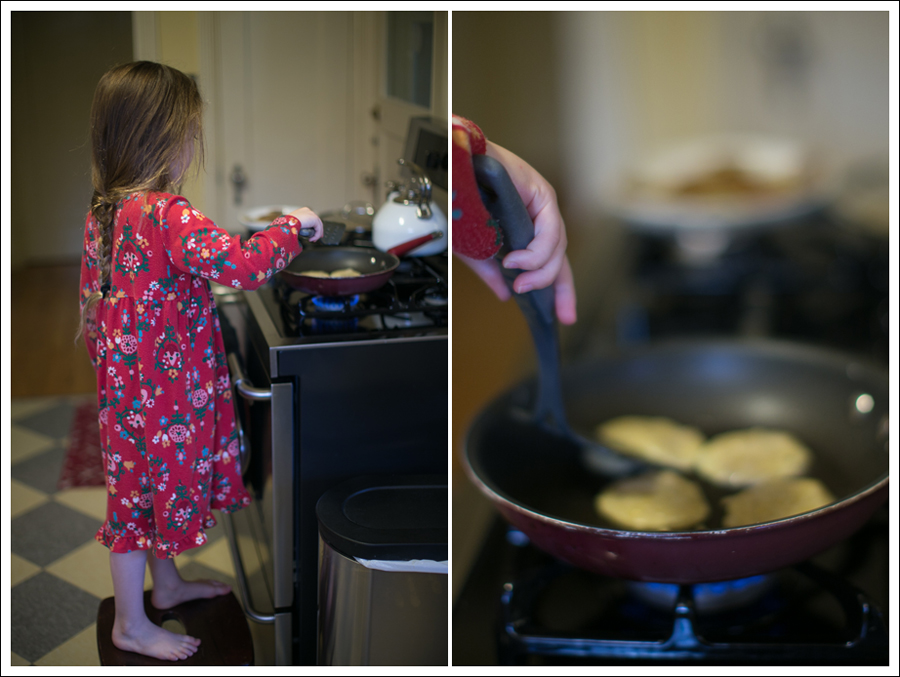 Above are Tablespoon mini pancakes for Maya, which she’s flipping (and are pictured stacked later)
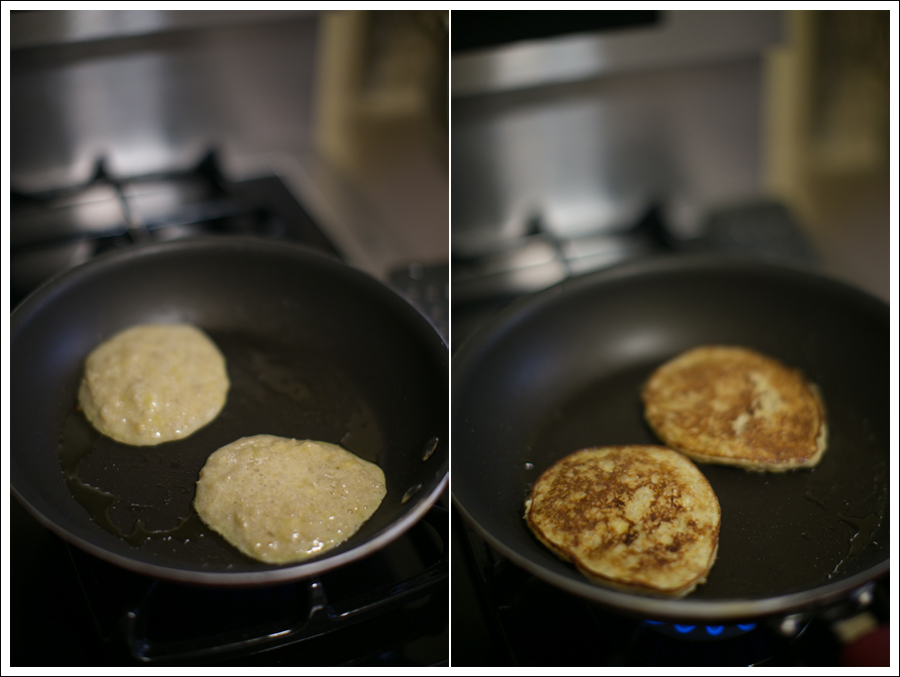 The mini ones were easier to photograph, and….could she be a better assistant???!!
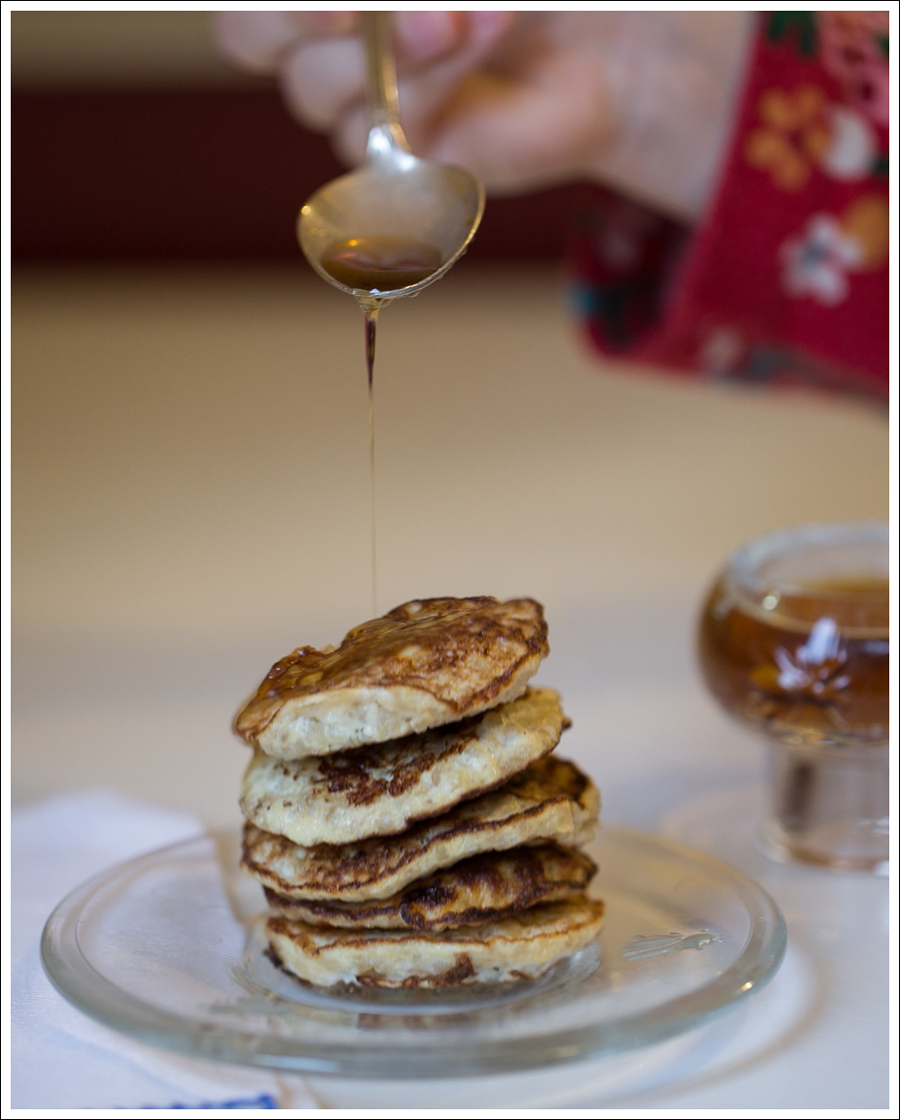
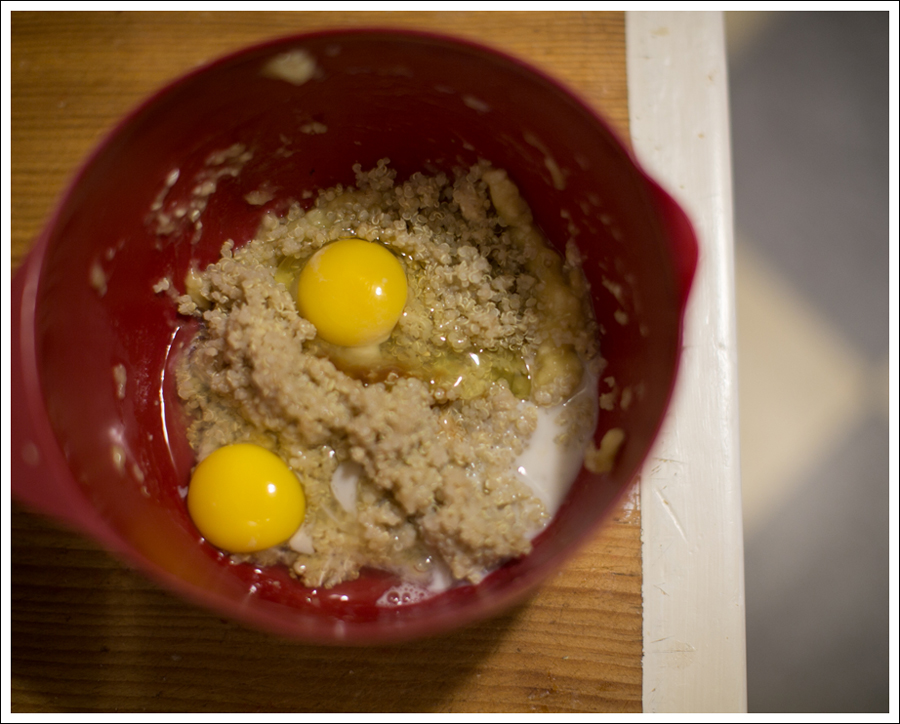
 (I’ll be honest, I don’t measure, so the below are approximates to feed 3-4 people)


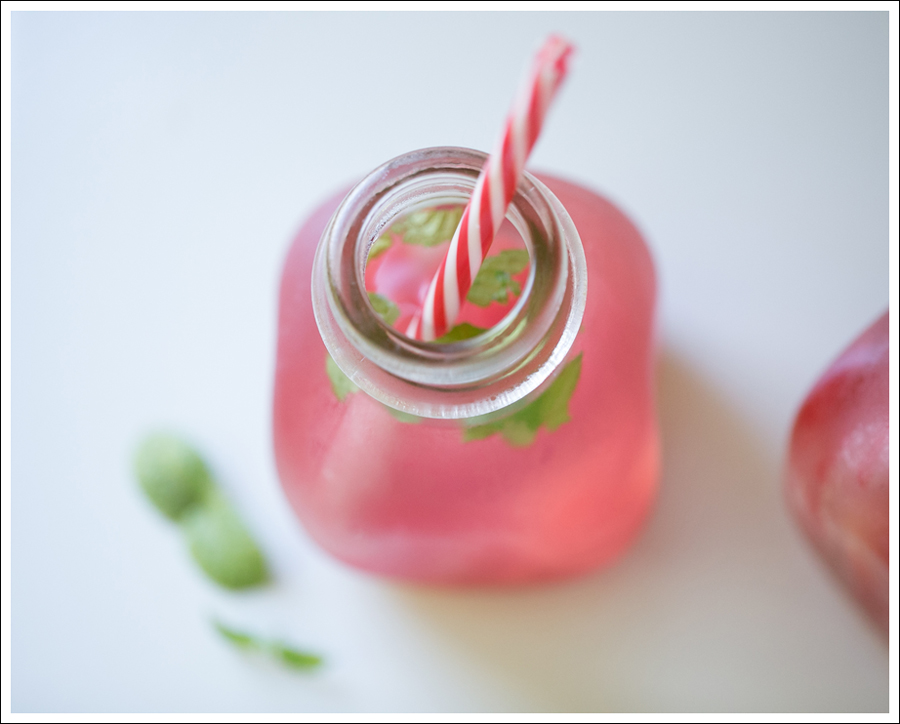
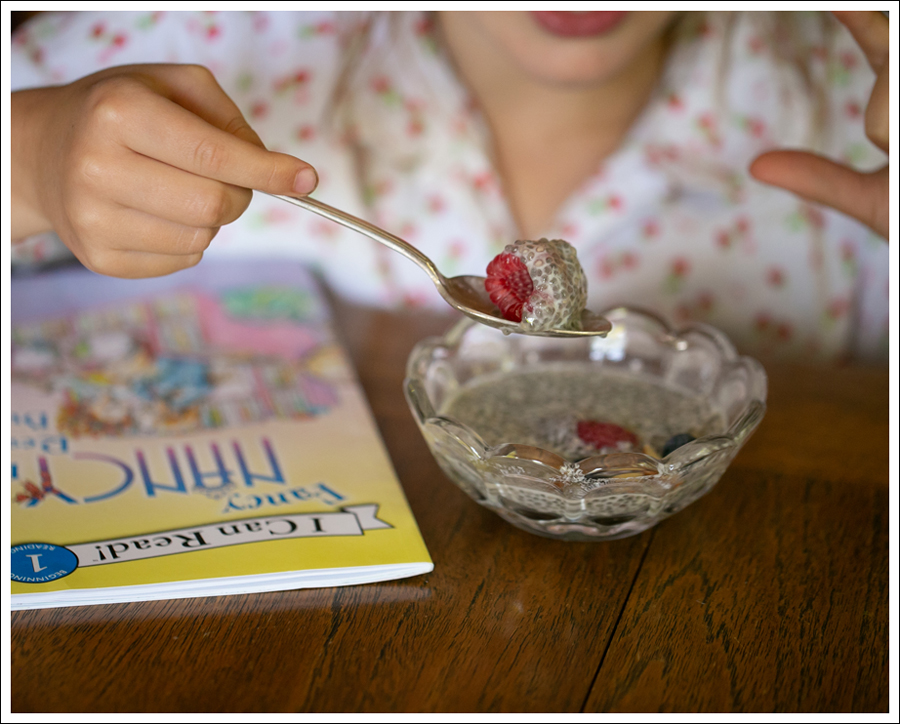
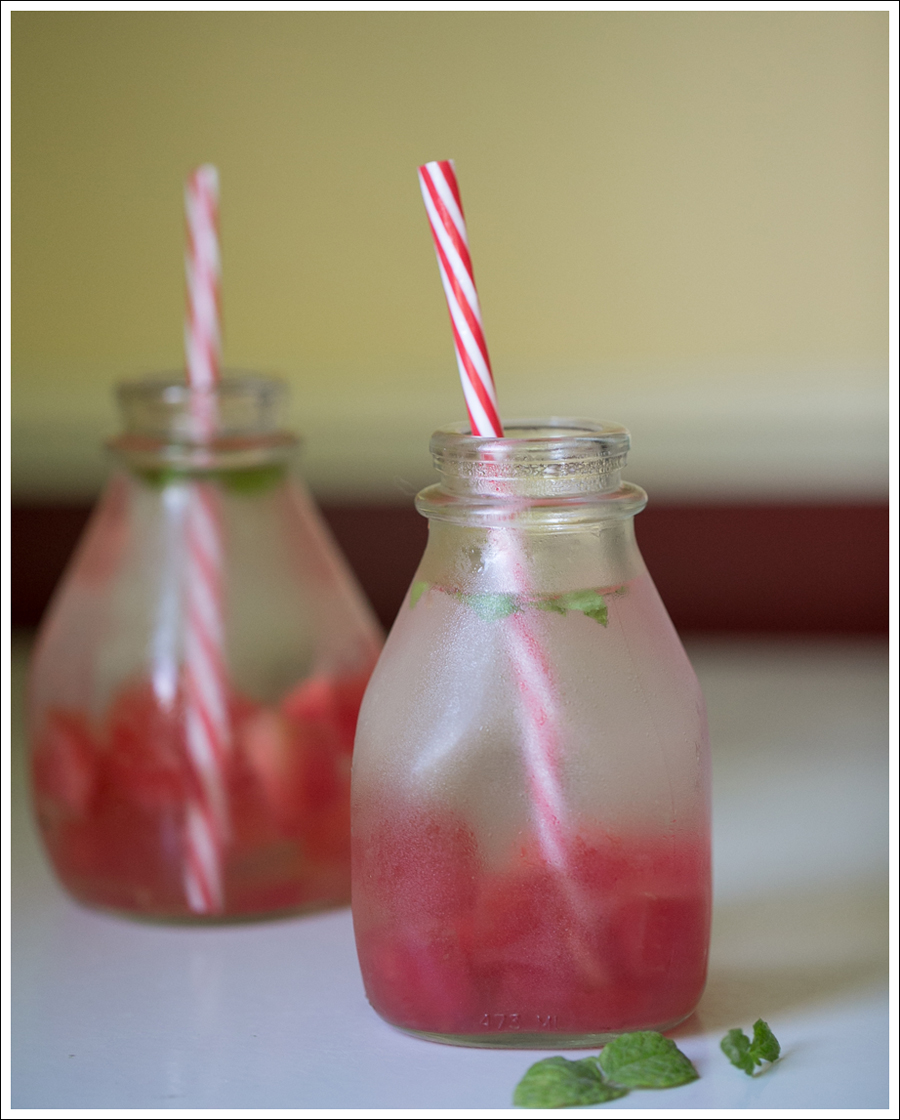 Maya wasn’t as sure. She was more consumed with getting the watermelon out of the bottom haha 🙂
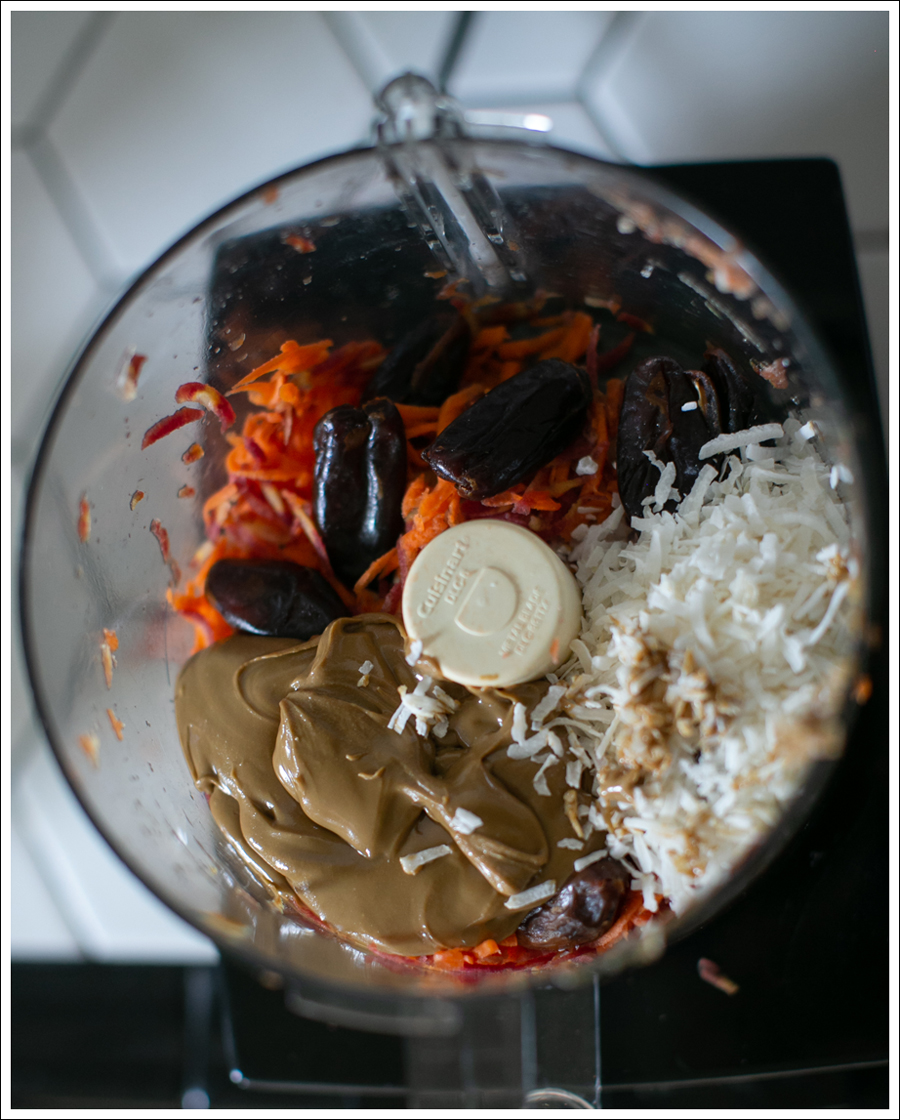
 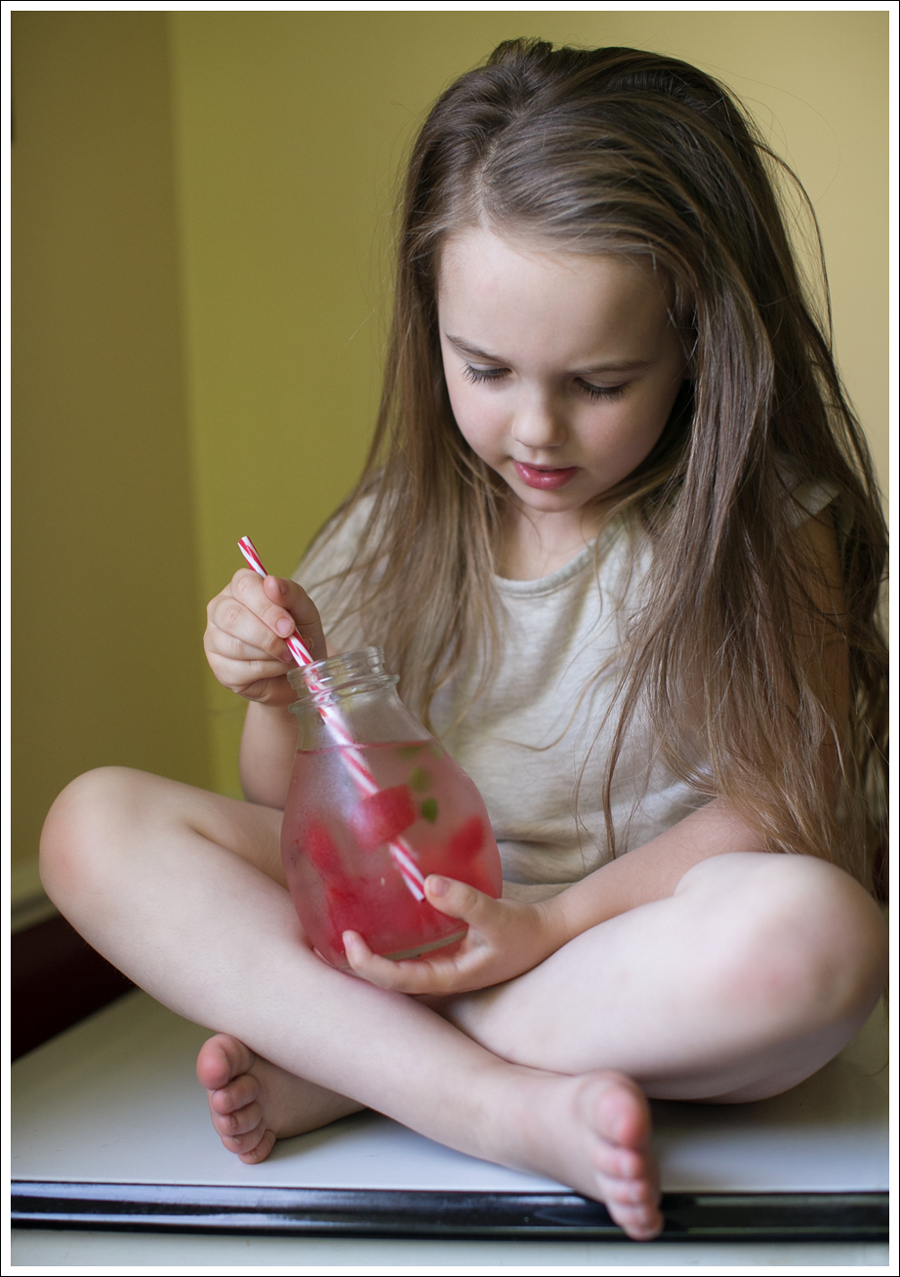 What you need…