“A mother’s arms are more comforting than anyone else’s.”
– Princess Diana
Well said… and I’ll also add…love and laughter. The two components that make it all worthwhile.
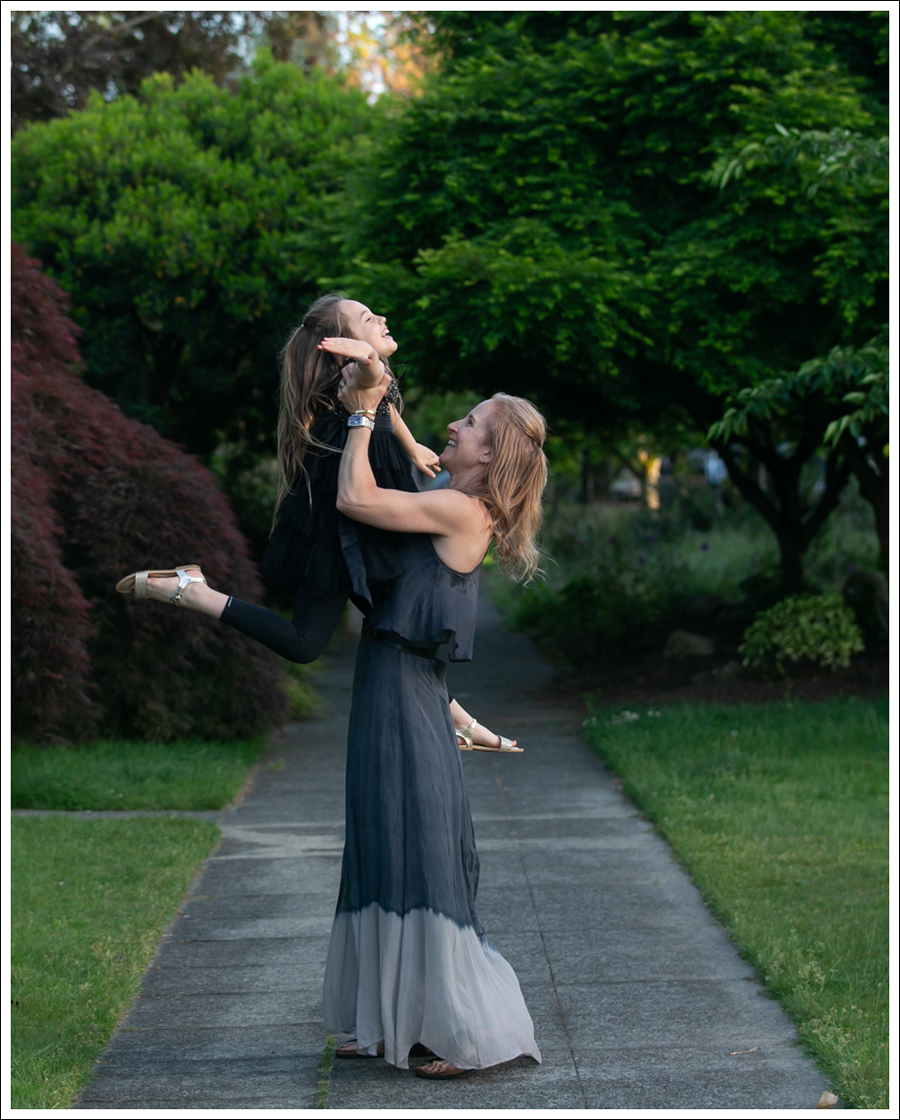
SO glad I have both with my mom and Maya! And even more thankful that Maya has it with my mom too!
It’s a tradition.
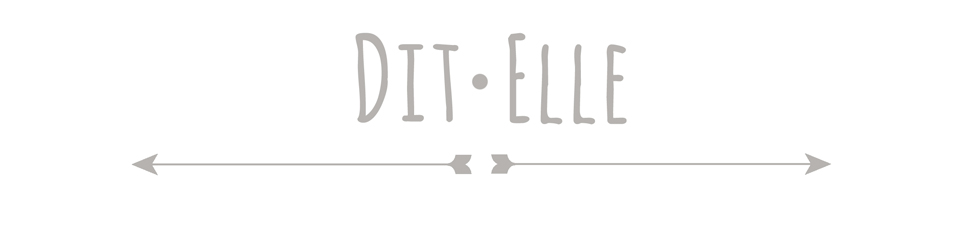
The thing my mom and I both want for Mother’s Day?
Pictures!
We used to try and go to a “location” but found that going across the street after dinner for a few minutes made everyone more happy 😂
I think I can safely say for both my mom and myself that we will treasure these forever! ❤️
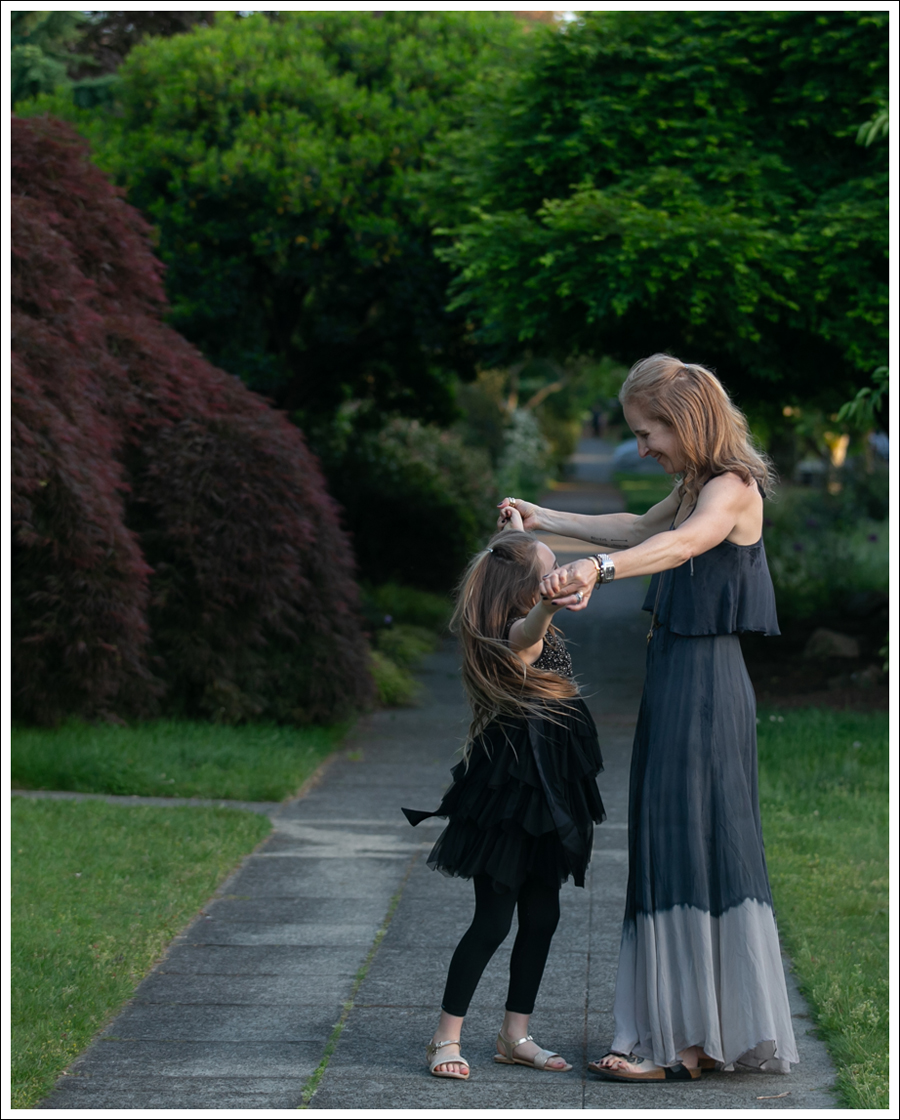
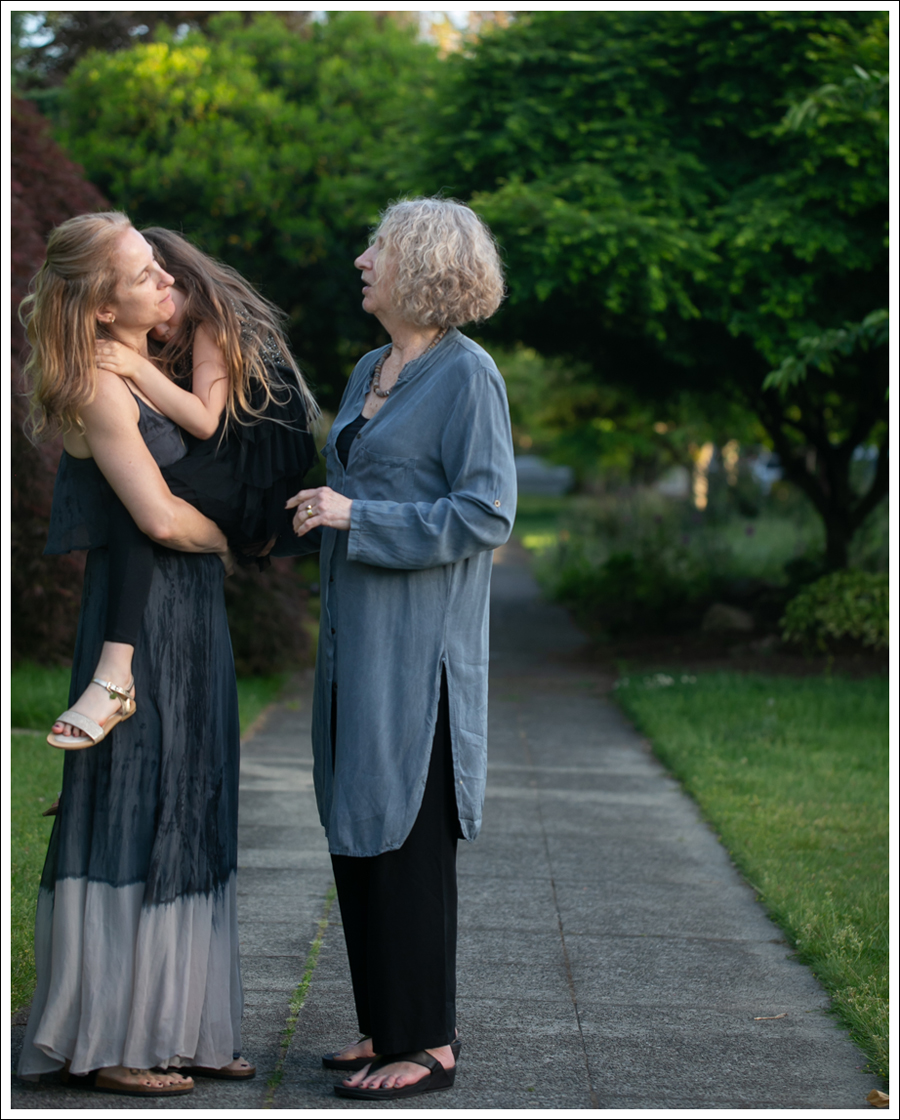
 LOVE this one too!!!


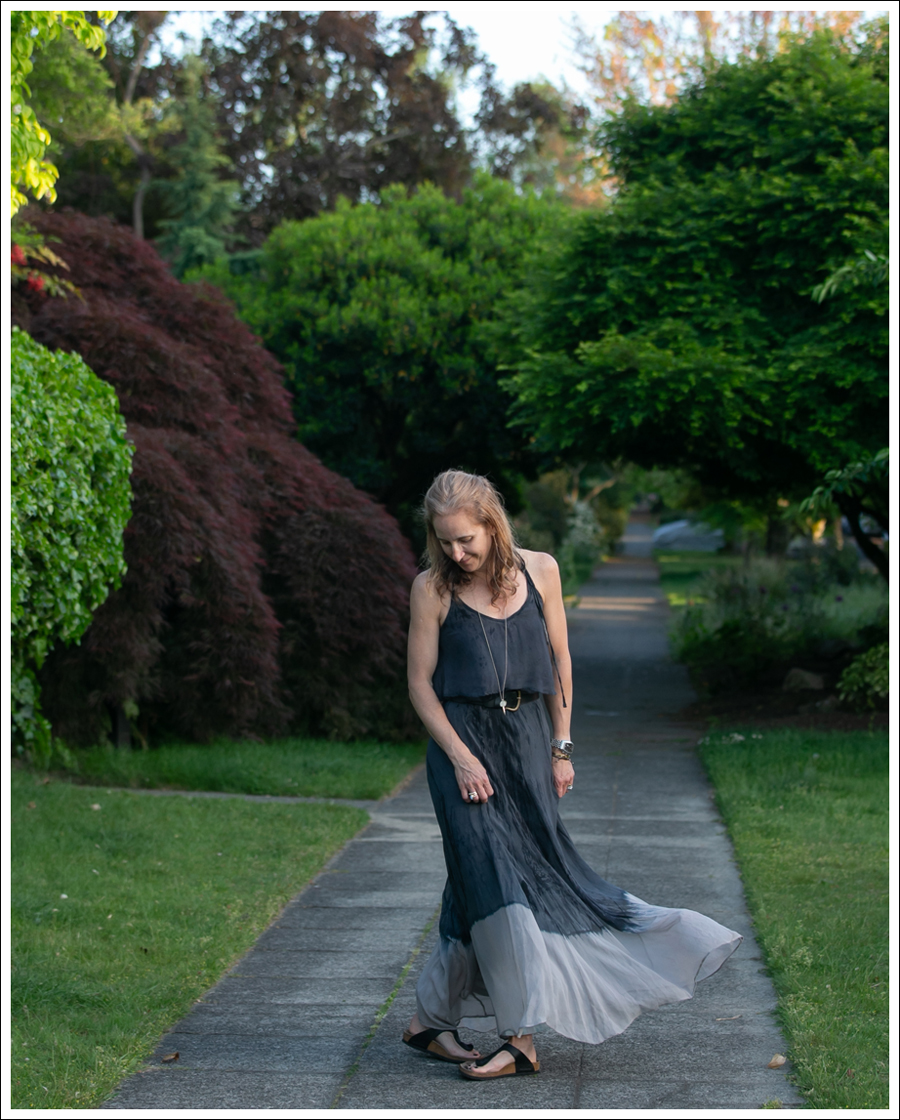
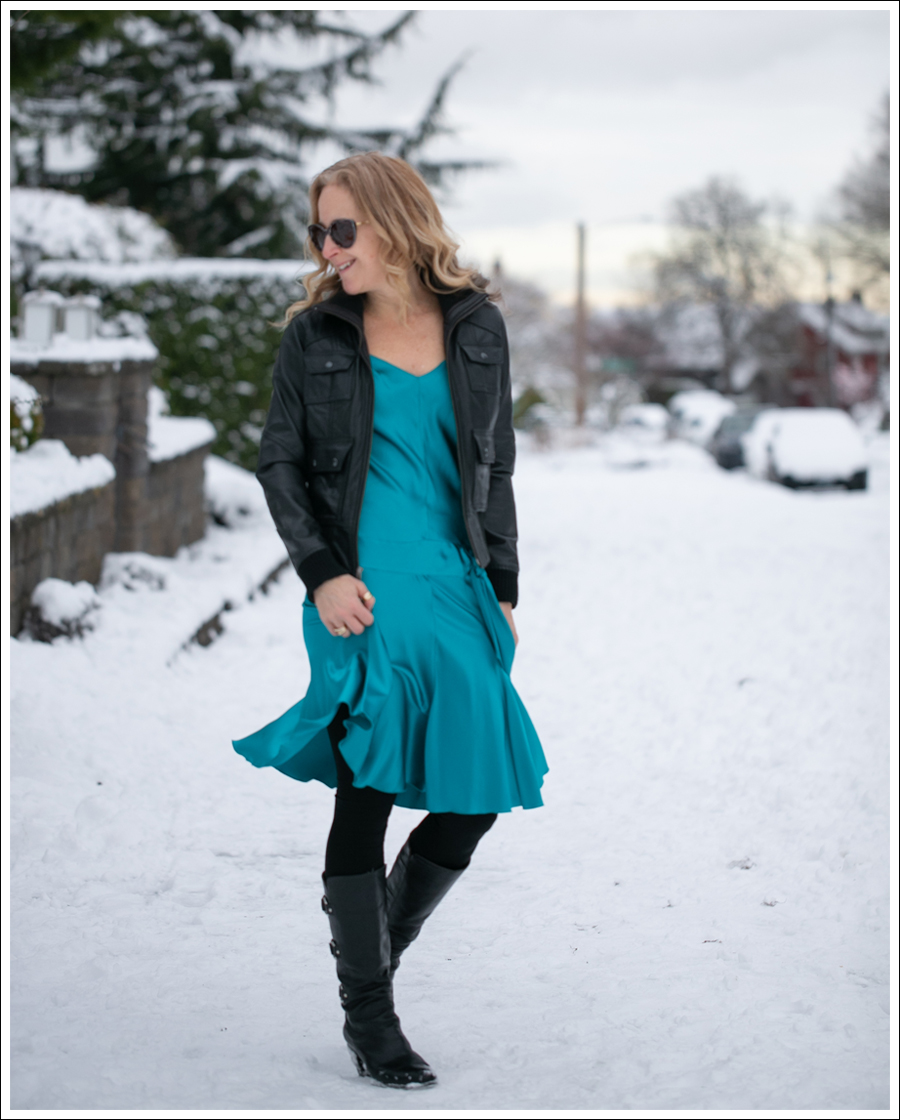
On me…
Dress- Gypsy (eBay, similar here)
Belt- Vintage
Sandals- Birkenstock “Gizeh” (thrifted, like new for $25!!)
On Maya…
Dress- Fleurisse “Samantha” (eBay for$3.50-retail $245!!!)
Sandals- Stuart Weitzman Kids “Camia Ava” (thrifted, similar here)
Keeping it Real…
I swear every time we take family pictures my mom and I think…”Well, hopefully we got ONE!!” haha. And then every time we get SO MANY!! But it’s not always smooth sailing and happy laughter and smiles… 😉 .


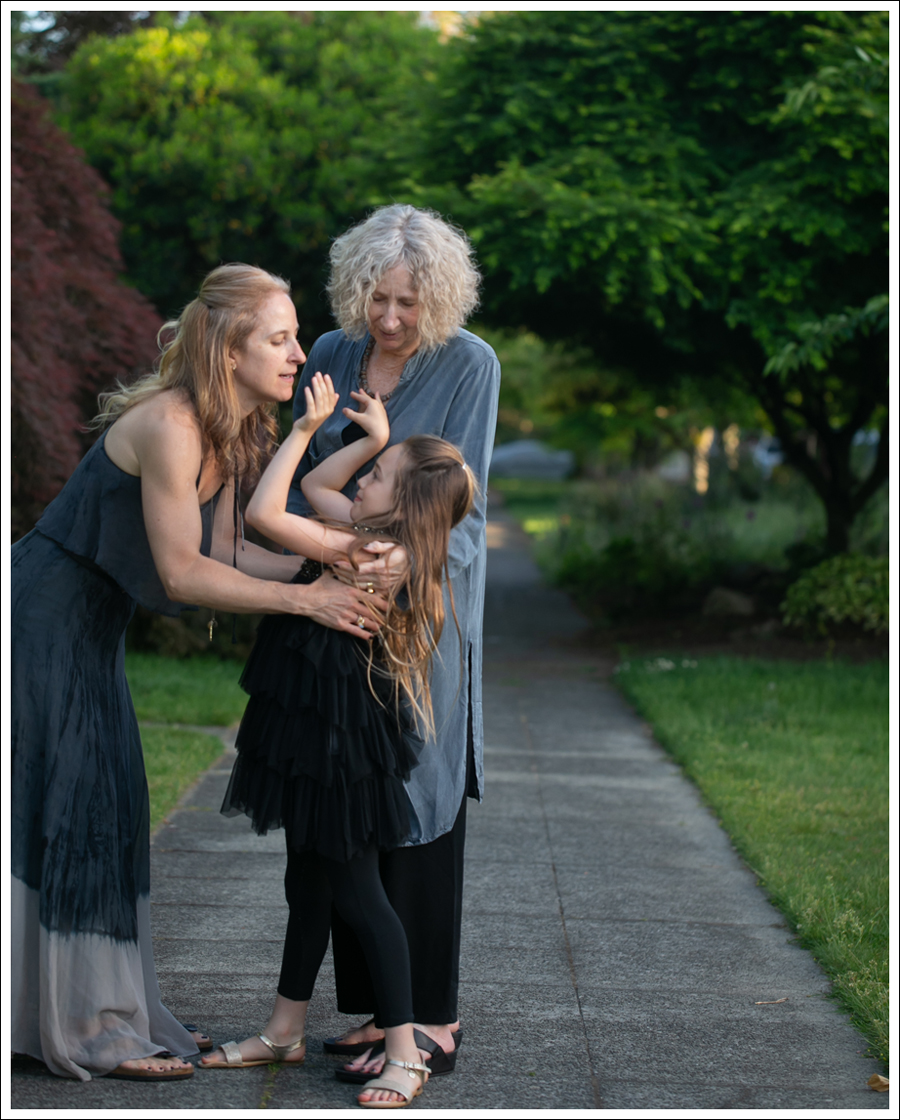
 We were taking pictures right in front of my neighbors house, and of course they came outside…haha. Don’t mind us. Fortunately, they are used to it by now!
 Hope everyone had an amazing Mother’s Day!!
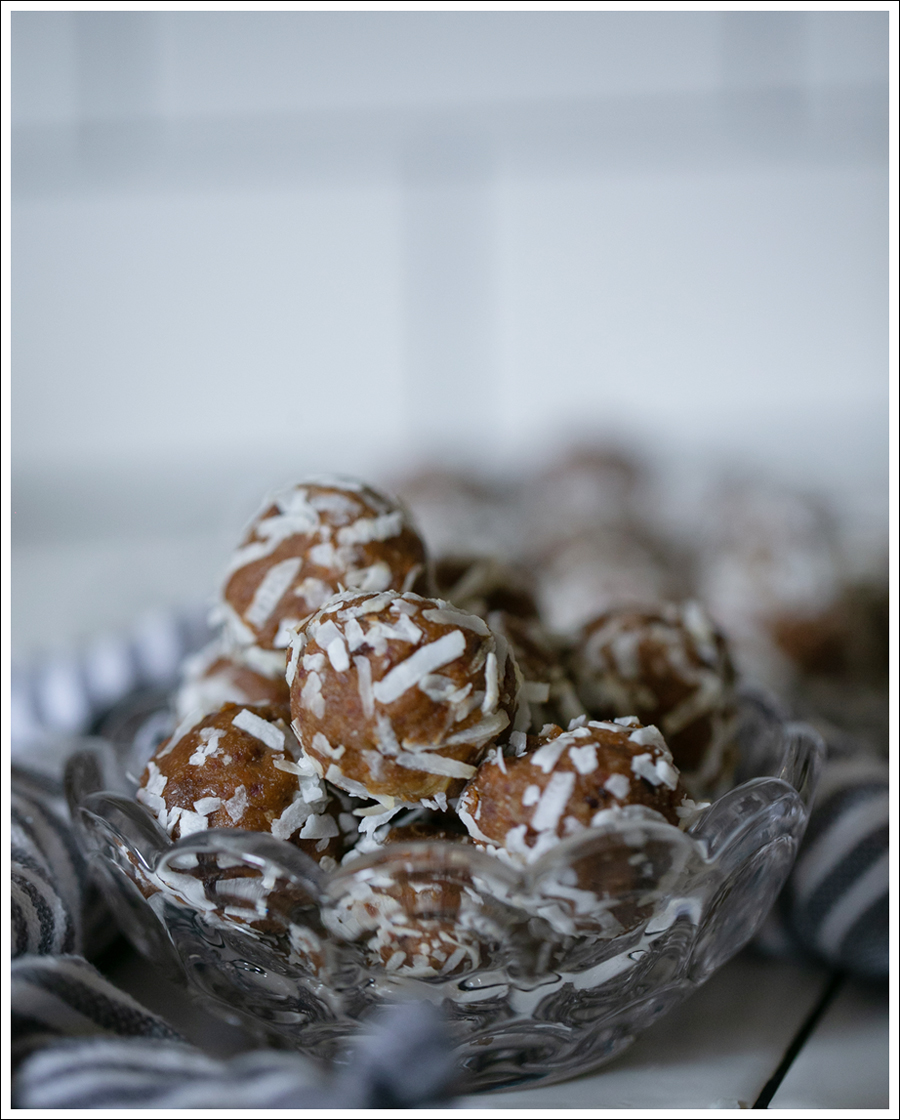
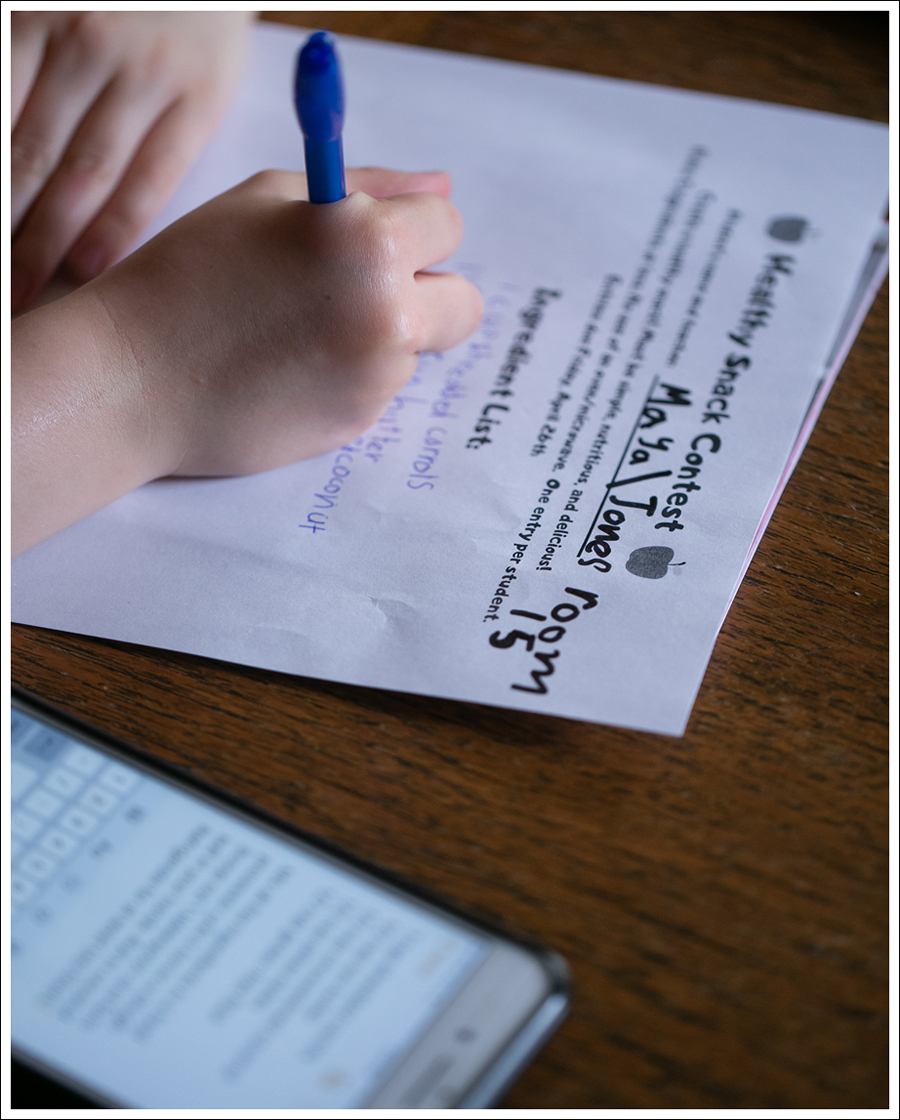
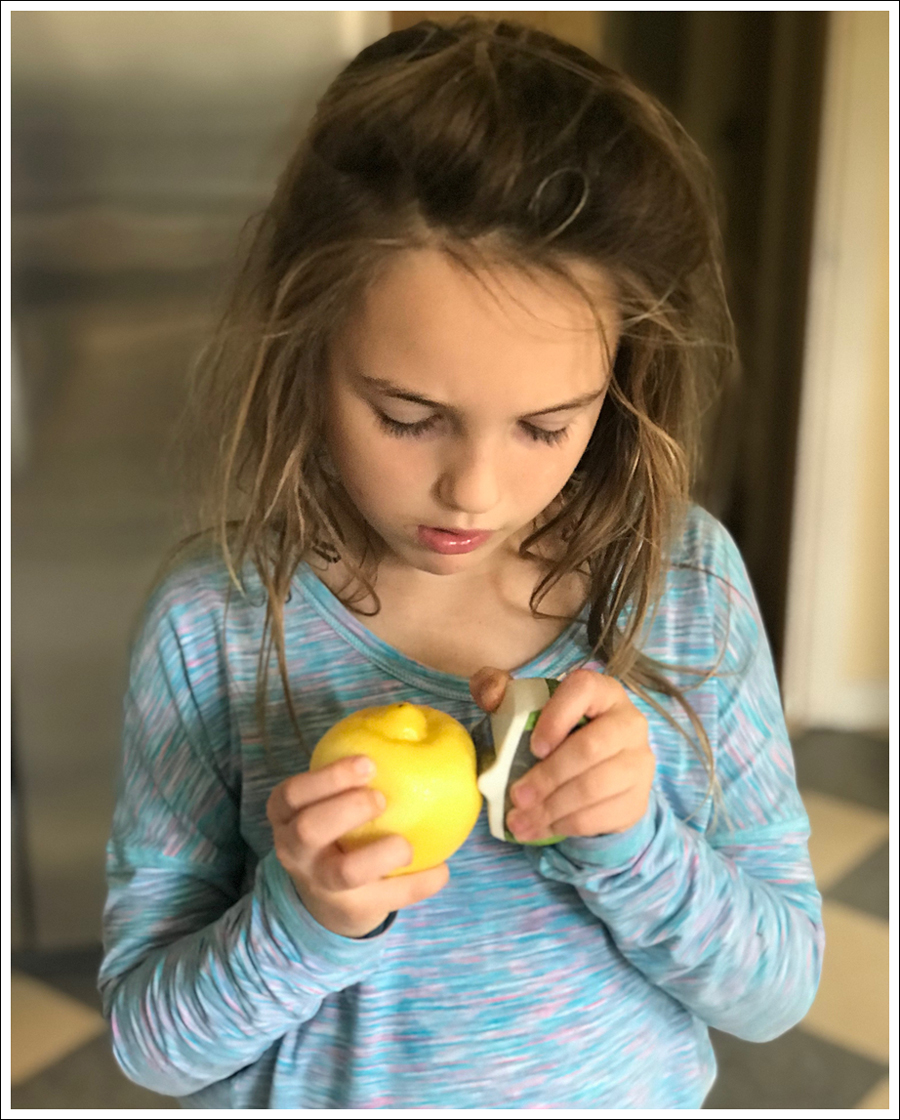
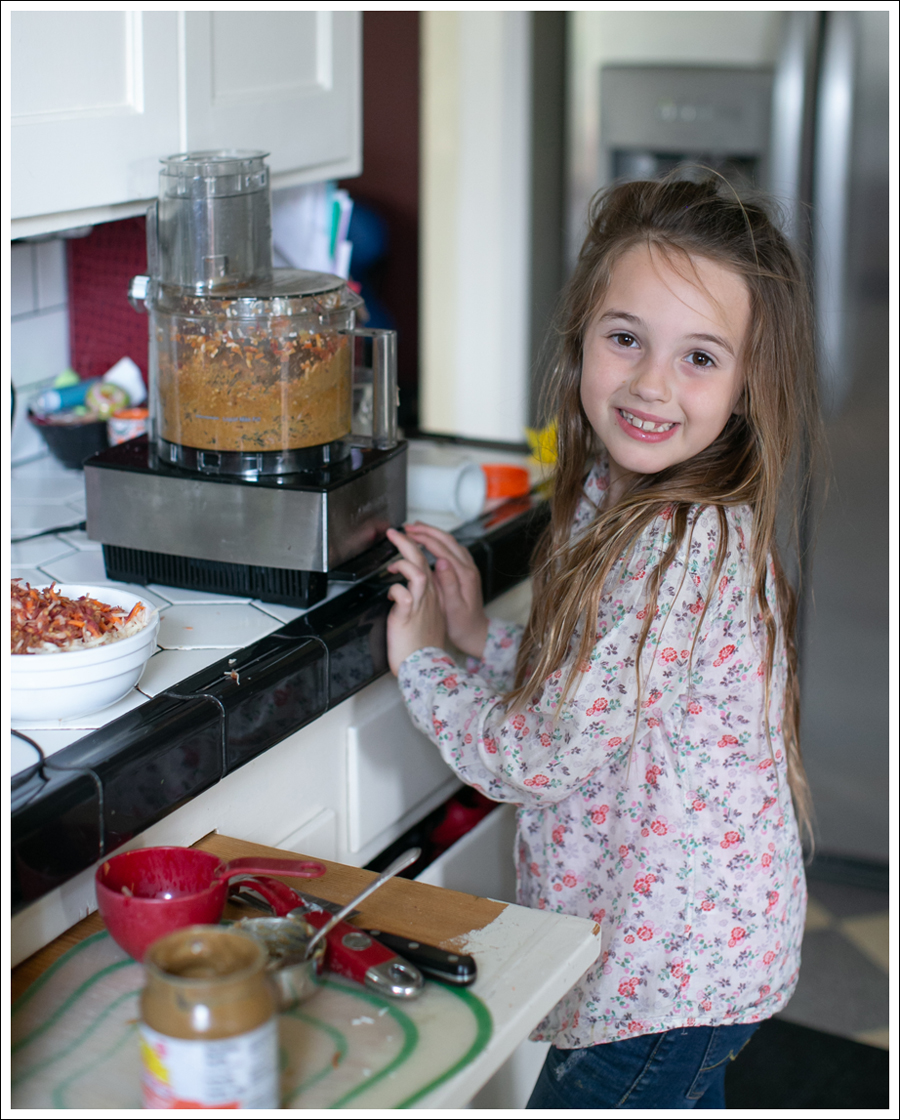 I did make sure she scrubbed her hands vigorously before she helped. That pen didn’t want to come off… 🙂
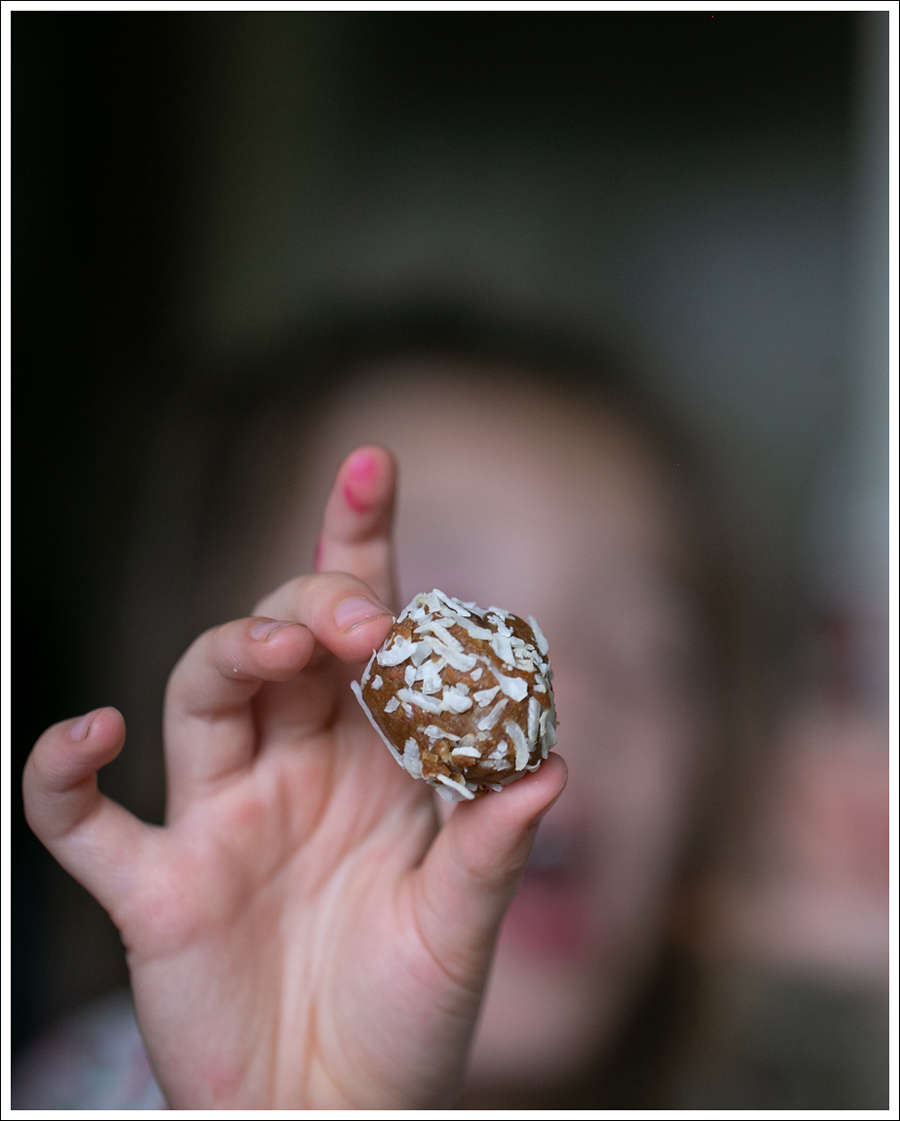
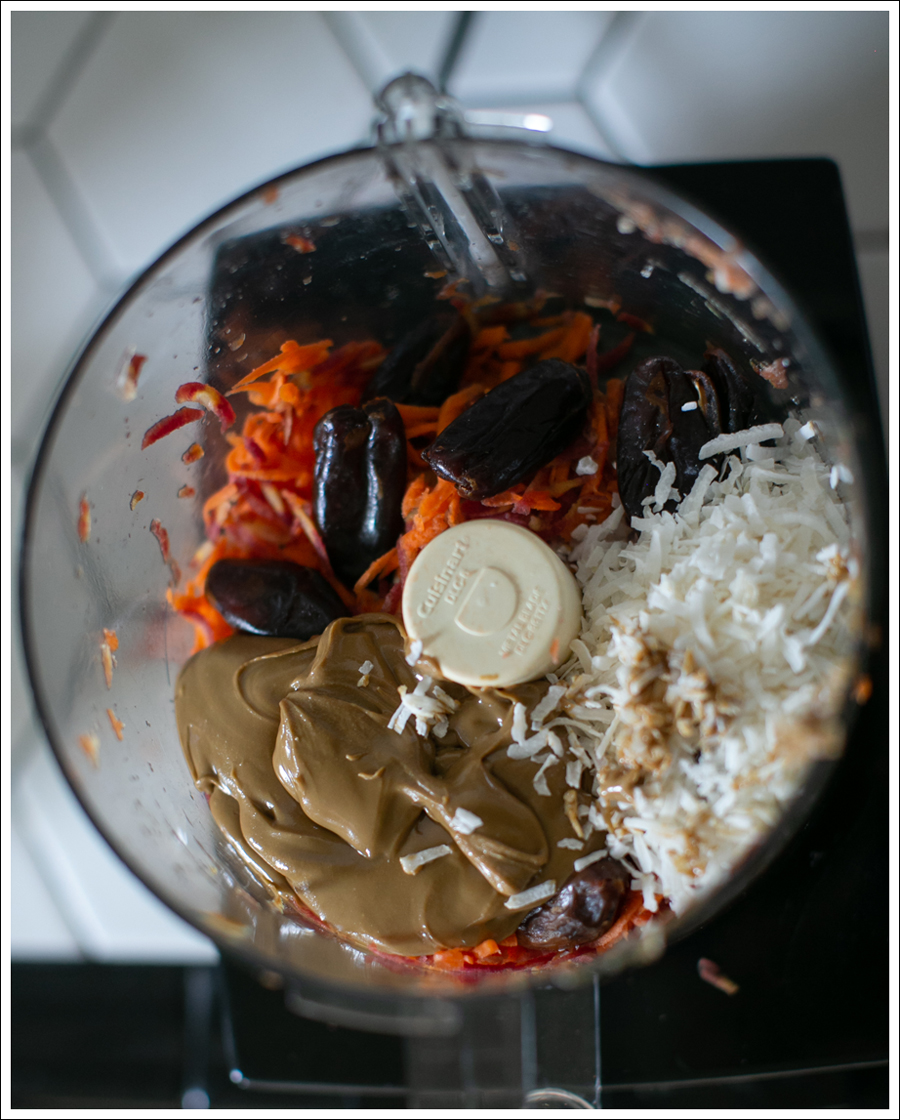
 I was so impressed. She wrote out all the ingredients AND the instructions!
 ENJOY!
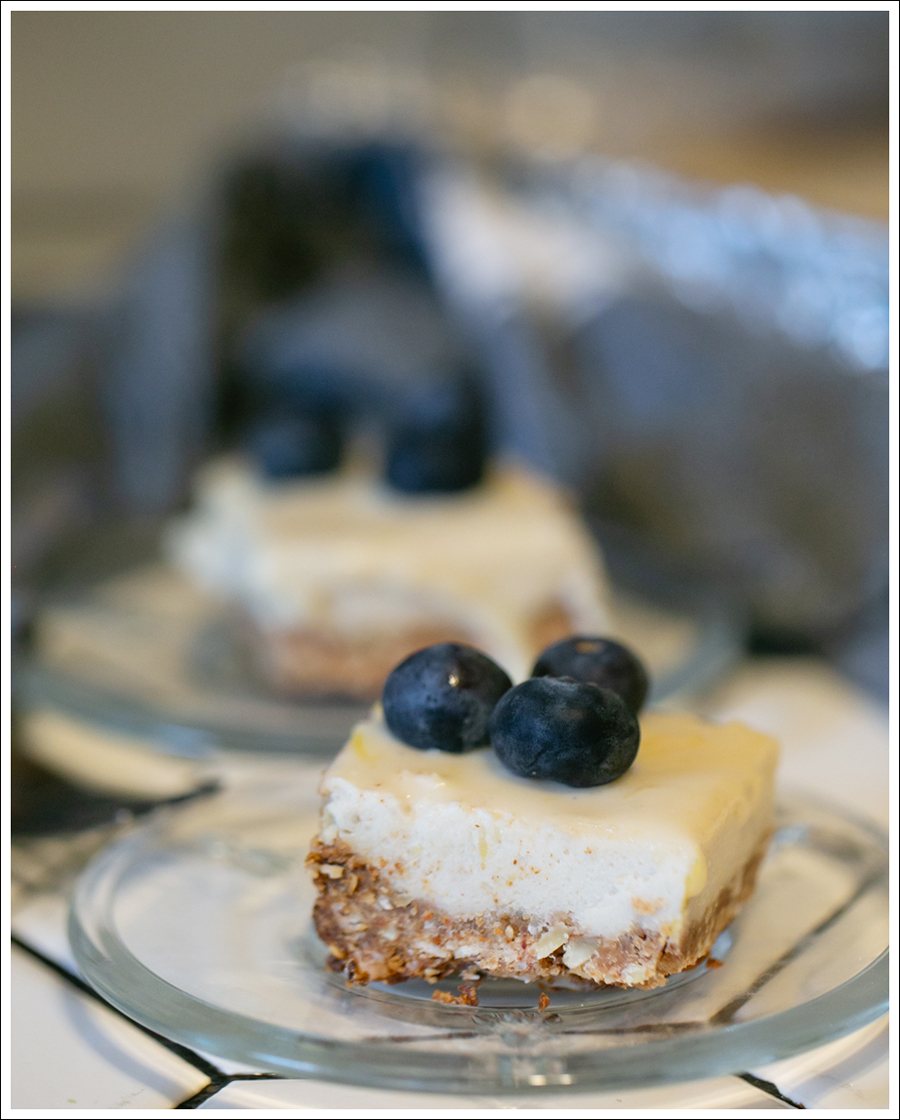
 I may have had to bribe her to come outside haha…just keeping it real!
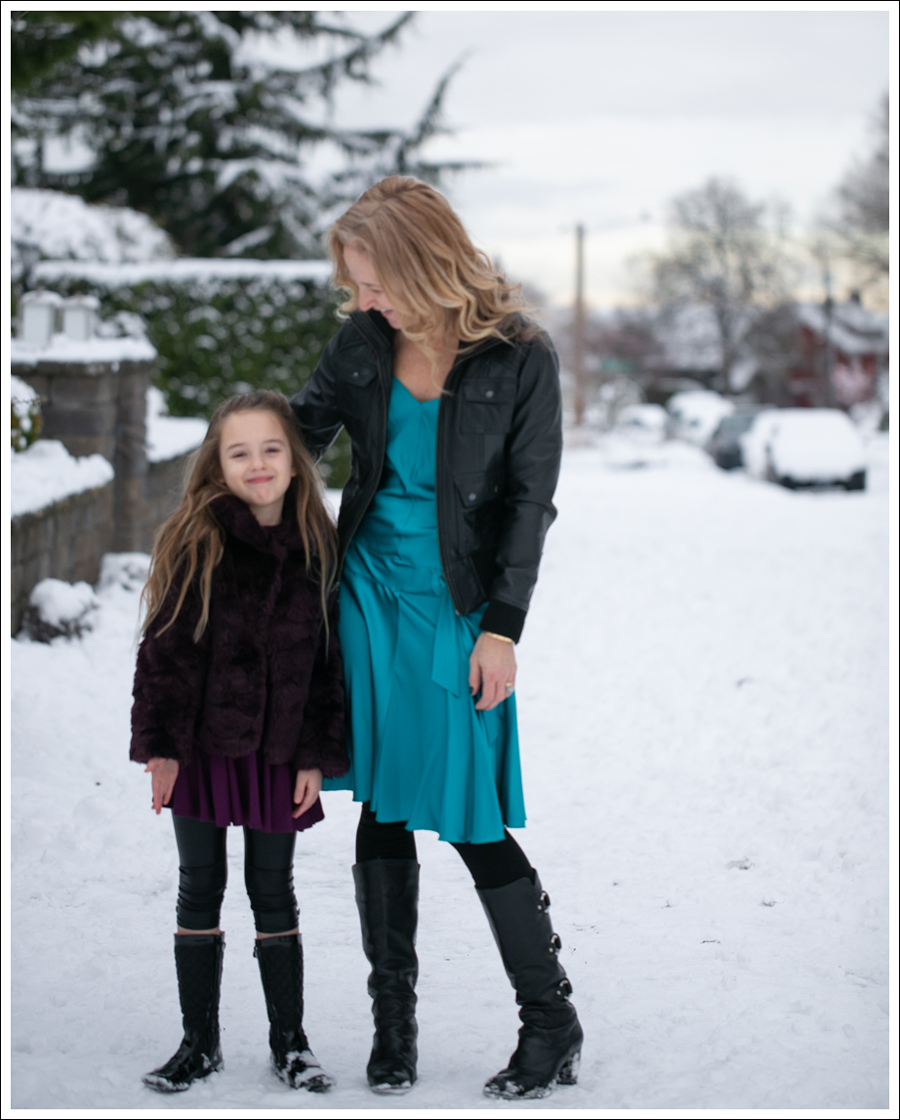

 But…her outfit??!! Kinda liking it more than mine!
 I’ve been meaning to style a slip dress from day to night, so this was the perfect opportunity!
 She quickly recovers and finishes strong though! I however, step outside of the frame…
 Ha!
Ha! 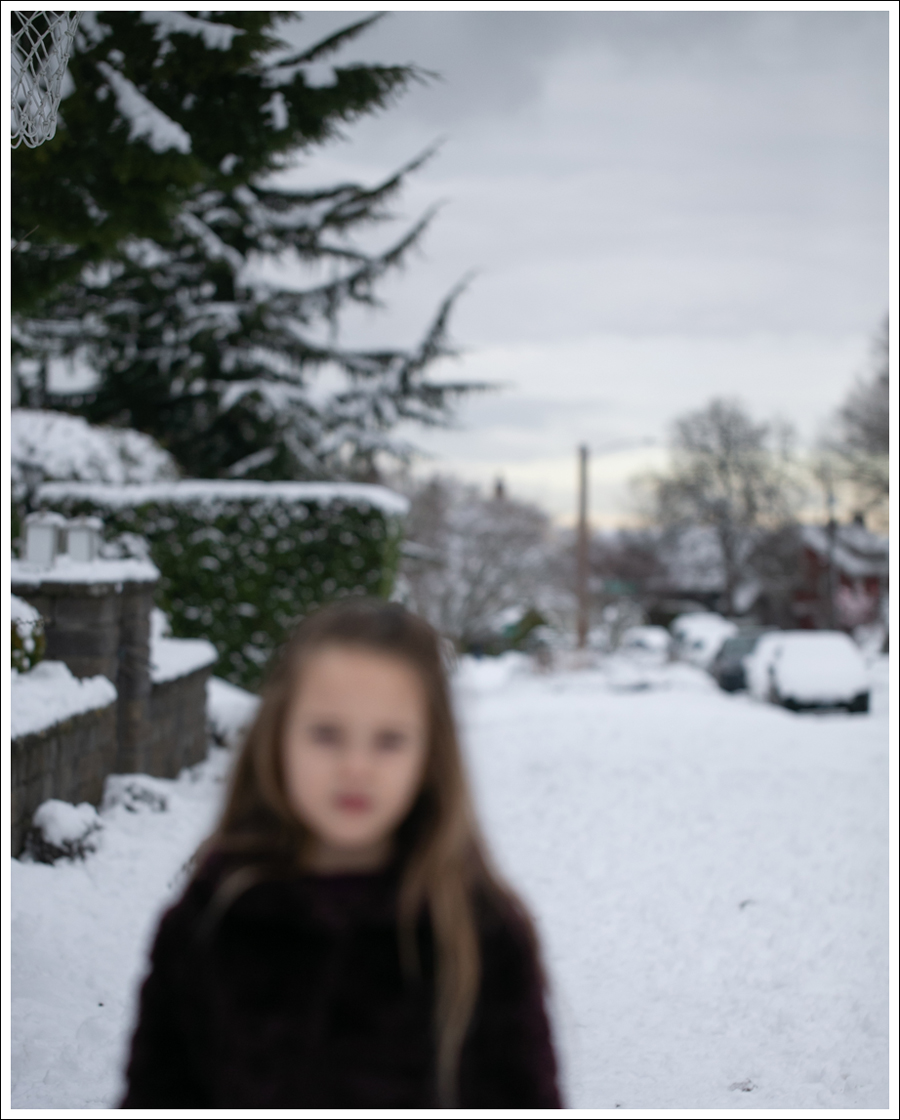
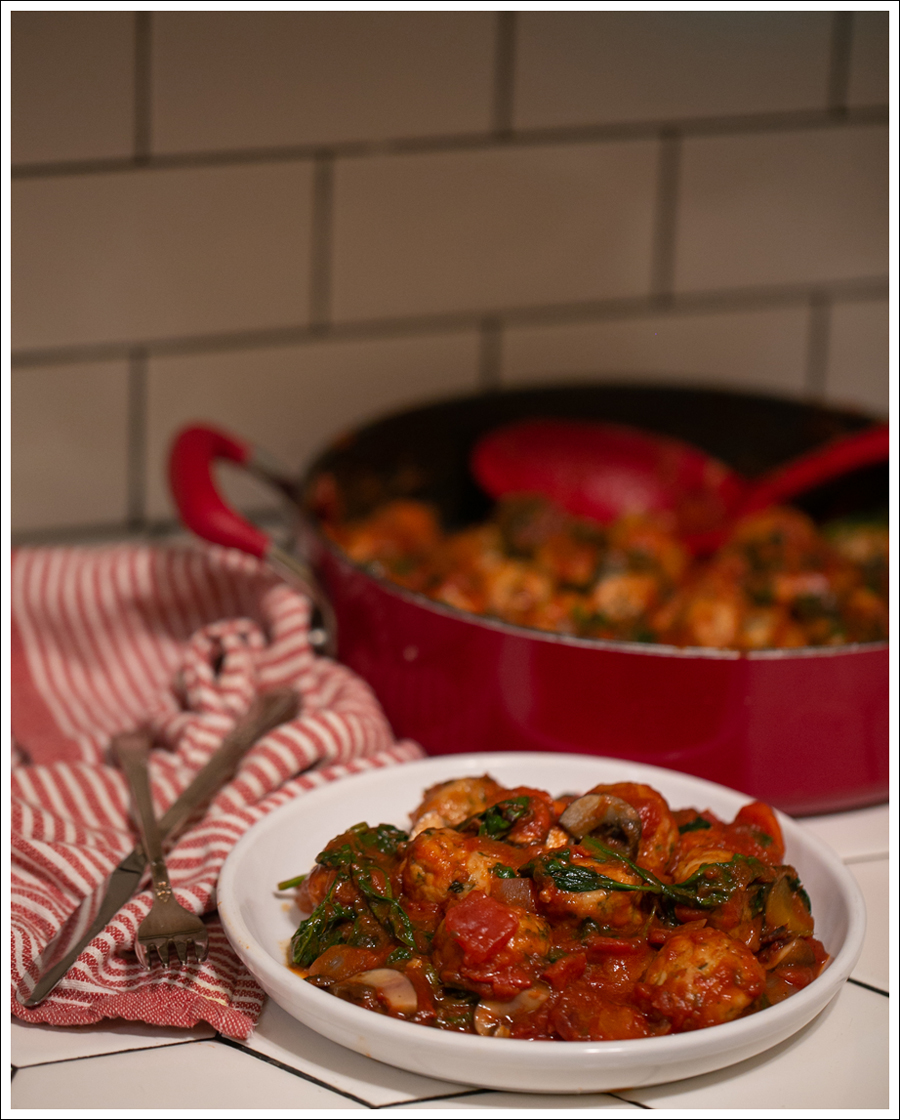
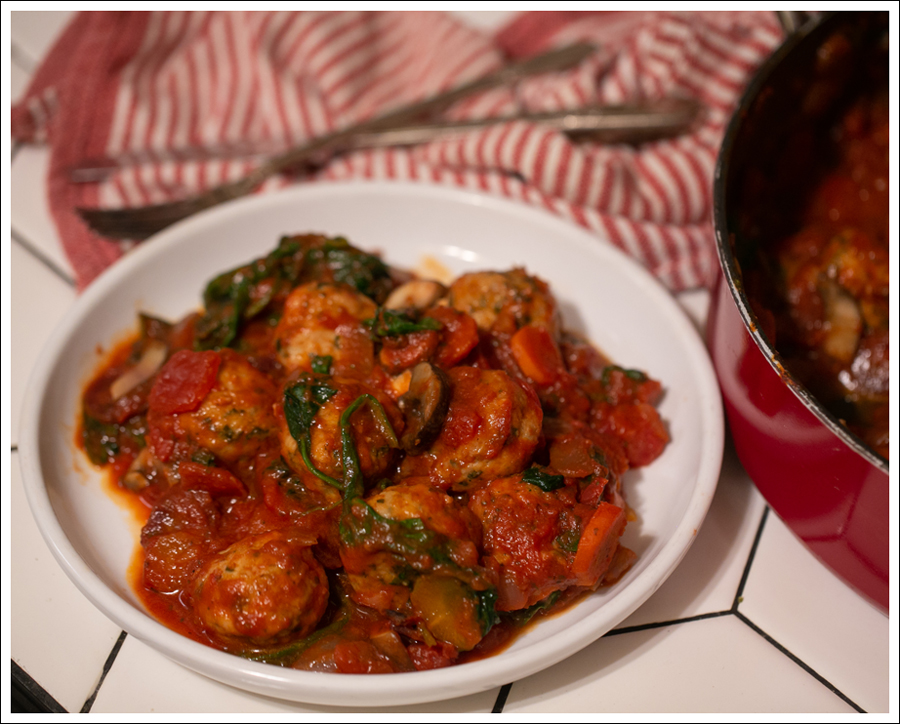

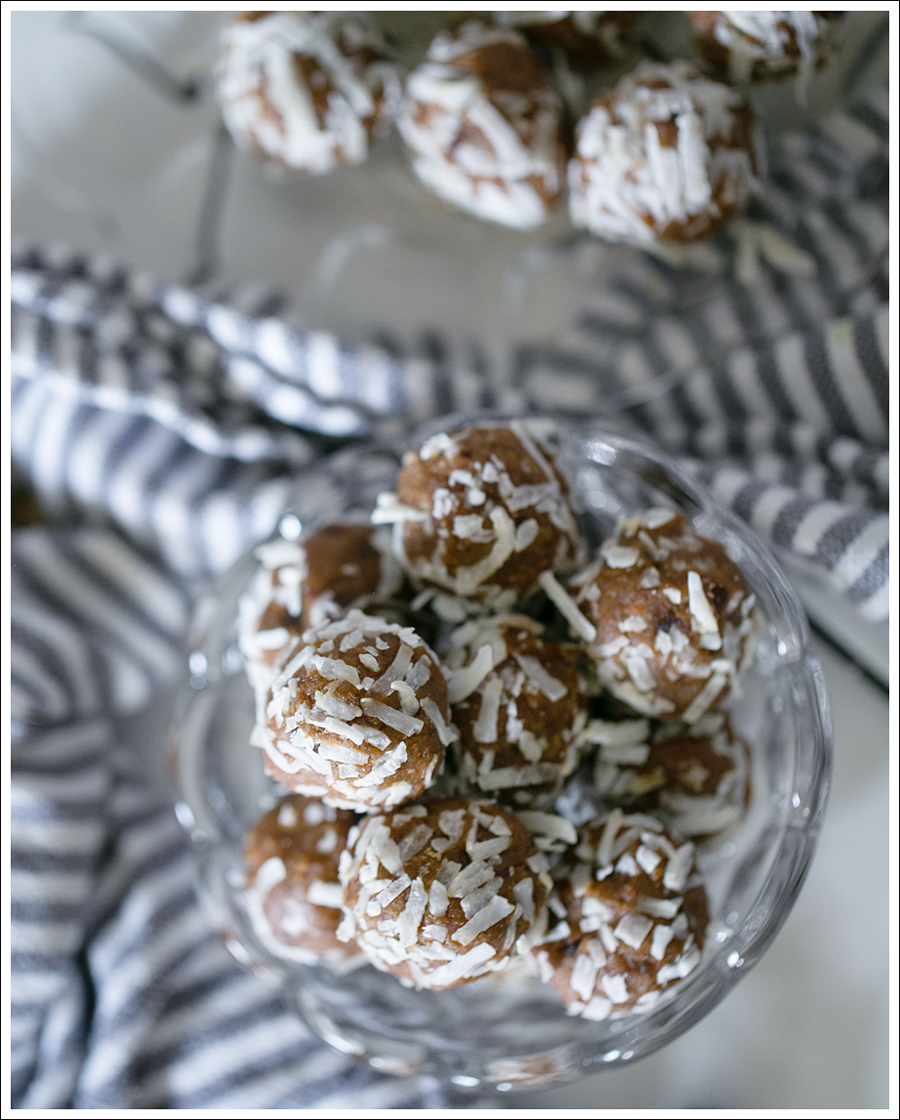
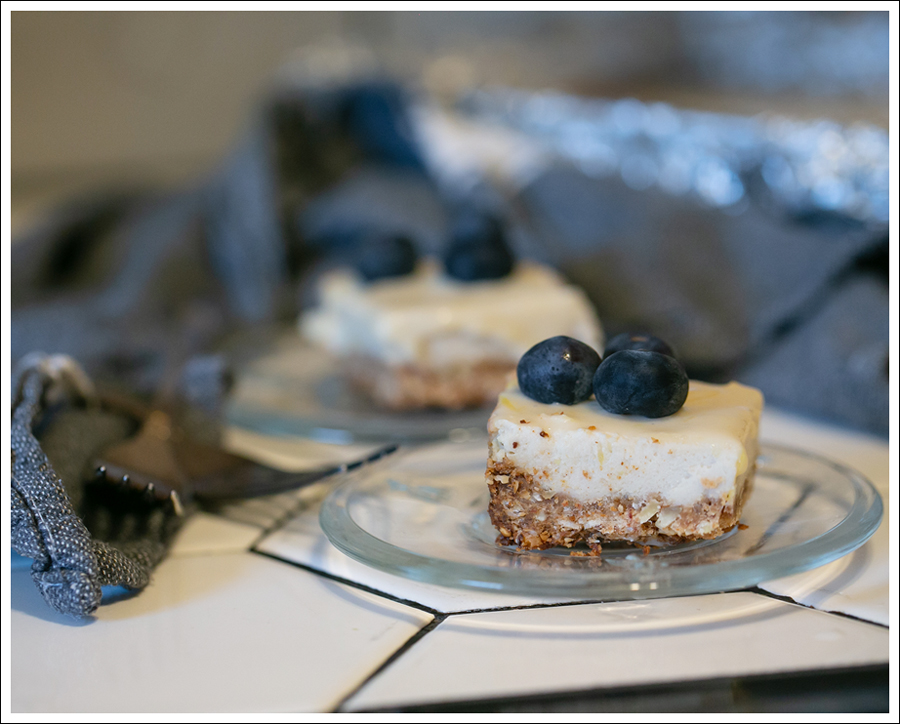
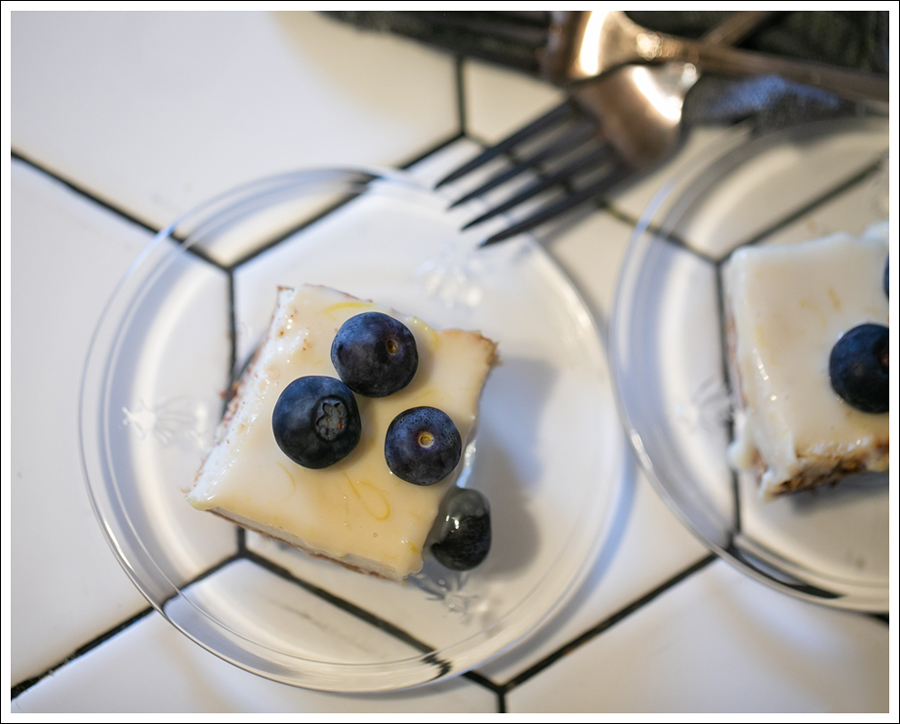
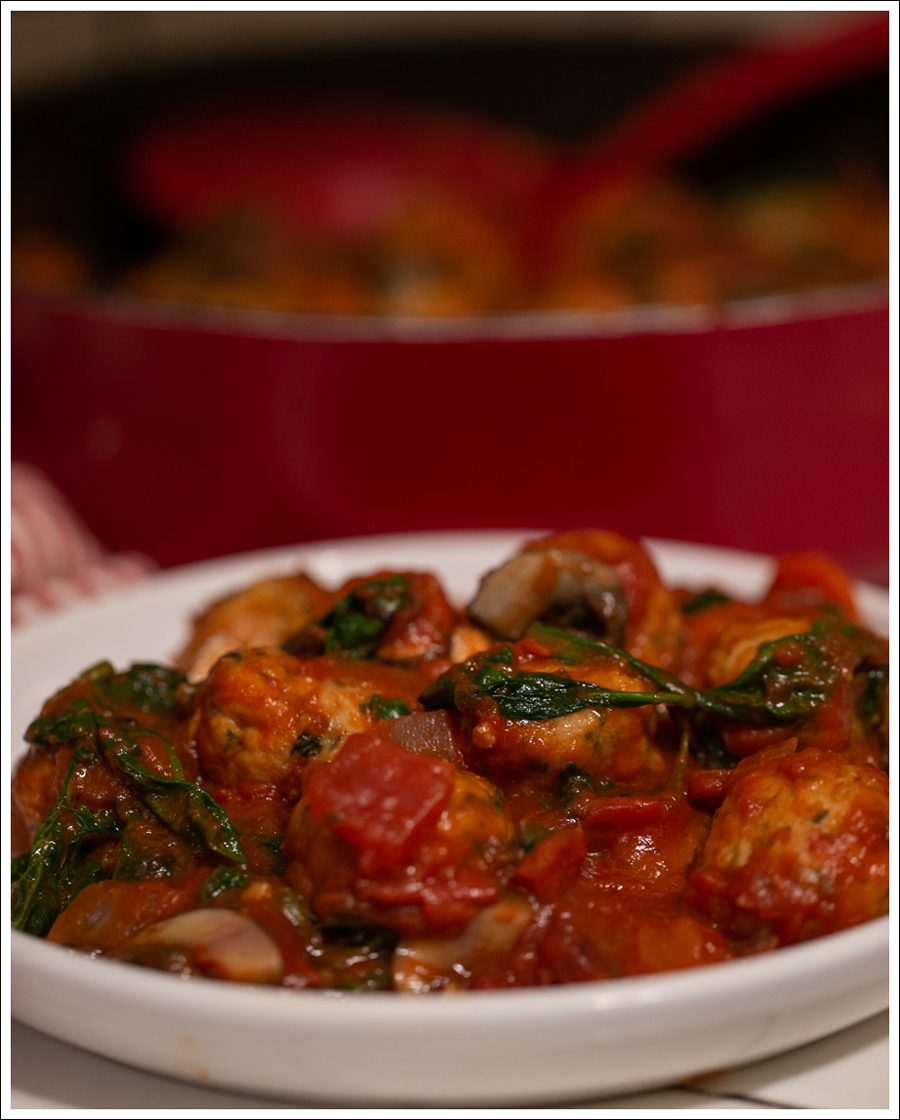 Ingredients
 I wore
 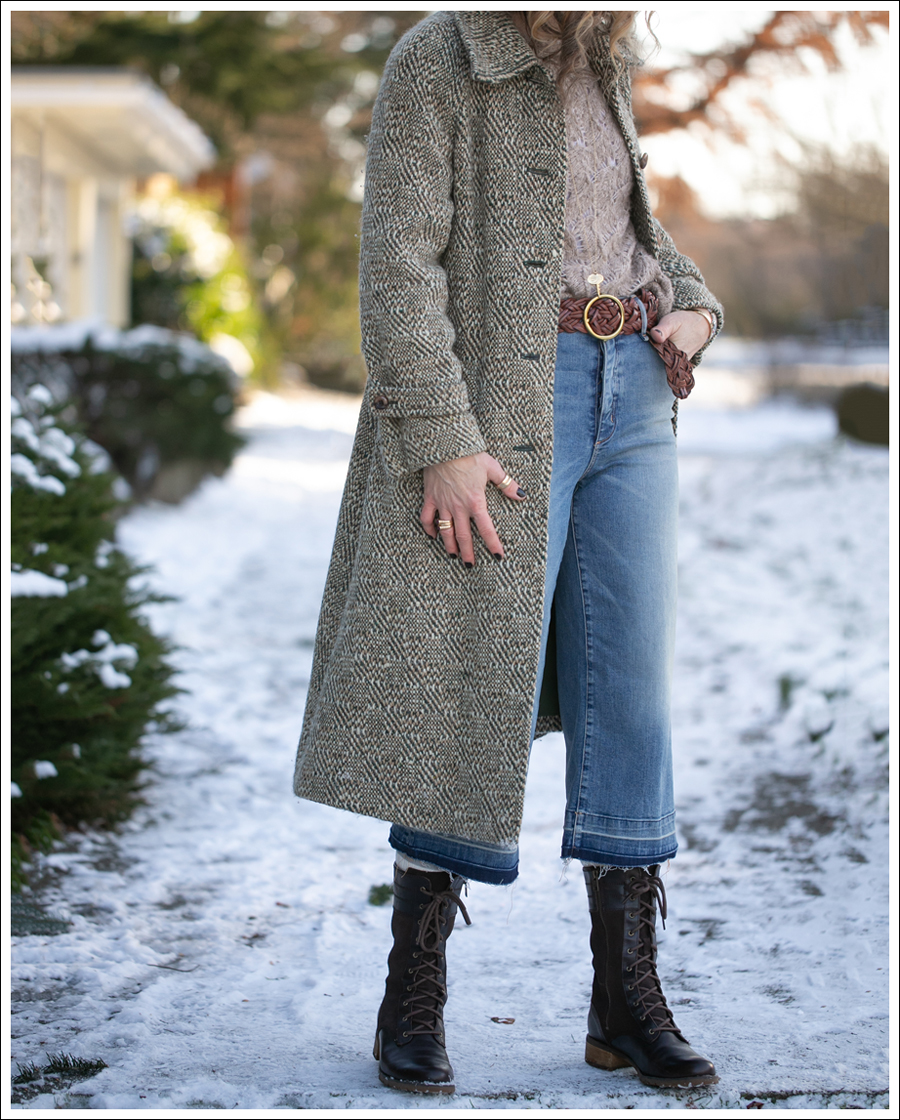 When you see me looking at the camera, you know I had a remote malfunction, and Maya is standing by the tripod just snapping away!
 I love layering long sleeve tees under loose knit sweaters in the winter! Even better if they are striped tees! BUT…I thought that might be a bit too much for this outfit.
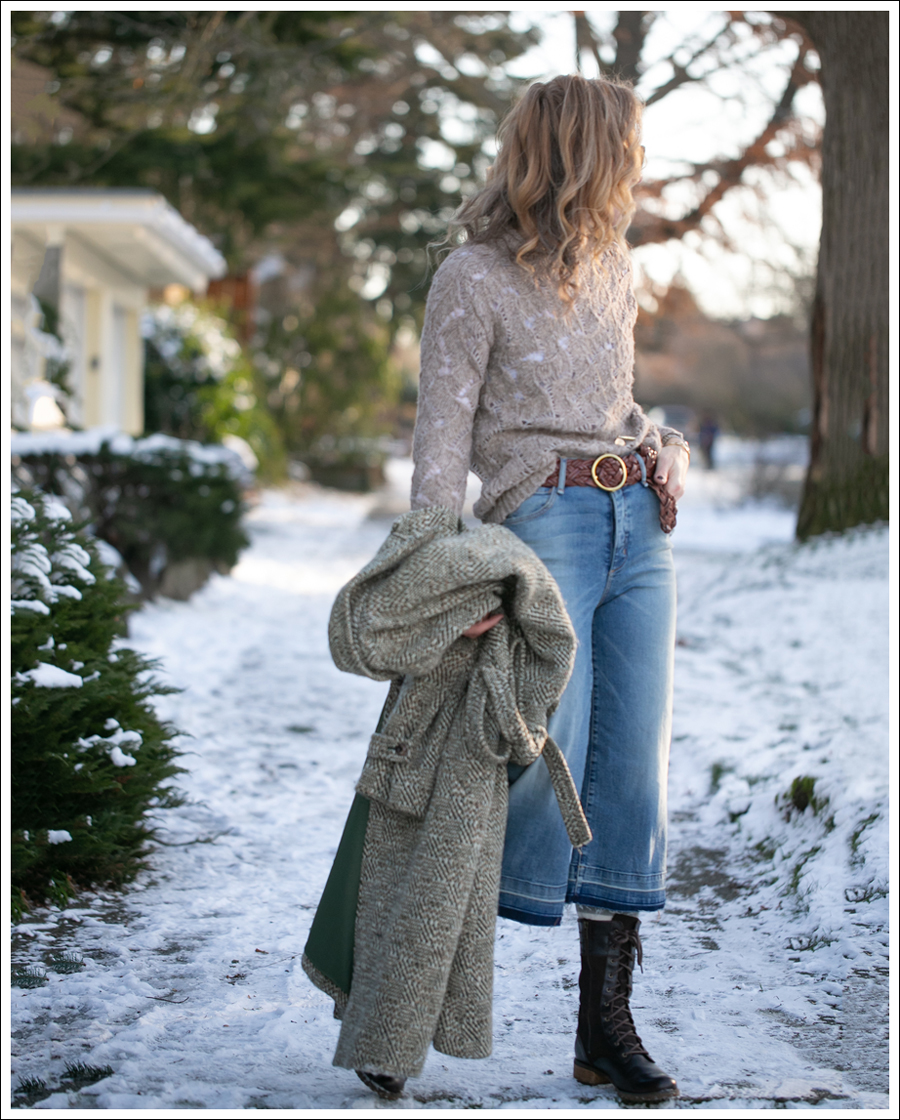 I can’t even with how cute she is.
 I mean…
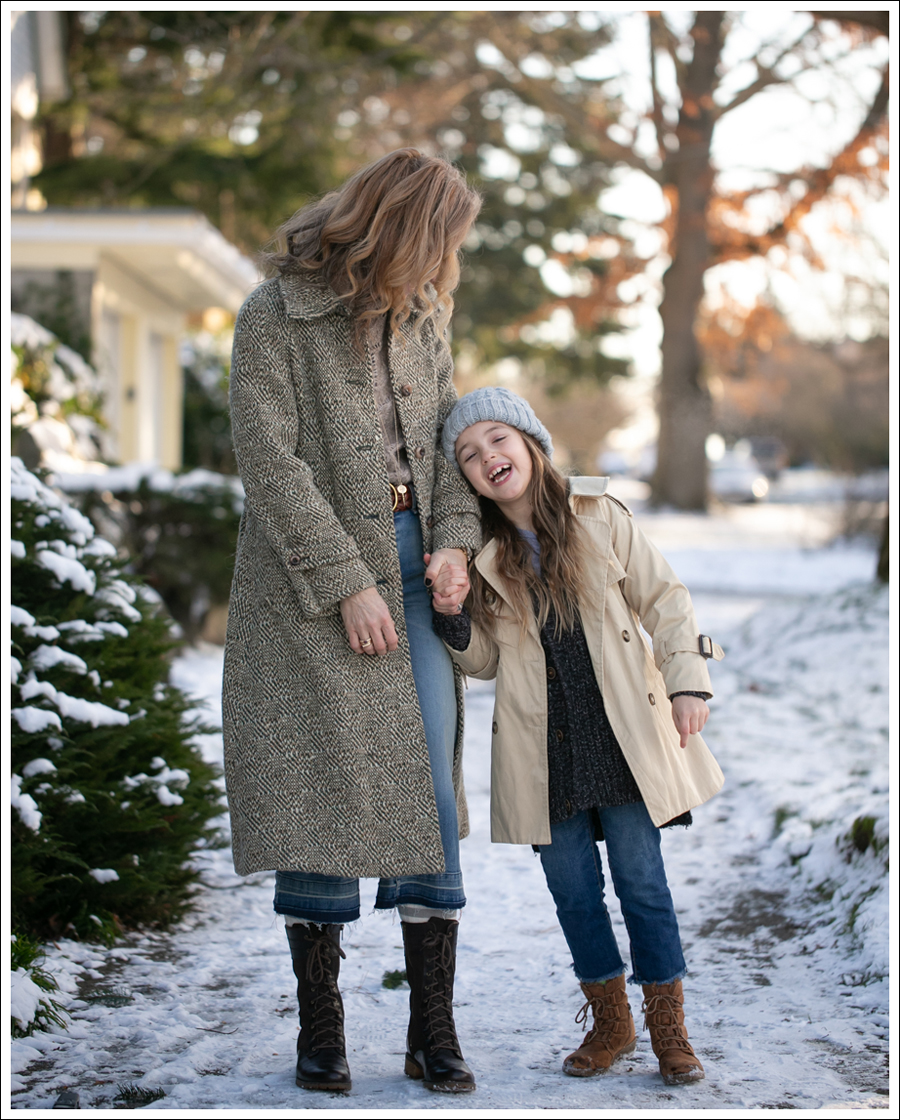


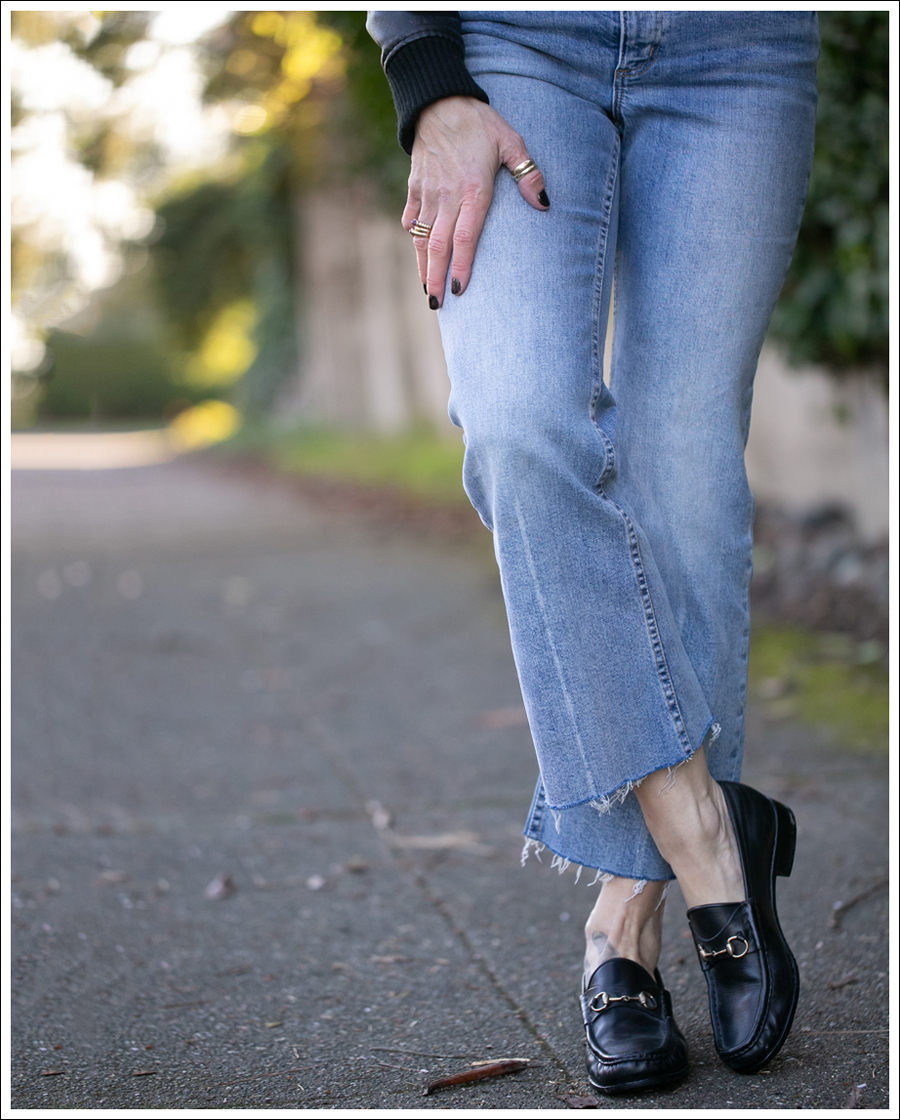
 You know I love a shoe shot…
 Maya had literally been in a snowsuit for days, and…honestly days AFTER this, so to put her in normal clothes seemed weird, BUT…I layered to the nth degree haha.
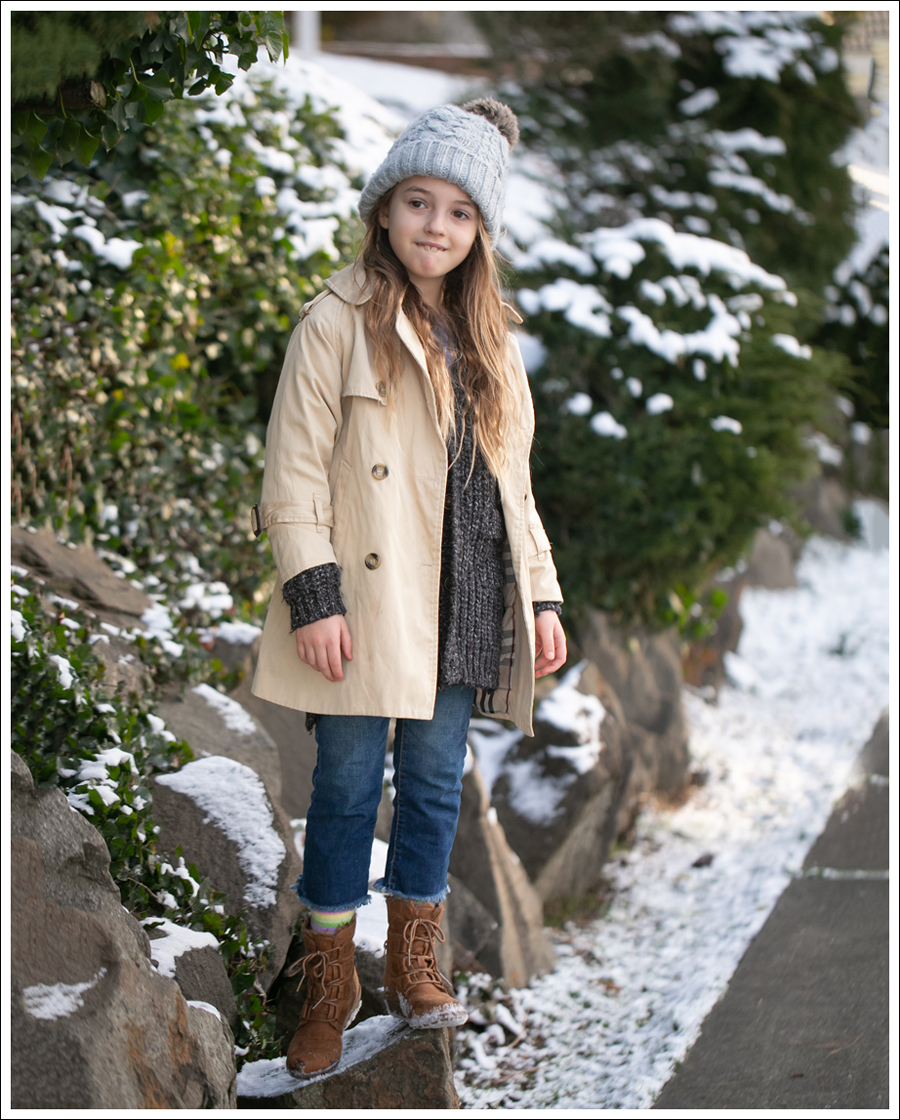 GAH!!! And this morning light?!!! I was in HEAVEN!
 Blowing “smoke”….


 AND THEN….50 shots later…
  Yup, this is pretty much ALWAYS the first shot we take.
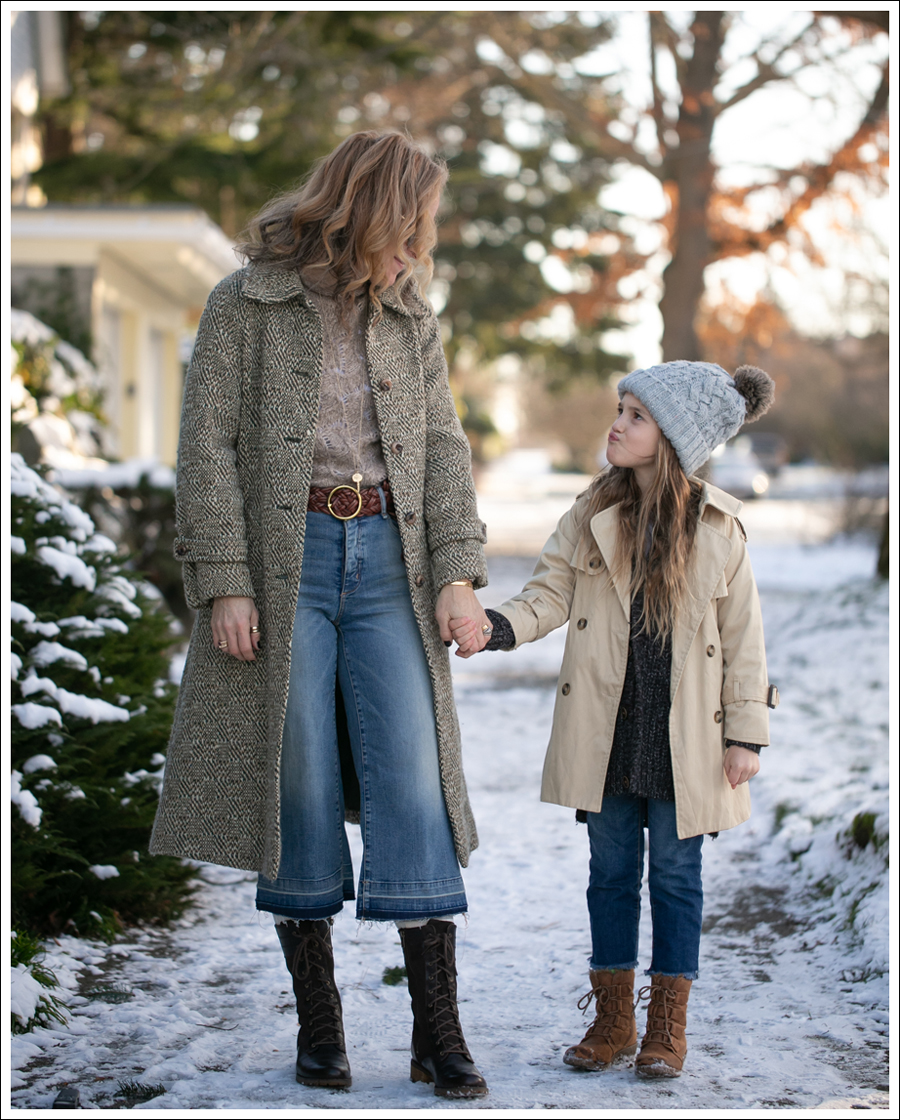
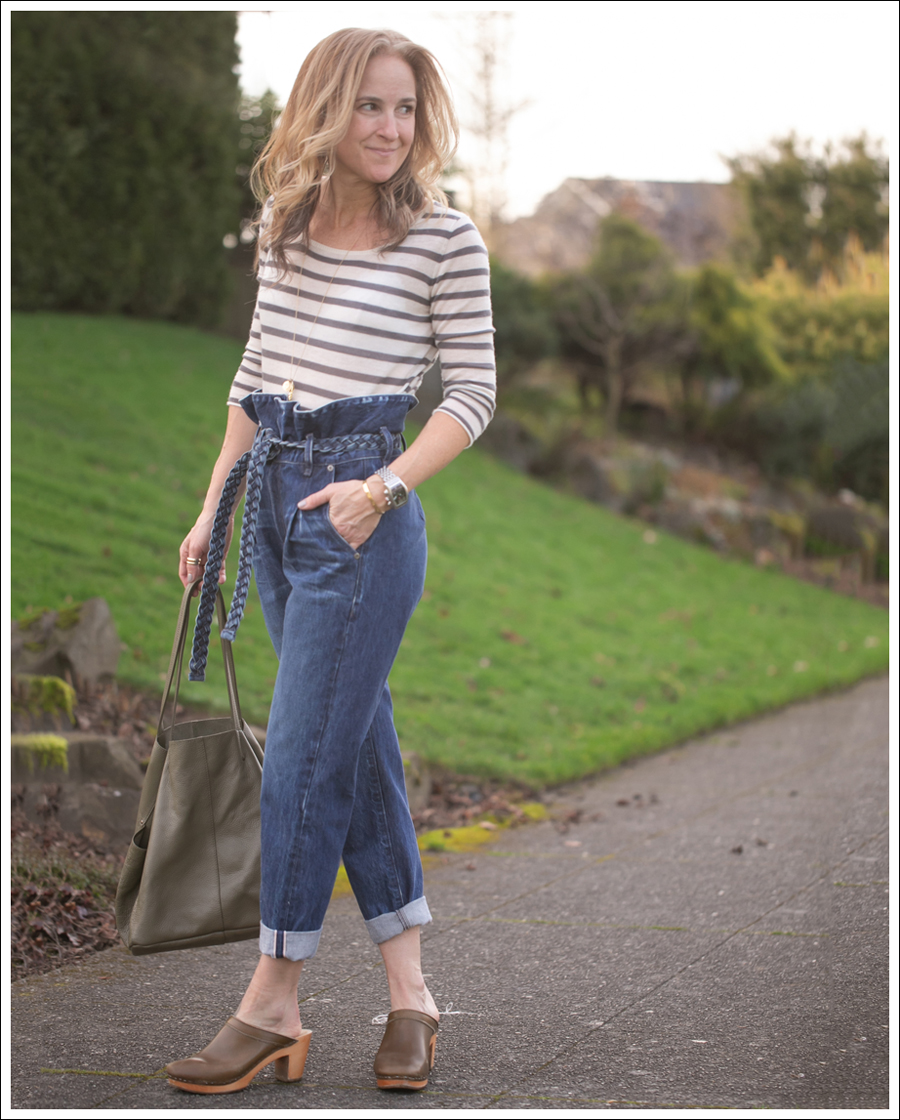
 Funny thing is that I’ve had these for probably…2 years! I was convinced I’d just resell them, but hadn’t gotten around to it yet. I’m SO glad I didn’t!

 Oh….and another neighbor? Don’t mind me…
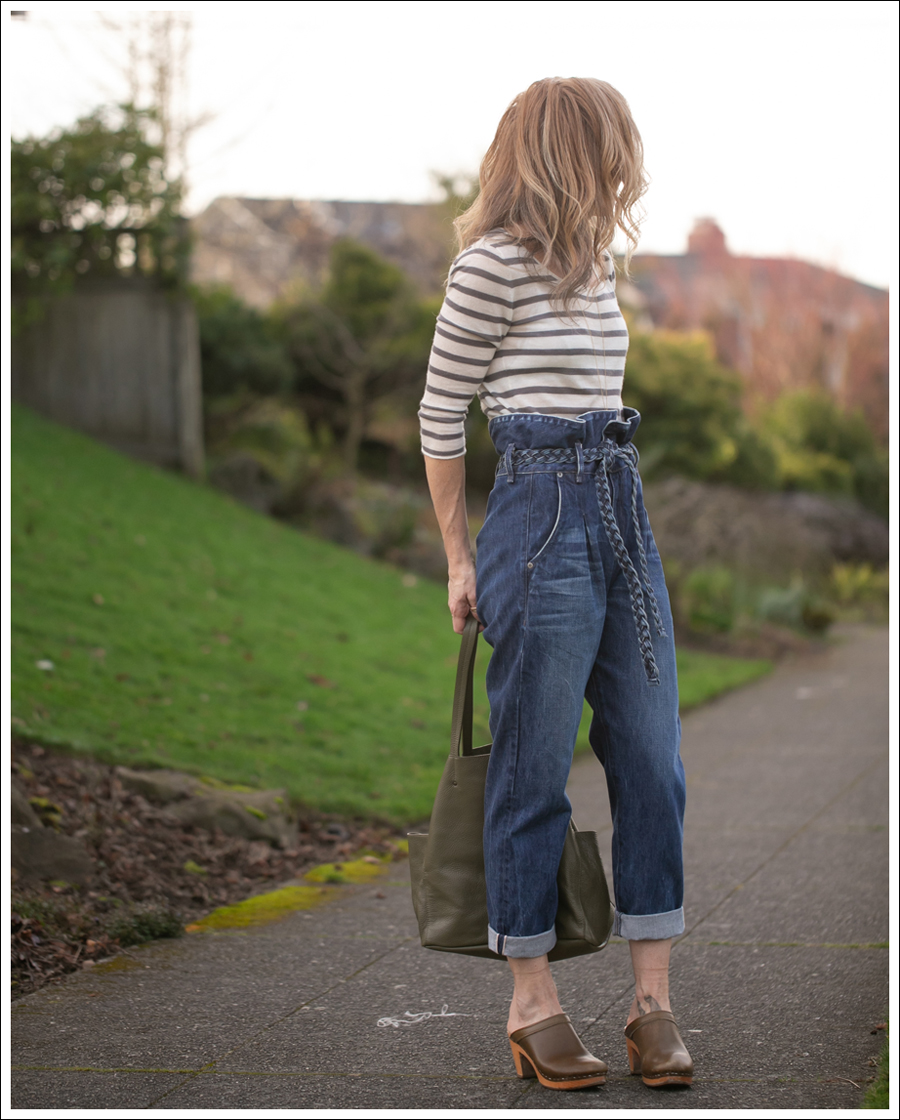
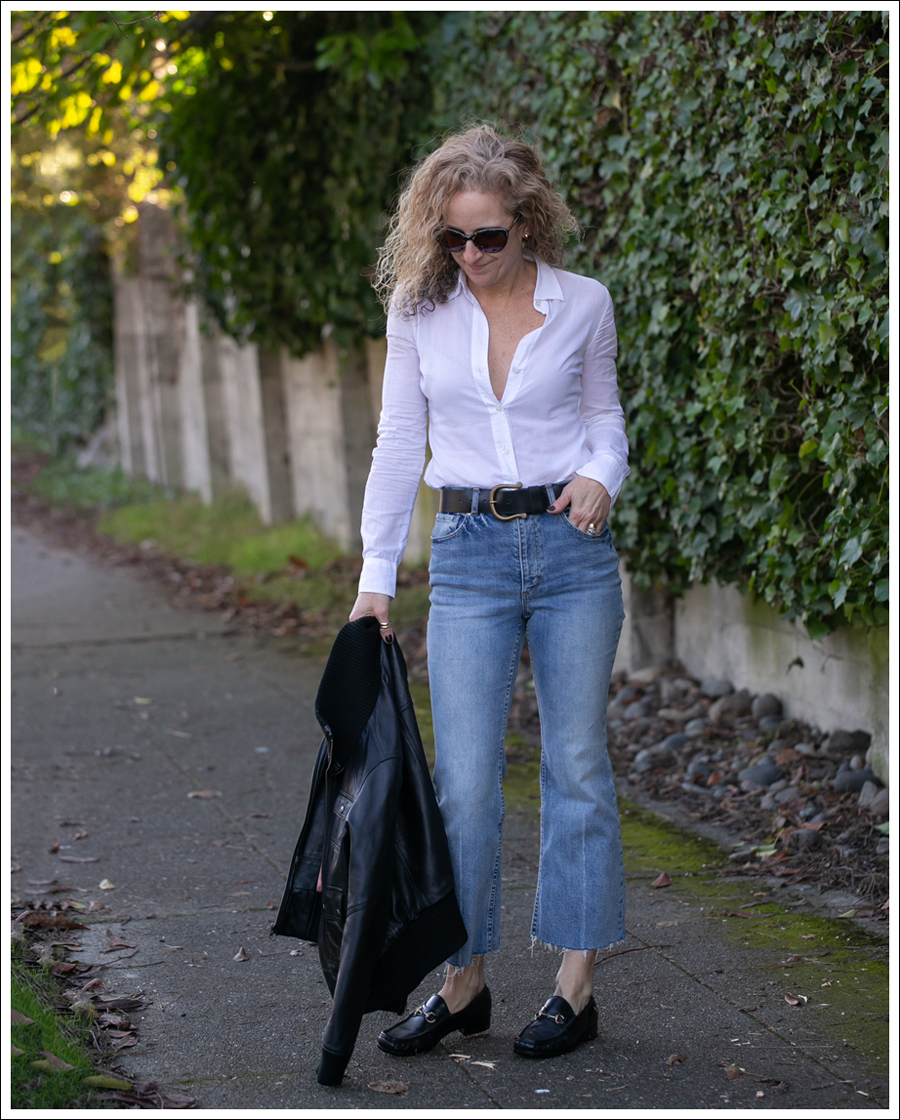
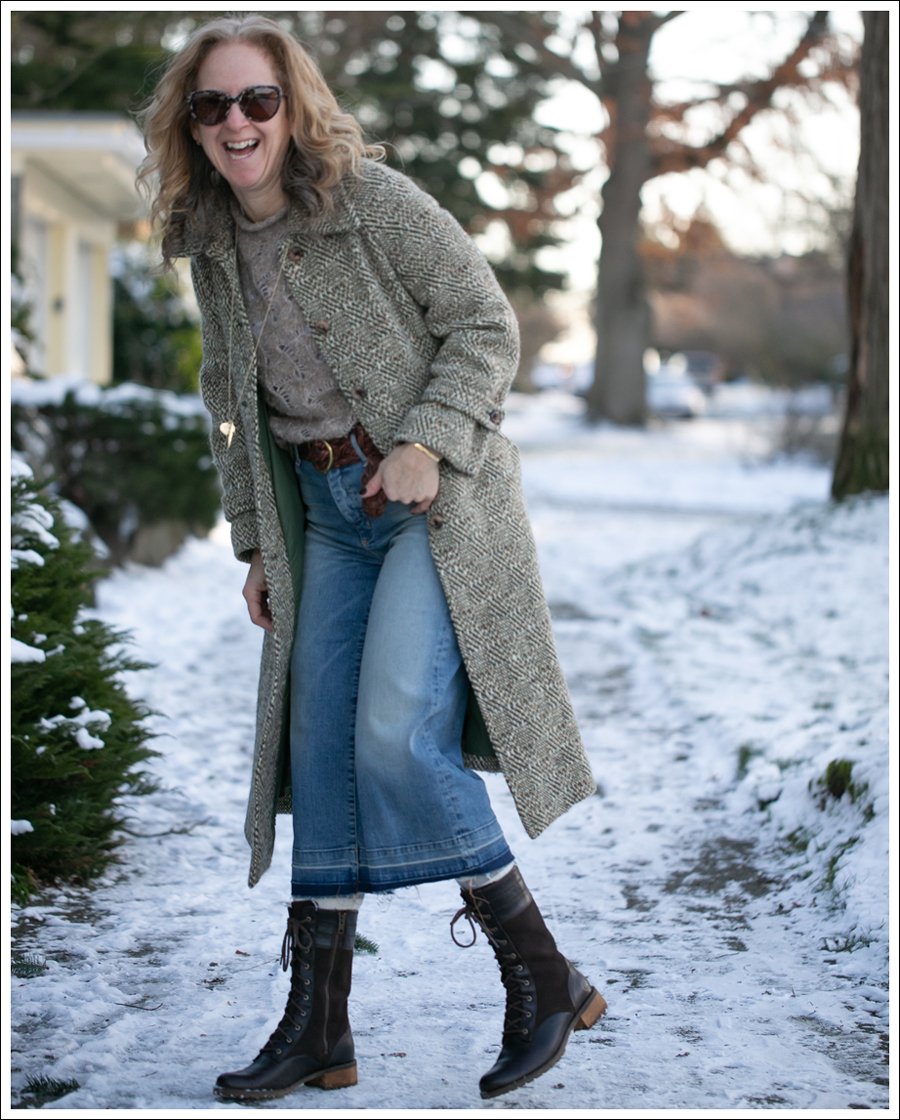
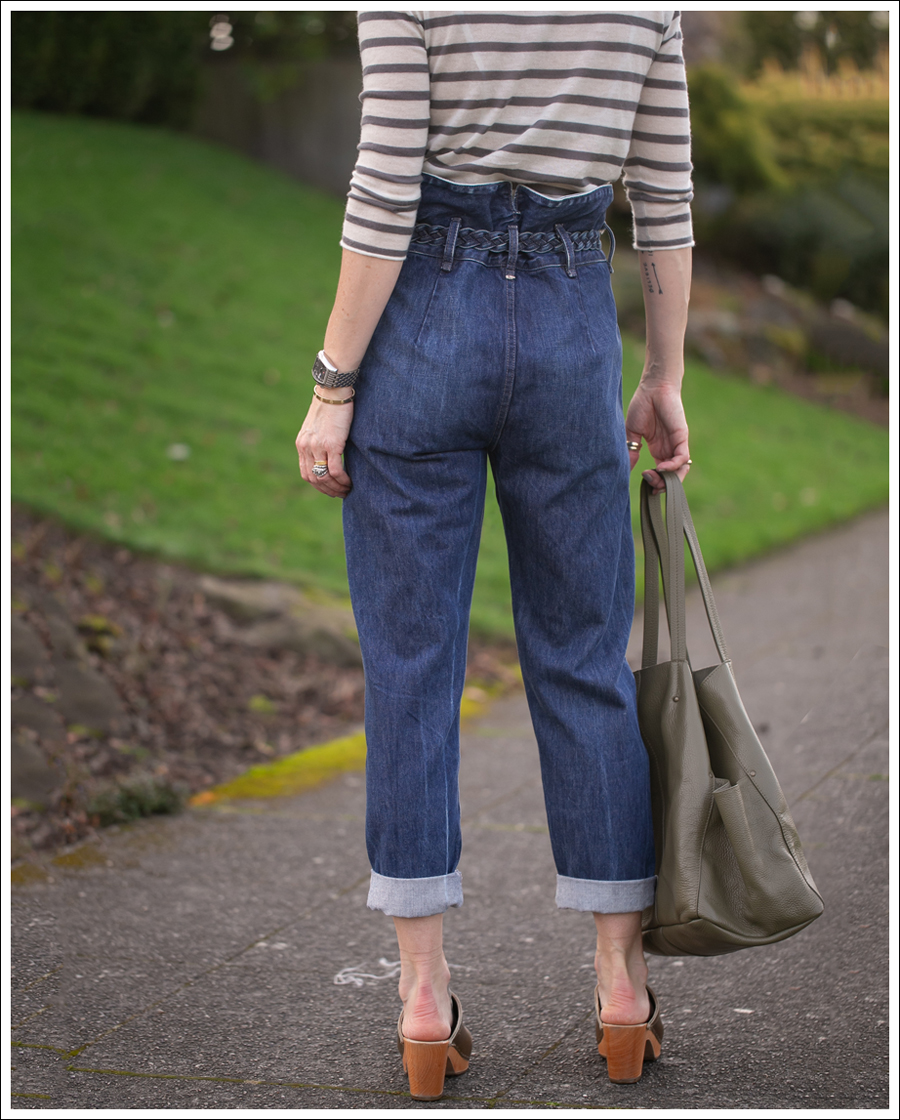
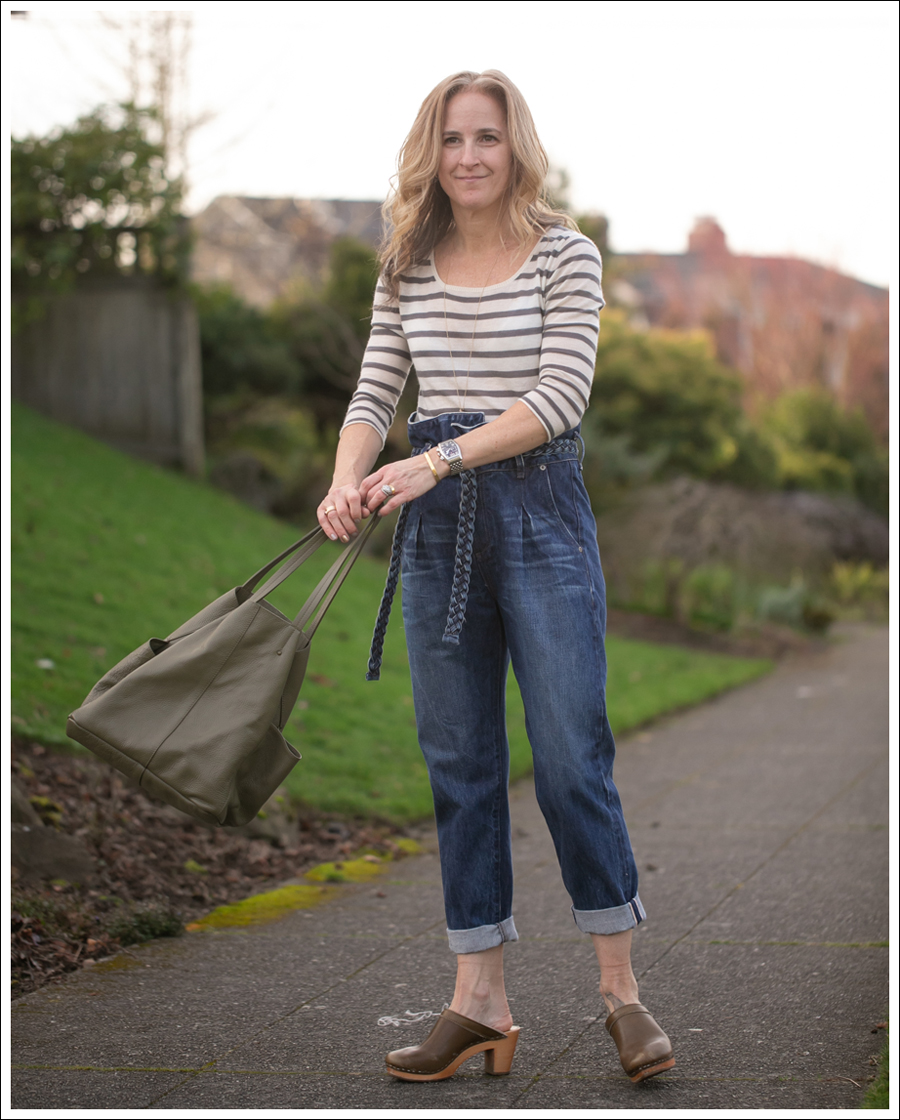
 The high waisted crop flare is absolutely my fav jean right now, but it’s harder to wear in the winter. I put a pair of high and tight booties on, and suddenly…no more cold ankles!
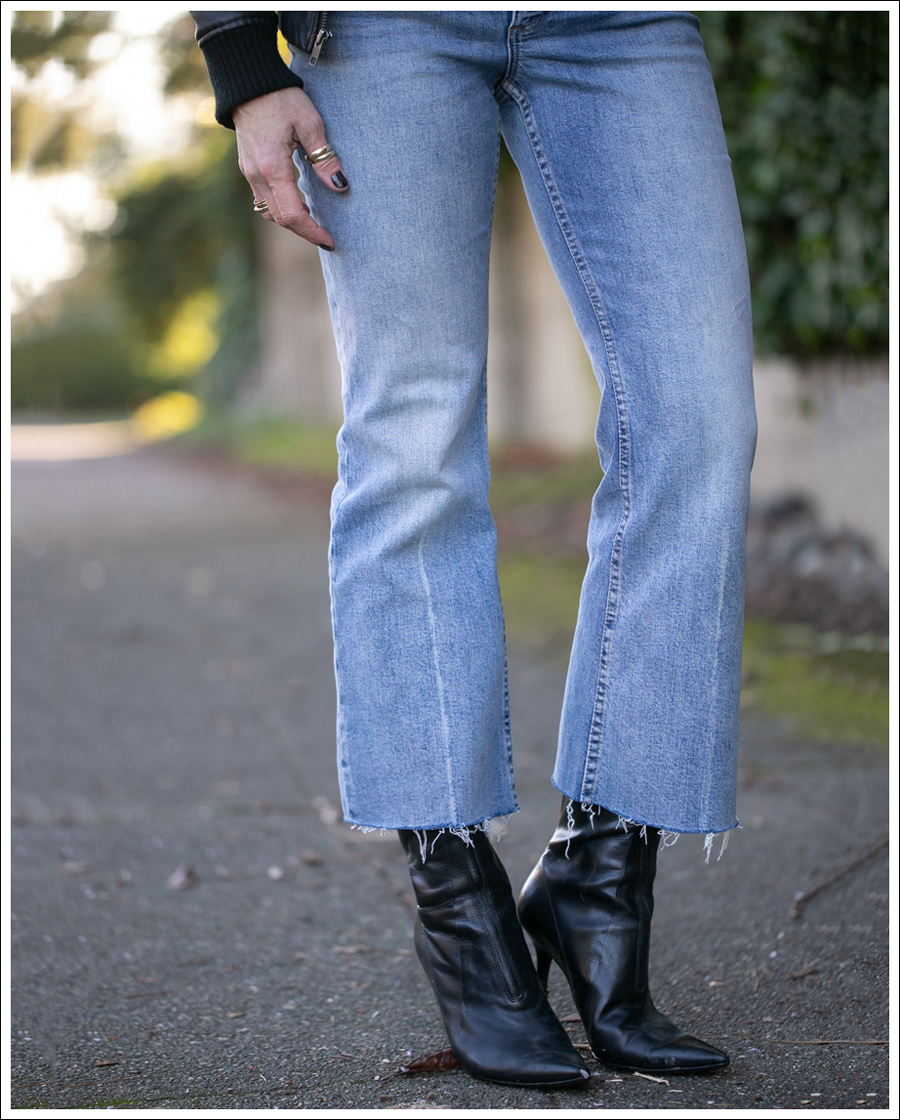
 I have gotten sooooo much mileage out of this vintage belt!! On of the many reasons I love to thrift!

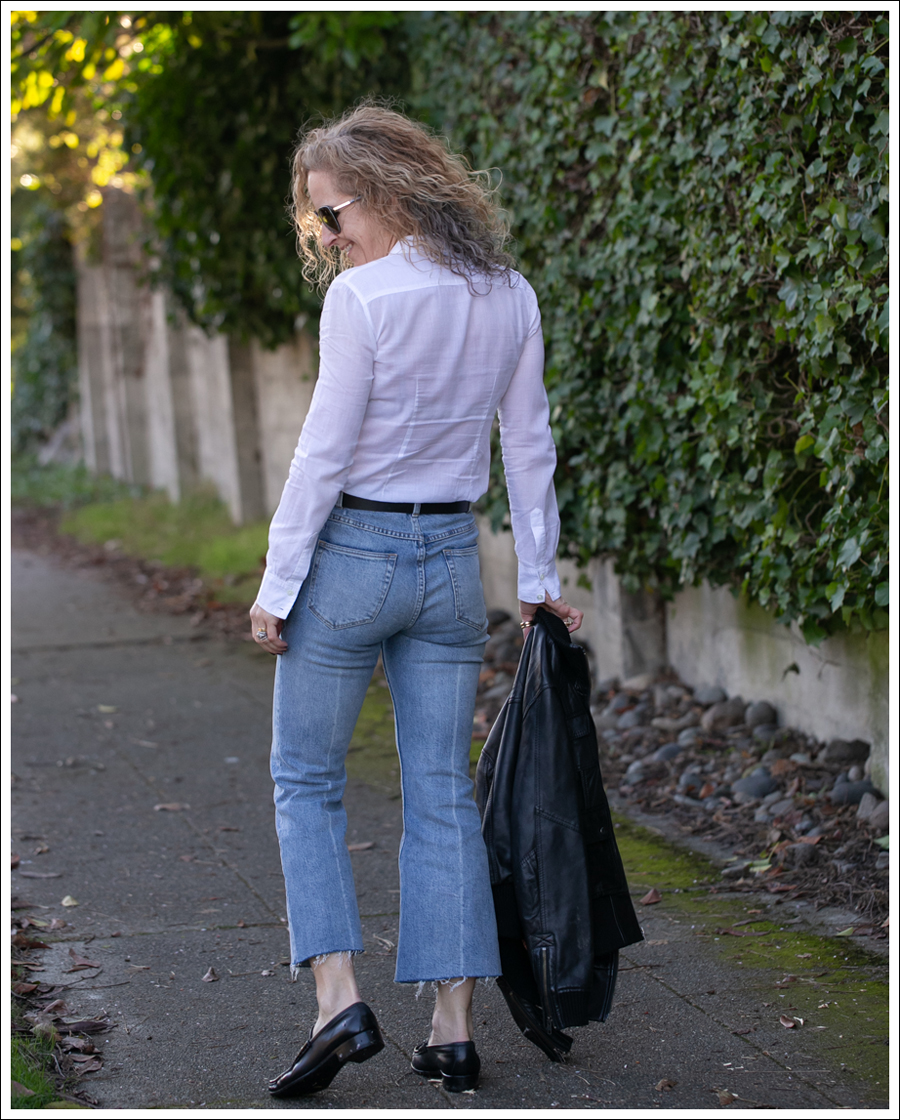
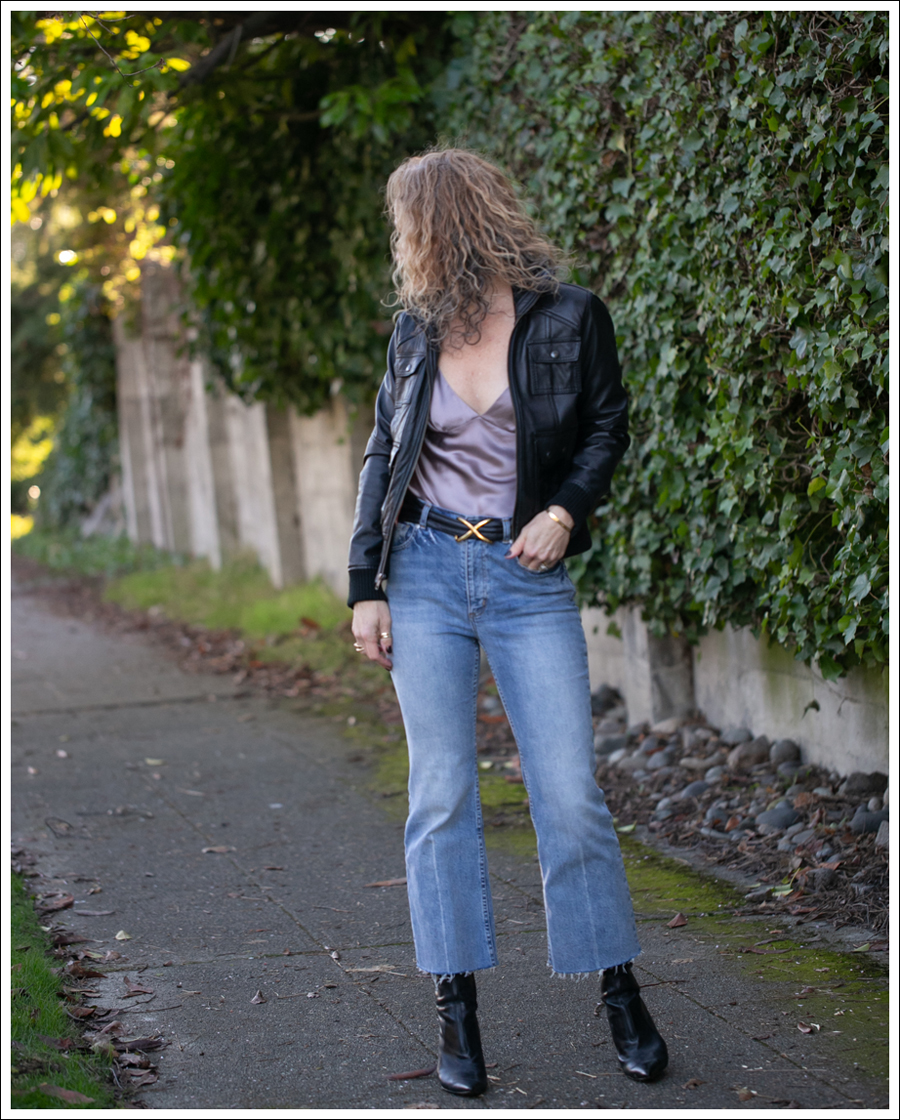 And…I had thoughts of taking pics without my jacket, but….it was 40-something degrees. Didn’t happen. Ok, it did, but it’s not worth posting haha.
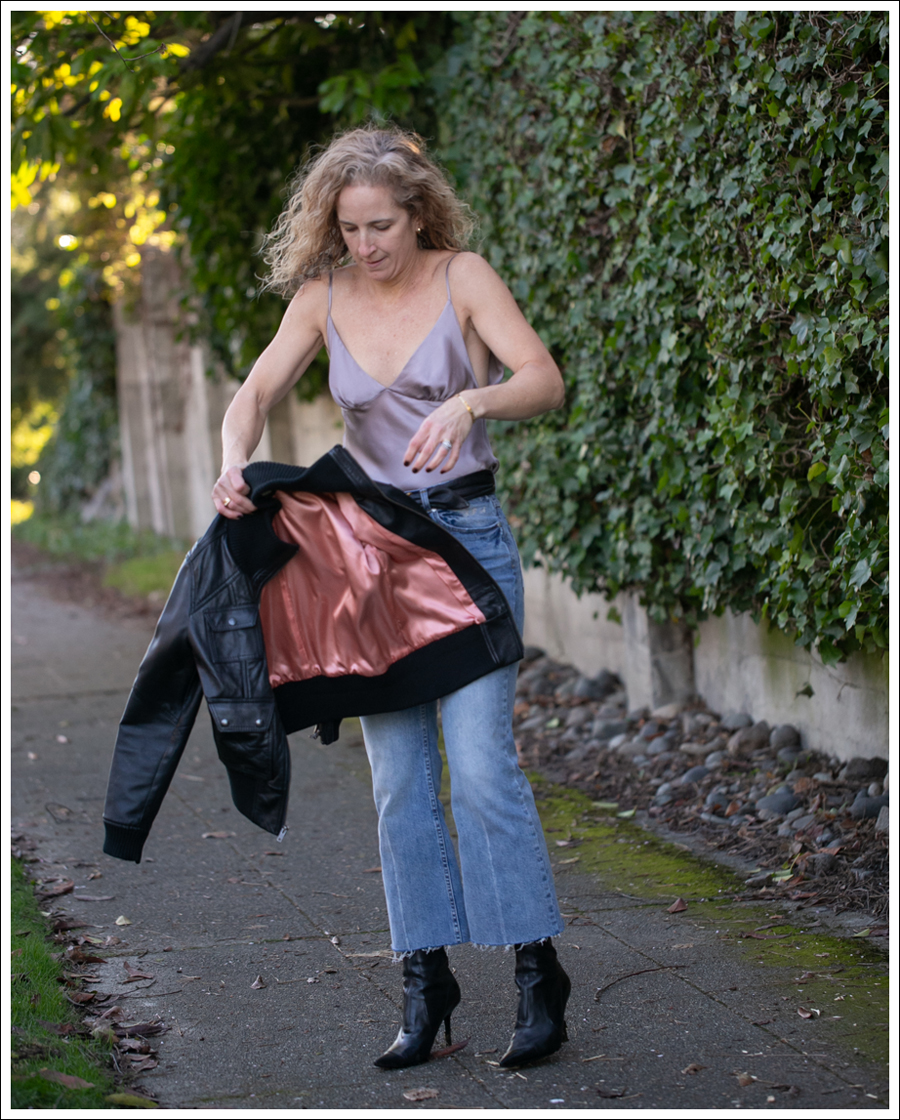
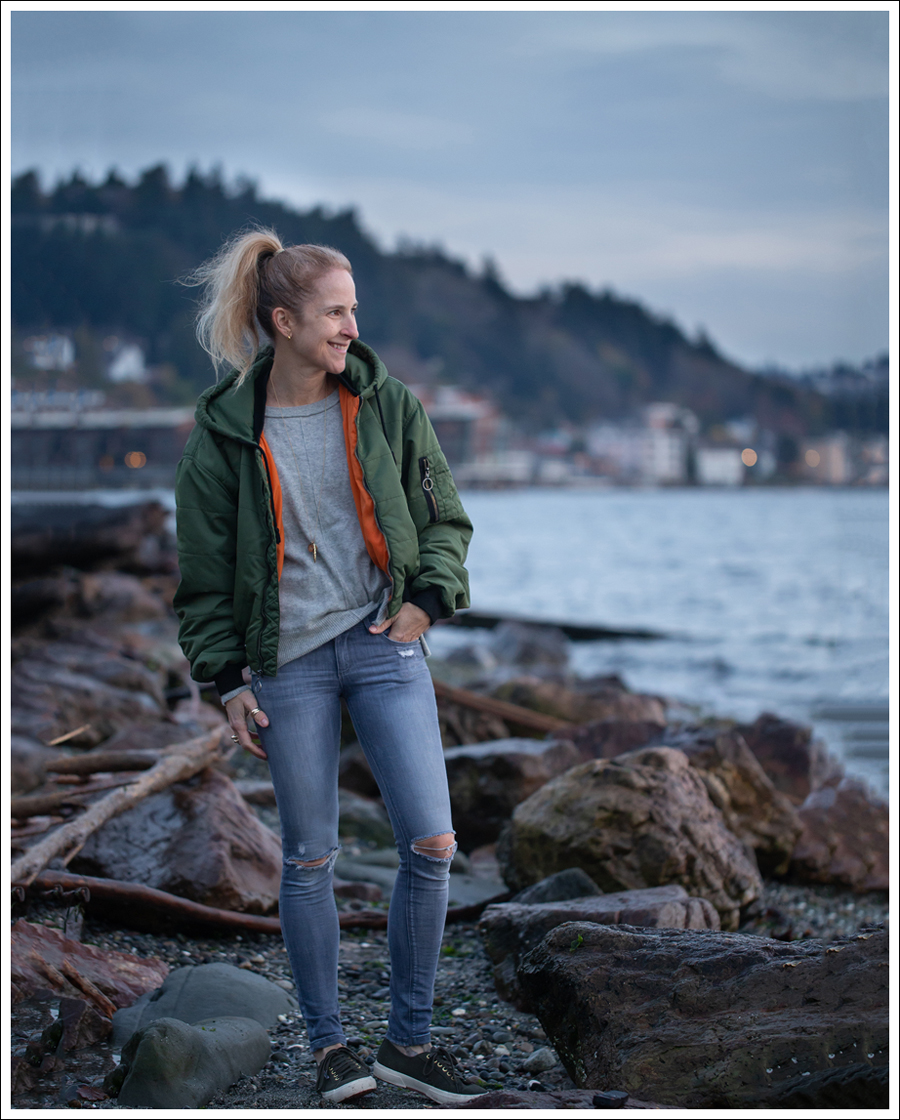
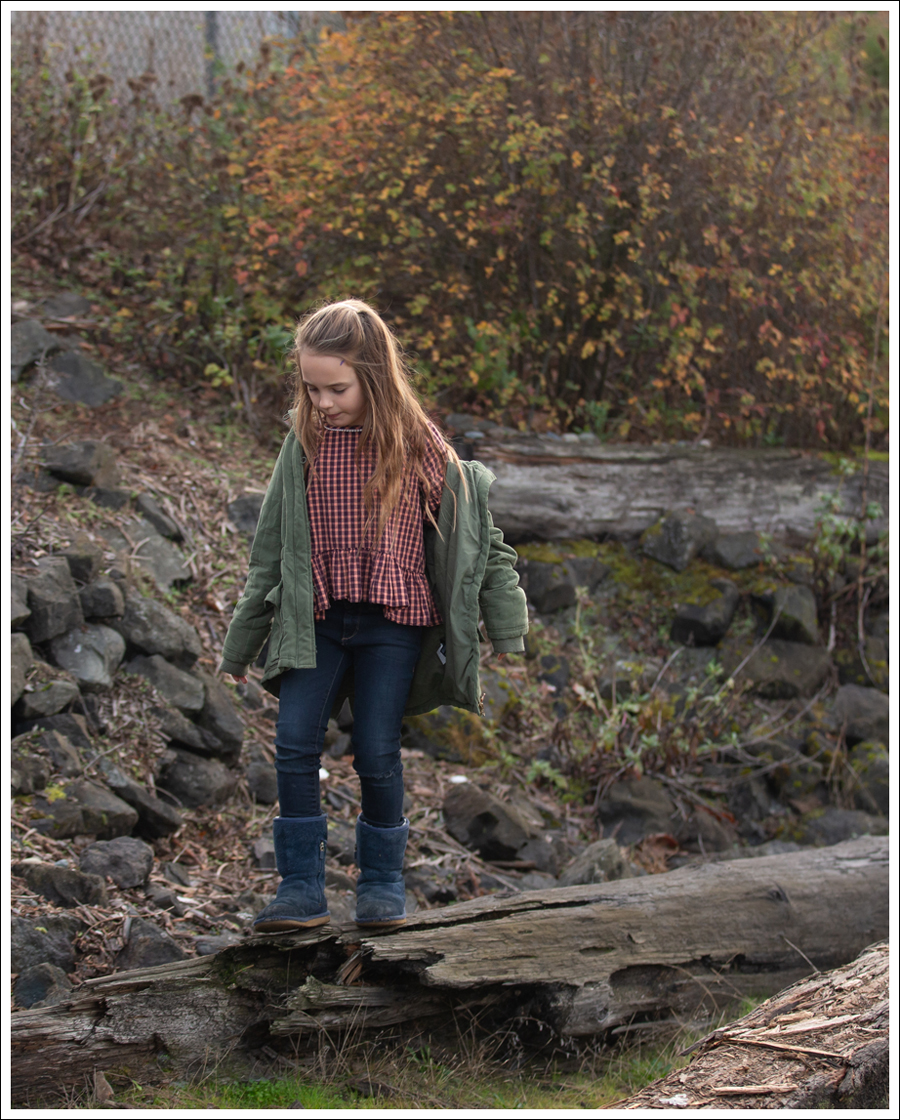
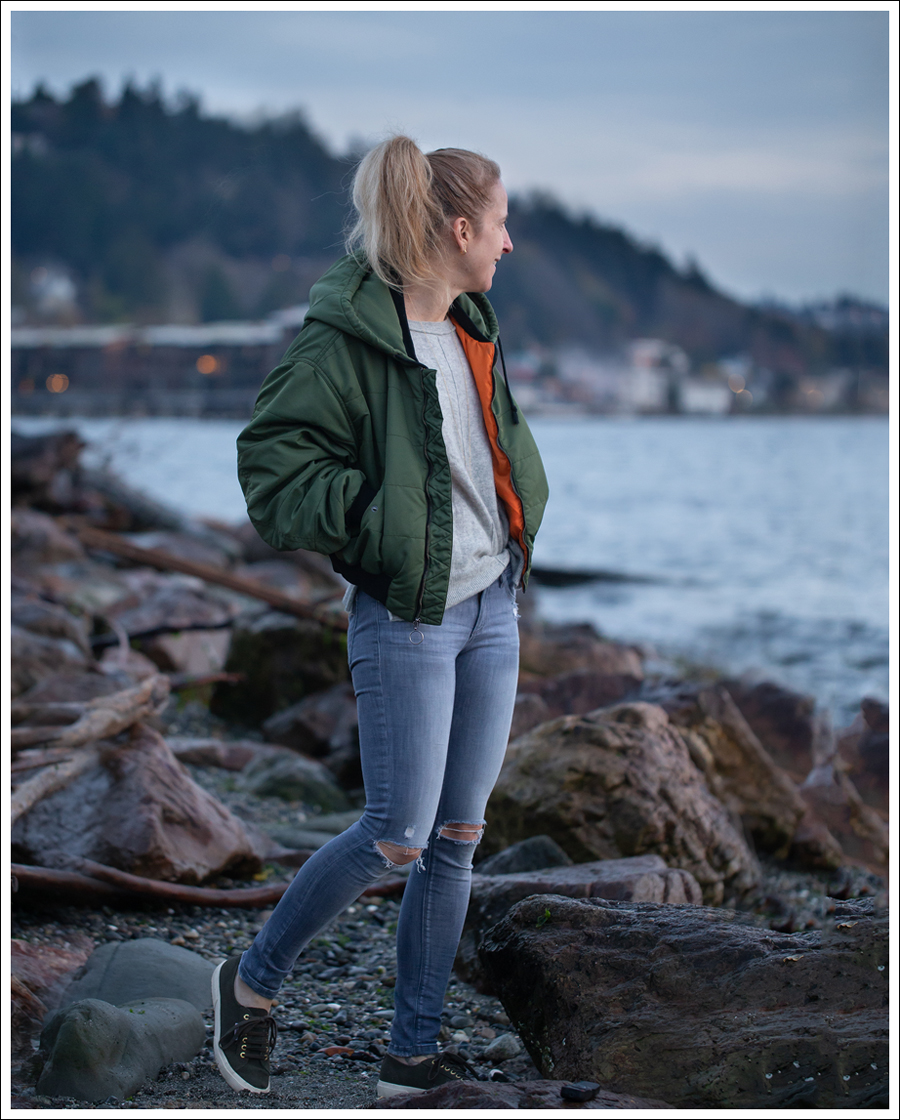 Clearly green parkas are a fav…
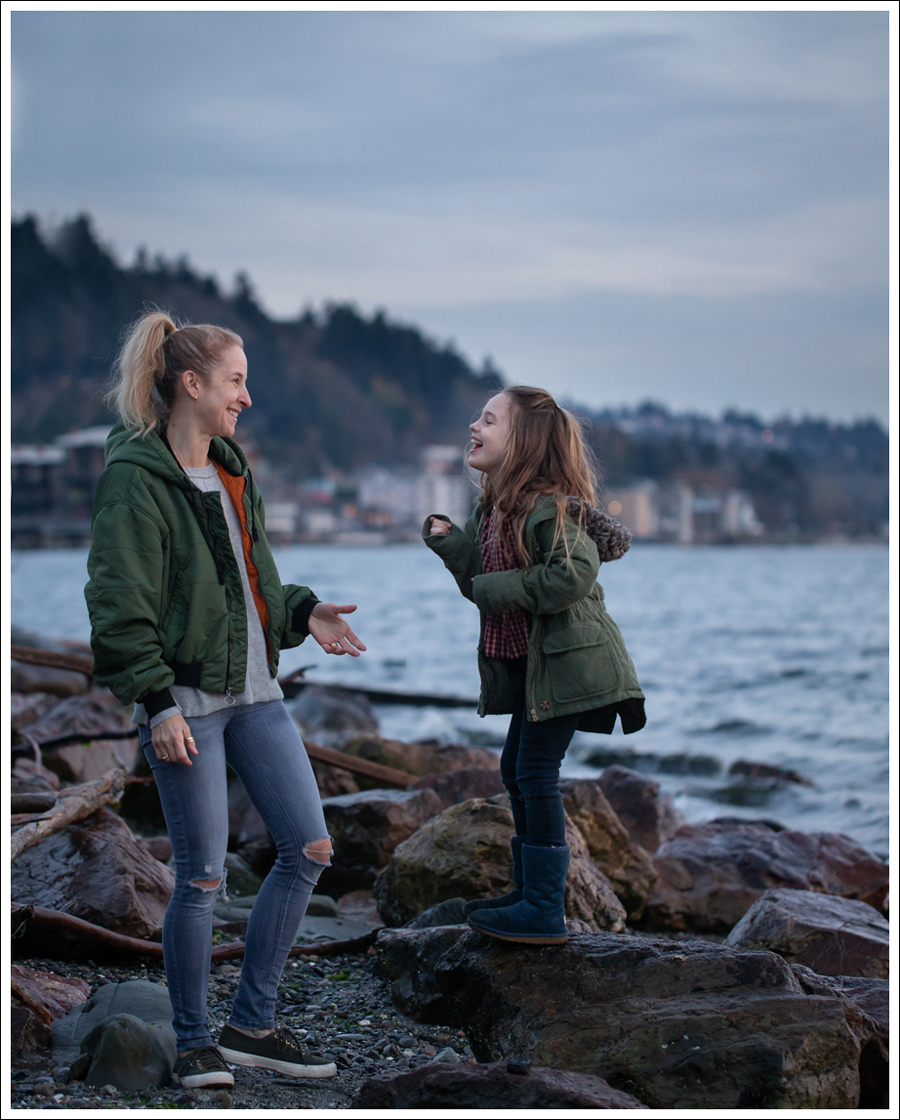
 NOT going to e able to do this much longer! But…I keep saying that.
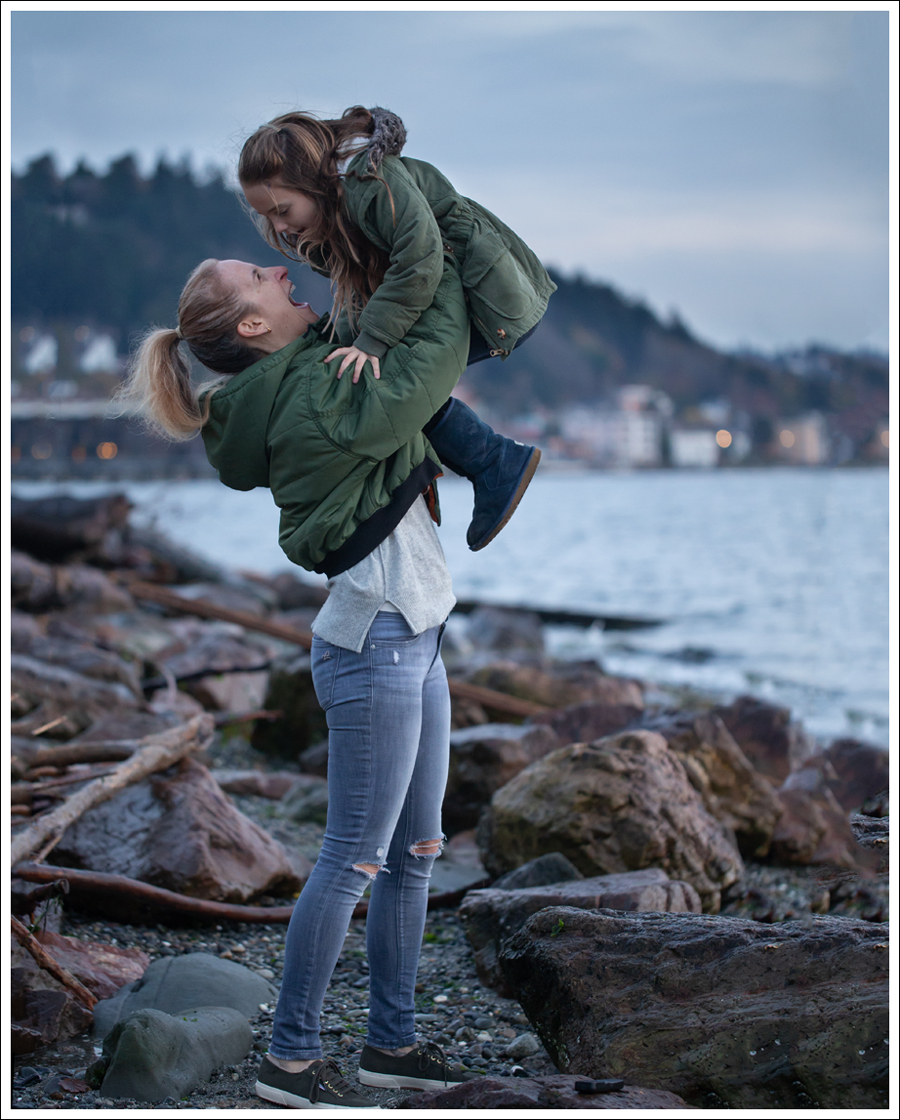
 Hahaha. Clearly so happy I’m taking her picture.
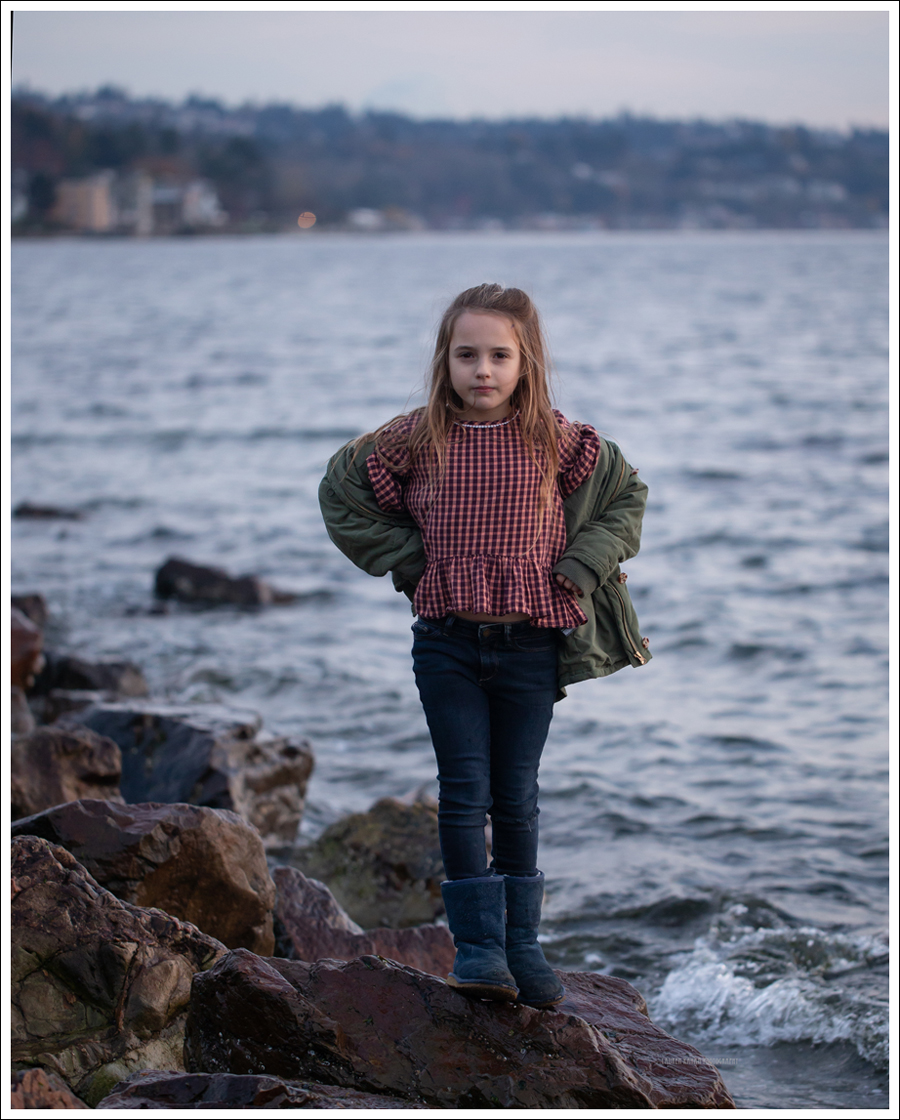 I had taken Charlie’s senior pictures earlier in the day, and Maya tagged along. While he was changing, I took some of her 🙂 . Paint on her forehead from school and all…
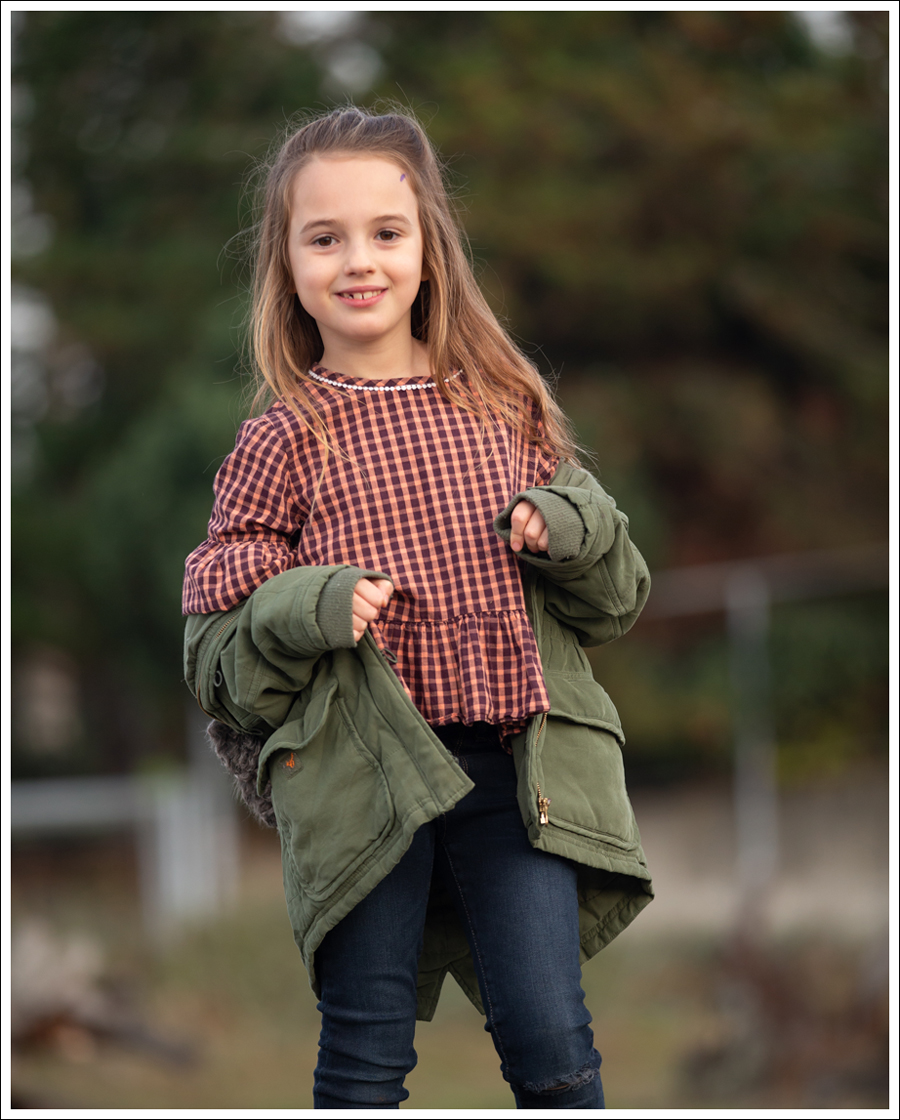
 Seriously though, what the WHAT!?? It blows my mind that Charlie was Maya’s age when I met him…and now. 18, 6’5″ and about to graduate!
 Of course Maya wanted to pop into almost all his pictures.
 They are pretty stinking cute together…
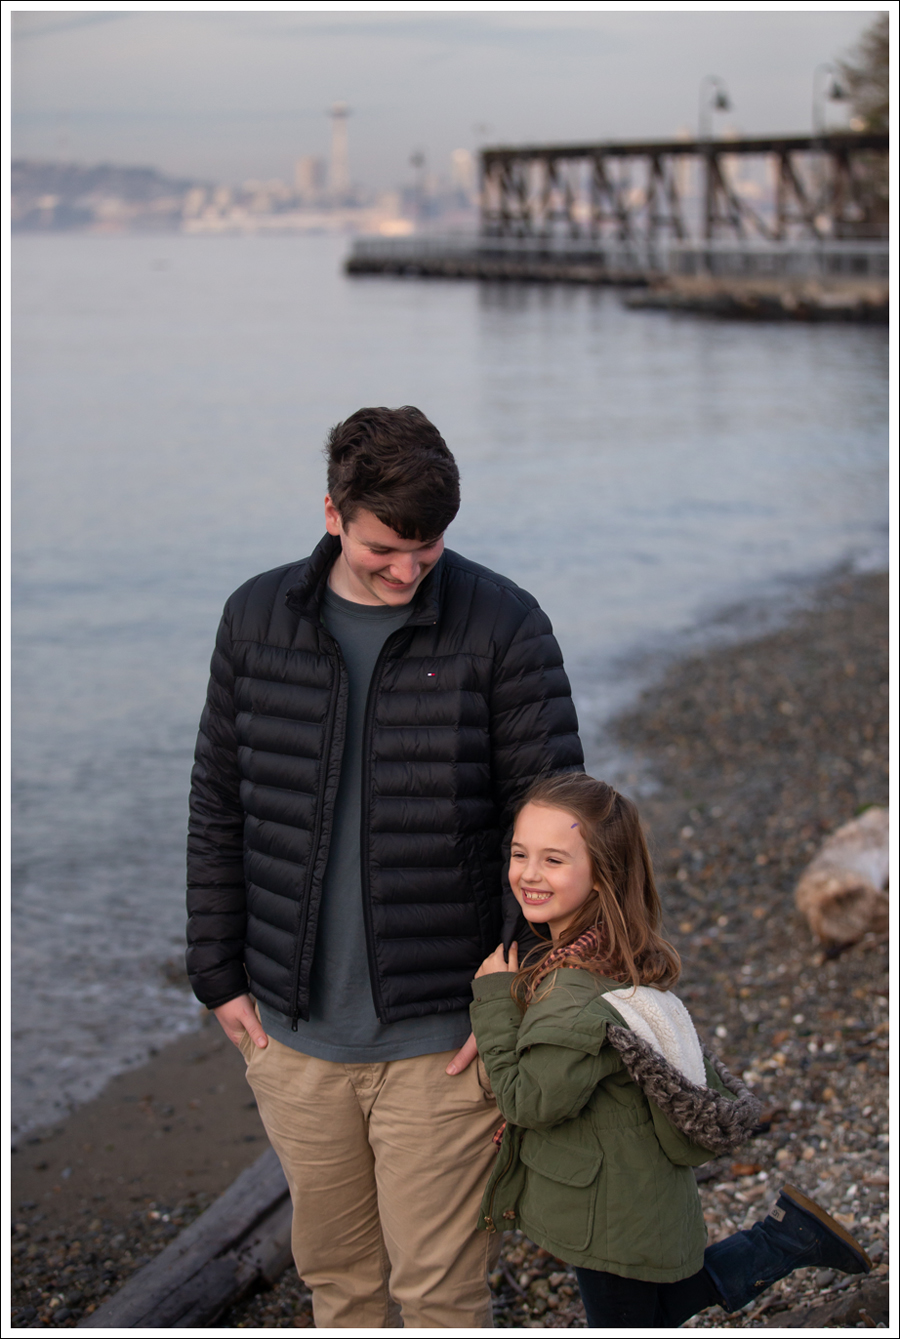

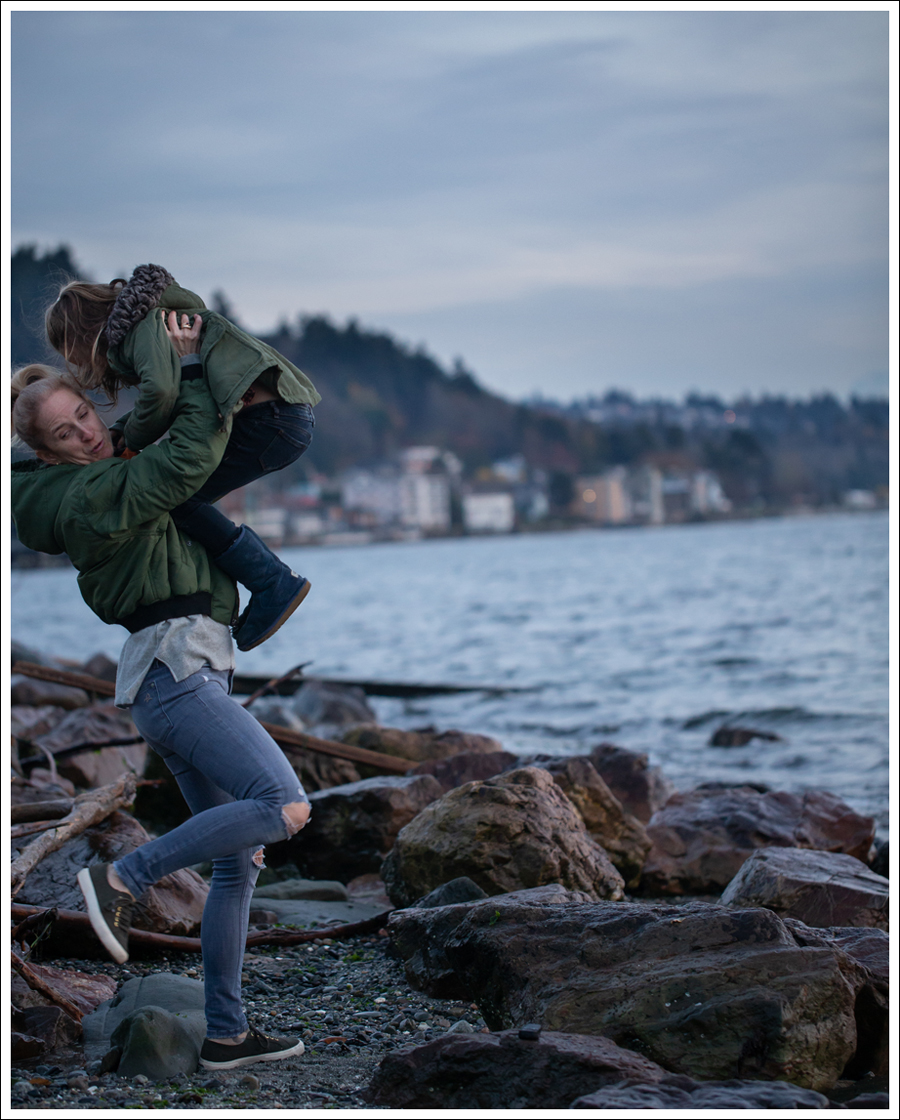
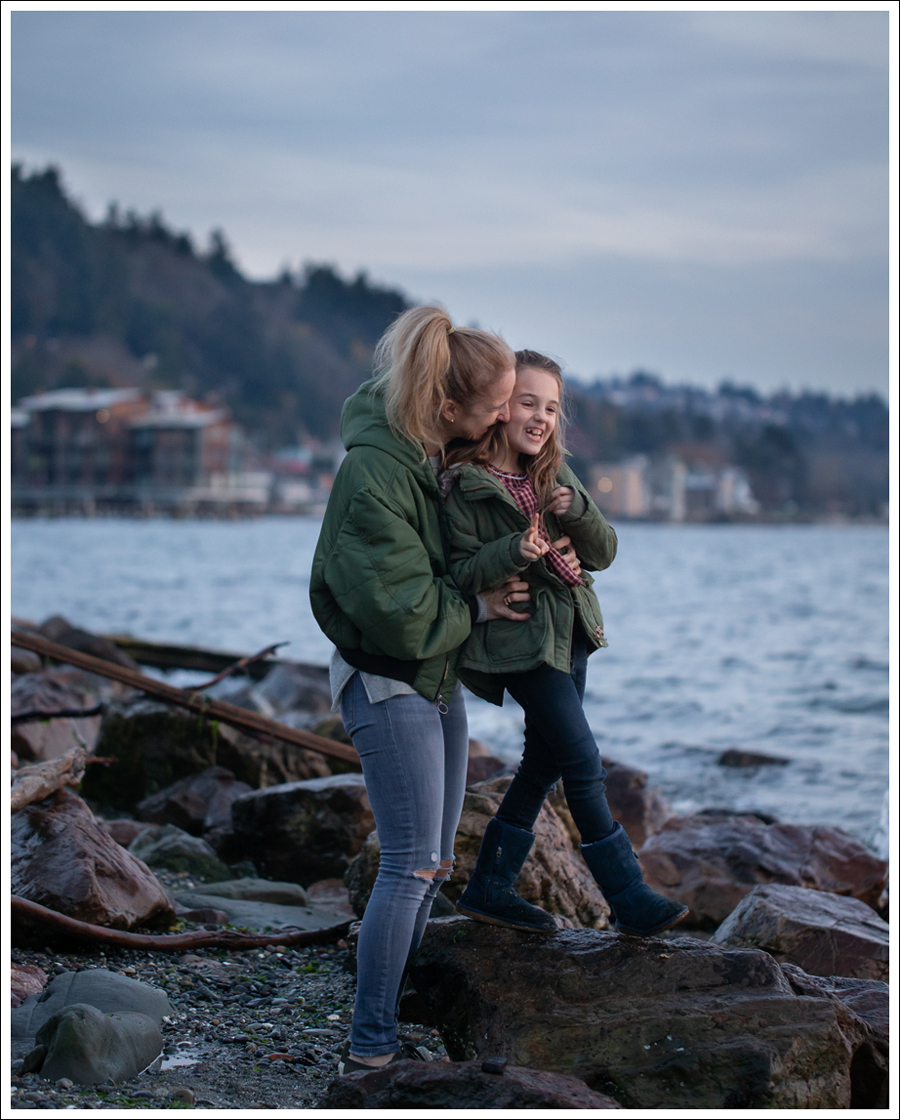
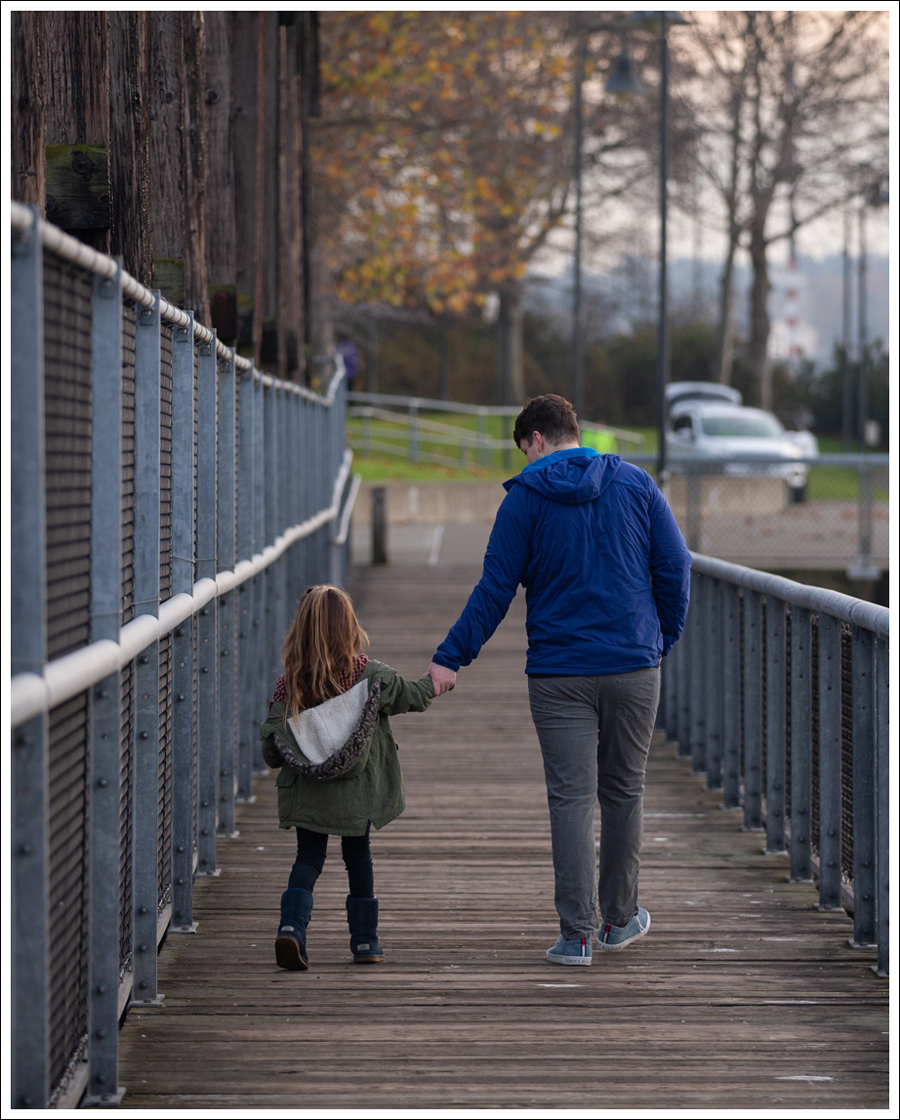 On me…
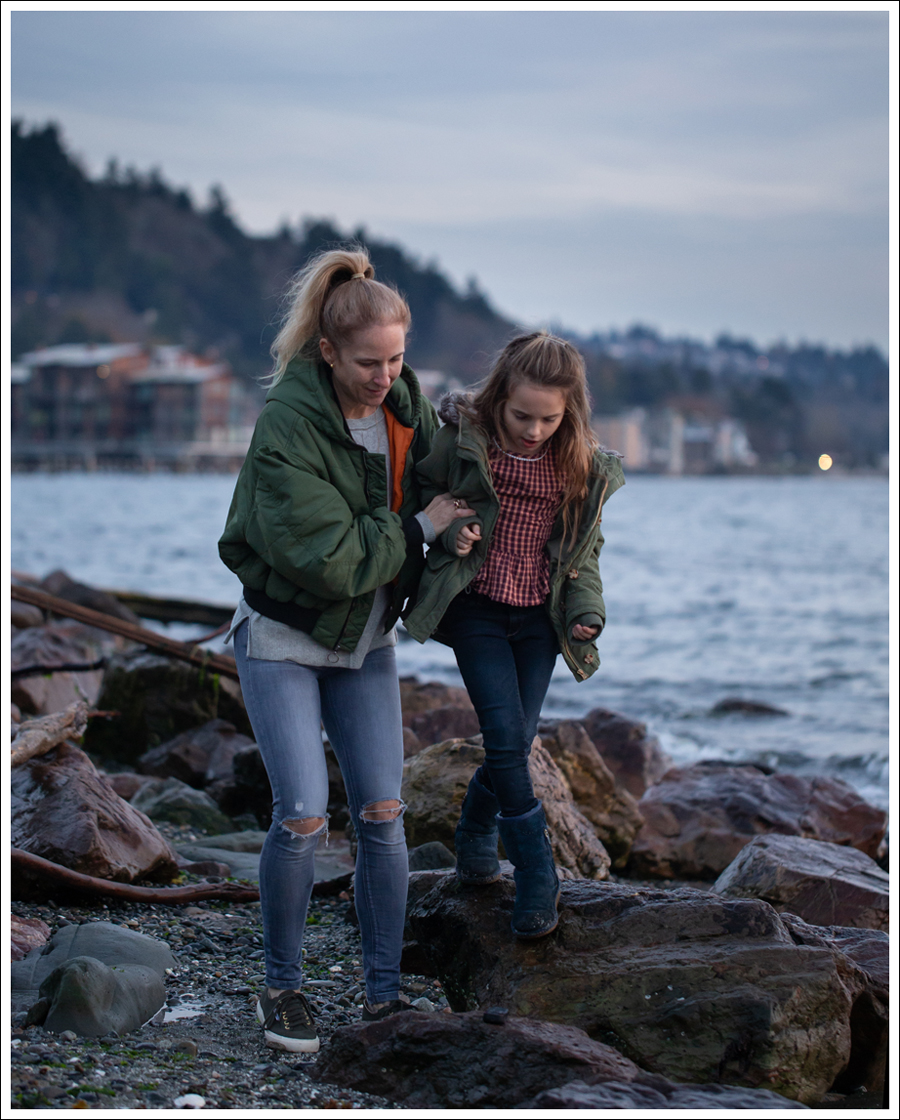 And…Maya jumping to me with rocks behind me…almost ended badly!