Tag Archives: nut-free

Lemon Bars with Lemon Curd Topping | Gluten Free + Dairy Free + Vegan

I’ve been dying to try a lemon bar recipe that Maya can have.  It’s pretty easy finding gluten free, but dairy and egg free are a little harder!

And then I found Minimalist Baker a few months ago on Instagram!

The minute I saw her Creamy Vegan Lemon Bars, I knew I wanted to try them!

I finally made the time yesterday for Easter, and they were so good!

I followed her recipe pretty much, with only a few exceptions, which I’ll note.

CRUST

  • 1 cup gluten-free oats
  • 1 cup almonds
  • 1/4 tsp sea salt
  • 4 pitted dates (original recipe called for 2 Tbsp coconut sugar, which I thought I had but didn’t.)
  • 1 Tbsp maple syrup
  • 4 Tbsp coconut oil (melted) (originally recipe said 4-5, but I went with the lesser due to the dates)

FILLING

  • 1 cup raw cashews
  • 1 cup coconut cream (the hardened portion at the top of full-fat coconut milk-I used the coconut cream from Trader Joe’s which is mostly cream)
  • 2 Tbsp arrowroot starch
  • 1/2 cup lemon juice
  • 1 heaping Tbsp lemon zest
  • 1 pinch sea salt
  • 1/4 cup maple syrup
  • 2 Tbsp organic powdered sugar (optional // for topping I didn’t use this)

Lemon Curd Topping

I had about 1/3 cup of coconut cream leftover in my can, so I decided to make a modified version of Minimalist Baker‘s Vegan Lemon Curd. The recipe called for a lot of the same ingredients I already had out, so it seemed like a no brainer.  AND…lemon curd on top of lemon bars?  YES, PLEASE!! .  Here’s how I modified to recipe, and the amount was perfect for a thin layer on top which I added right before serving.

  • 1/3 cup coconut cream
  • 1 tsp lemon zest
  • 1 Tbsp lemon juice
  • 1 tsp arrowroot starch
  • 1 Tbsp maple syrup

Instructions

  1. Add raw cashews to a mixing bowl and cover with boiling hot water. Let rest for 1 hour (uncovered). Then drain thoroughly.
  2. Preheat oven to 350 degrees and line an 8×8 inch baking dish with parchment paper (or tin foil).

  3. Add oats, almonds, sea salt, and dates to a high speed blender and mix on high until a fine meal is achieved.
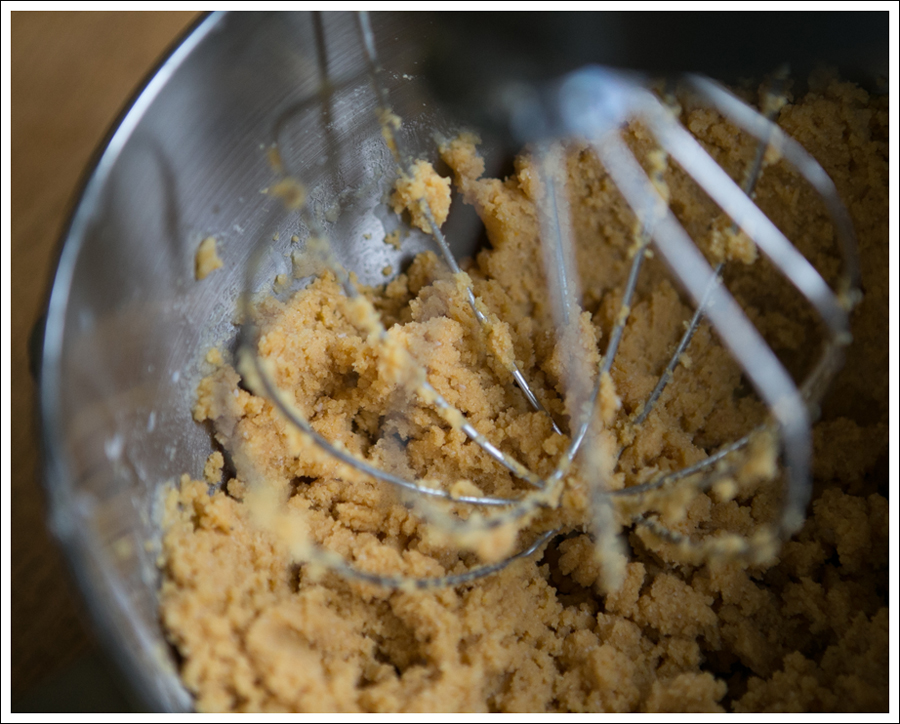
  4. Transfer to a medium mixing bowl and add maple syrup and melted coconut oil, and add more oil if it’s too dry. Stir with a spoon to combine until a loose dough is formed.

    I accidentally did ALL this at the same time.  It didn’t blend as well, because the moisture made it clumpy… SO, if you see chunks of almonds in my crust that’s why!

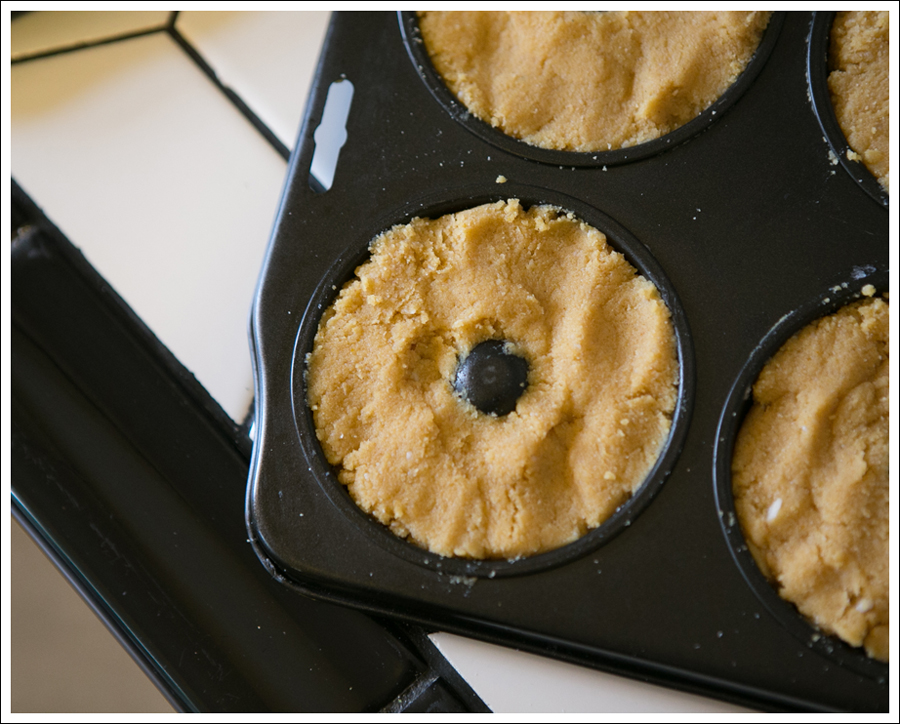
  5. Transfer mixture to lined 8×8 pan and spread evenly.  I used my fingers to press the mixture down until it was evenly compacted.
  6. Bake for 15 minutes, then increase heat to 375 F and bake for 5 minutes more, or until the edges are golden brown and there is some browning on the surface. Remove from oven to cool slightly, then reduce oven heat to 350 degrees F (176 C).
  7. For the Filling… Once cashews are soaked and drained, add to a high speed blender with coconut cream, arrowroot starch, lemon juice, lemon zest, sea salt, and maple syrup. Mix on high until very creamy and smooth.
  8. Taste and adjust flavor as needed.
  9. Pour filling over the pre-baked crust and spread into an even layer. Tap on counter to remove any air bubbles.
  10. Bake for 20-23 minutes or until the edges look very slightly dry and the center appears “jiggly” but not liquidy.
  11. Let rest for 10 minutes, then transfer to refrigerator to let cool completely (uncovered) – at least 4 hours, preferably overnight.
  12. For the Lemon Curd…Place coconut cream and lemon zest in a small saucepan and whisk to combine.
  13. Add lemon juice and arrowroot starch to a small mixing bowl and whisk to thoroughly dissolve. Then add to coconut cream mixture and stir.
  14. Lastly, add maple syrup and whisk again until well combined.

  15. Place saucepan over medium heat and bring to a low bubble – not boil – whisking often. Once it starts bubbling and getting thick, reduce heat to medium-low and continue cooking until a visible ribbon forms when spooning a bit of the curd across the top. It should be thick and kind of jiggly in texture. During this process switch to a rubber spatula for stirring to ensure the curd isn’t sticking to the bottom or sides of the pan.
  16. Remove from heat and taste and adjust seasonings as needed, adding more lemon zest for acidity/brightness, or maple syrup for sweetness.
  17. Let rest for 15 minutes, then whisk once more and transfer to a glass bowl and cover with plastic wrap, making sure the plastic wrap touches the curd – otherwise a film may form (I didn’t do that and it was fine!).
  18. Refrigerate for 5-6 hours, or overnight, or until completely chilled and set.  I only let mine sit for 4 hours, and it was still great on top of the bars.
  19. To serve, spread the lemon curd over the bars, slice and top with fresh berries (optional)
  20. Store leftovers in the refrigerator, covered, up to 4 days, though best within the first 2 days.

ENJOY!!

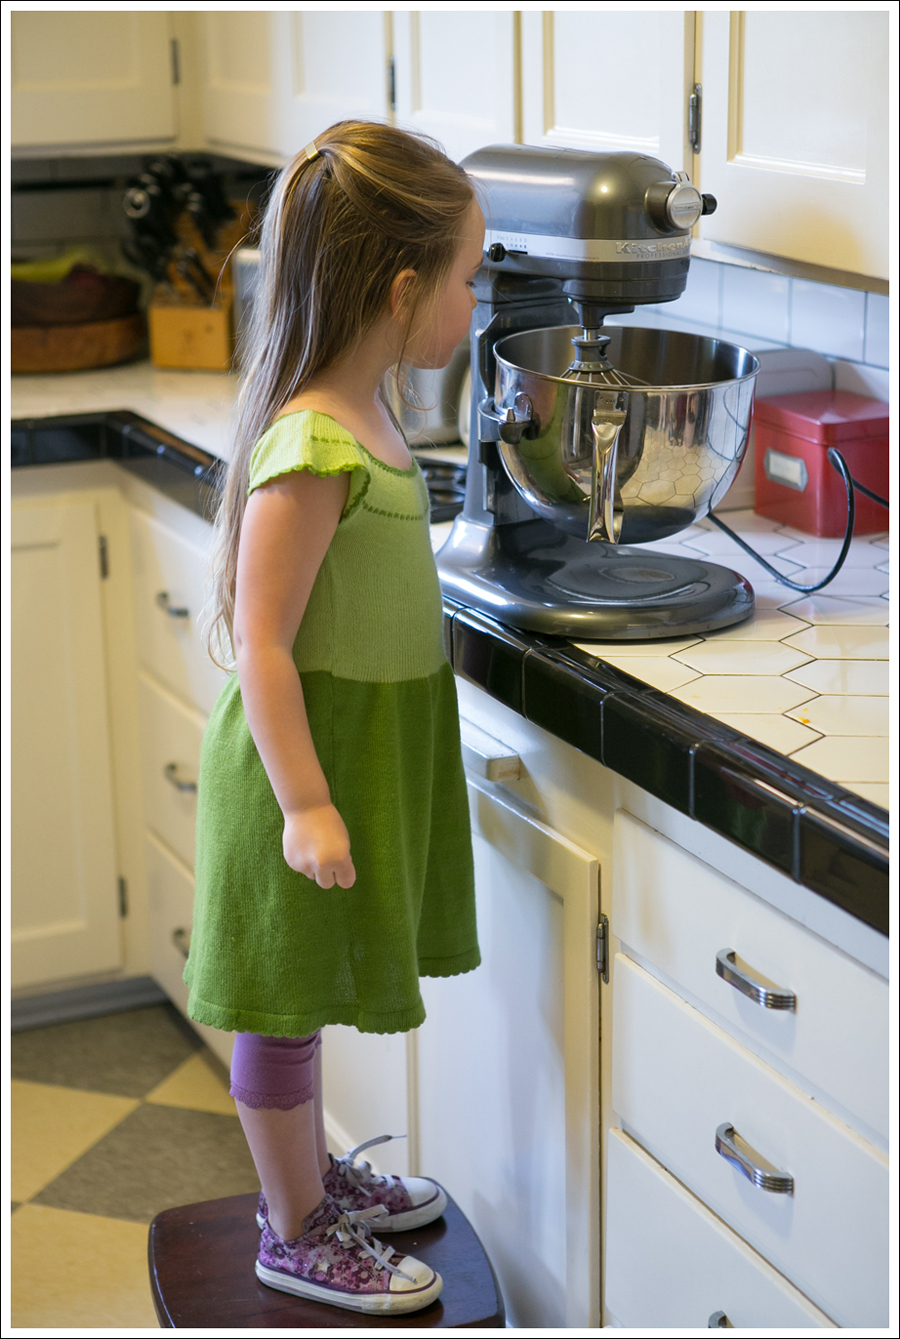
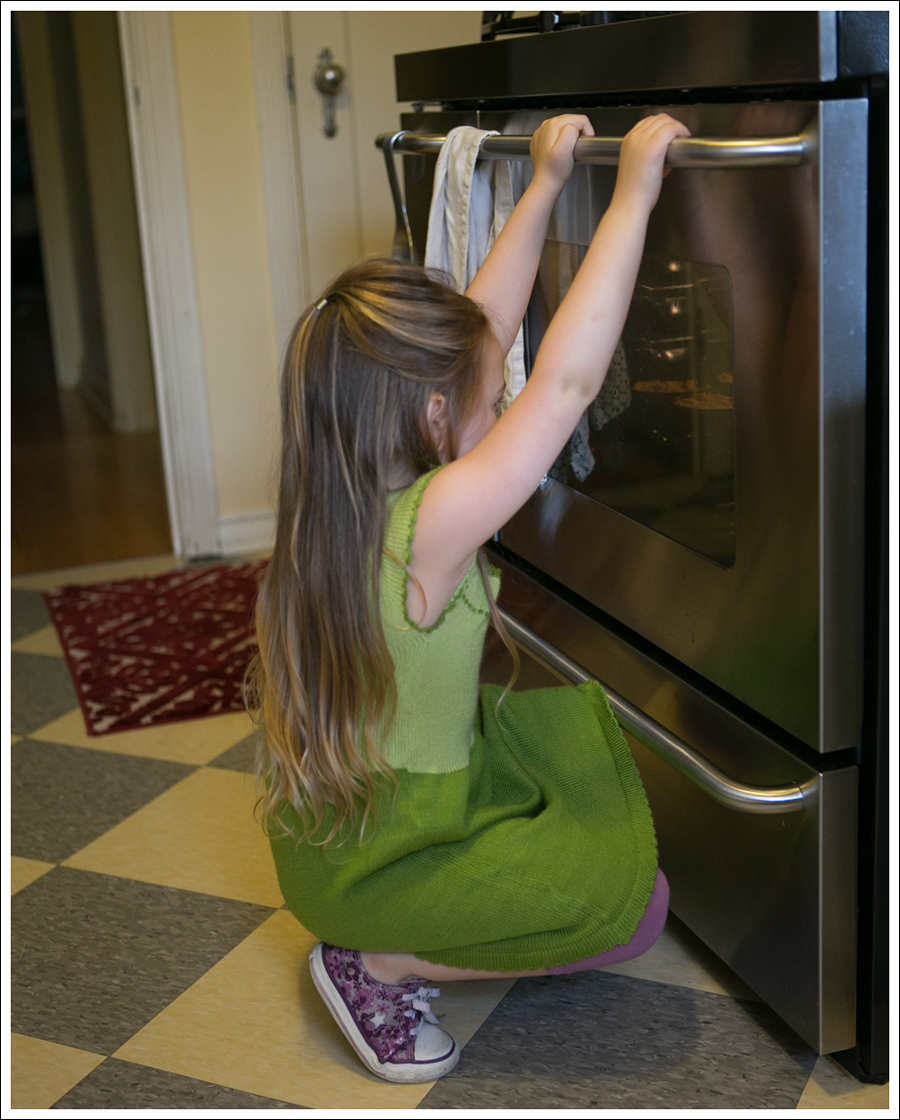
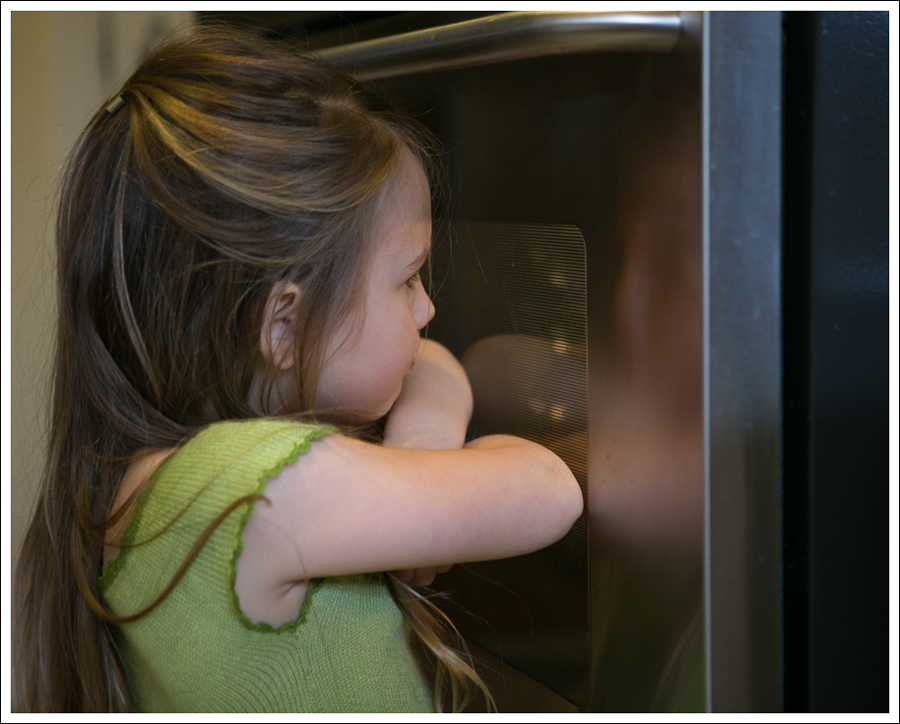
I took this with my phone, as I didn’t have a lot of extra time to take pics while we were baking.  Super easy to let kids help you zest!  She also loved working our Vitamix!

4 Ingredient Quinoa + Sun Butter + Maple Syrup + Hemp Seed Protein Balls

I may be alone here, but I don’t think I am.  As a busy mom, granola bars/protein bars are kind of a must to survive.  Both for us and our kids!!  Grab on the go.  Or in between snack that you want to feel ok giving them, BUT…so many have a LOT of ingredients that you may or may not be ok with, but you do it anyways, because….SURVIVAL.  And…they can be really expensive if you don’t buy them in bulk.  I’ve been dying to make my own, but it seemed like a LOT of work.  SO….I abbreviated my efforts and went simple.  As I do… 😉

One day, I’ll blog about a simple, inexpensive, healthy protein bar, but until then… 😉

These are not a dessert, although, I convinced Maya they were for a few nights haha.  More like a healthy snack to tide you over 🙂Blog Quinoa Sun Butter Hemp Seed Protein Balls-1 Blog Quinoa Sun Butter Hemp Seed Protein Balls-2
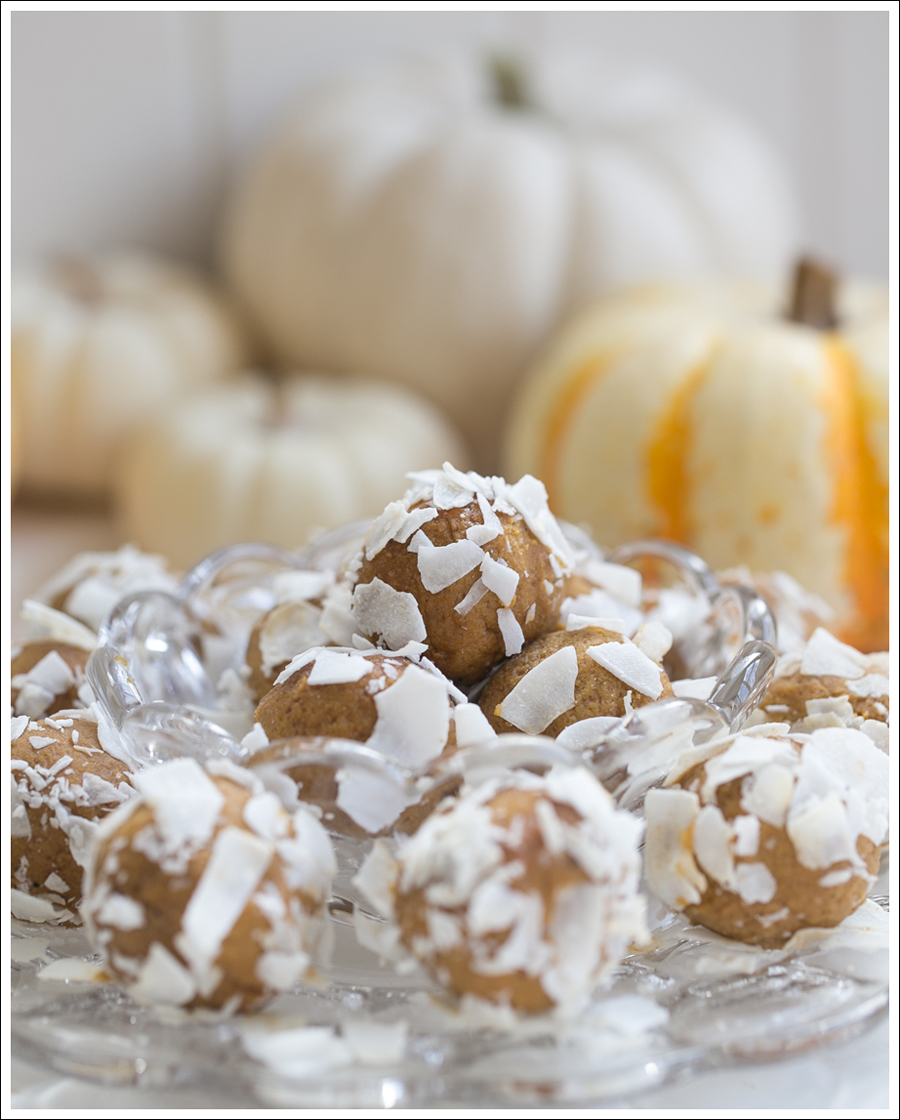
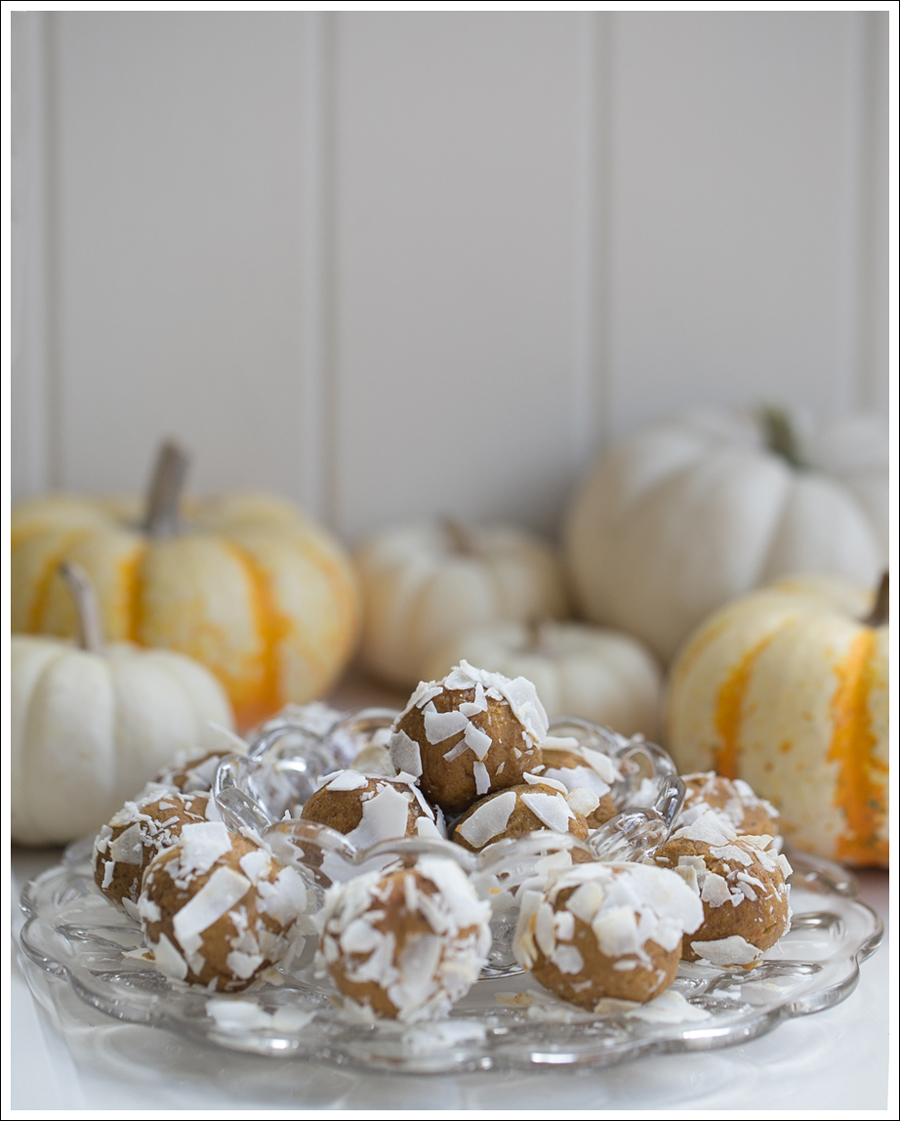
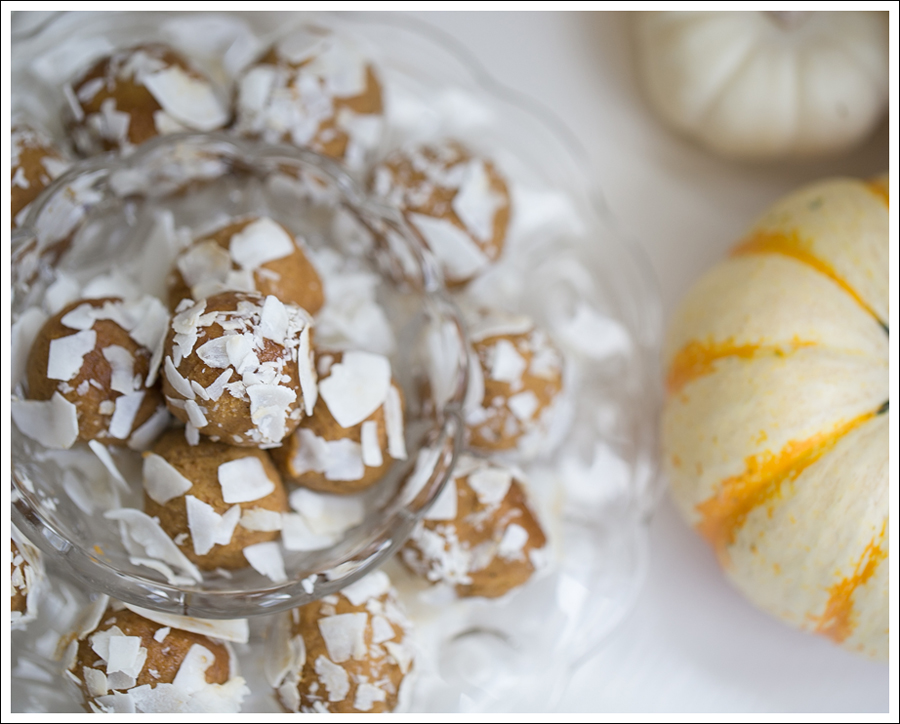
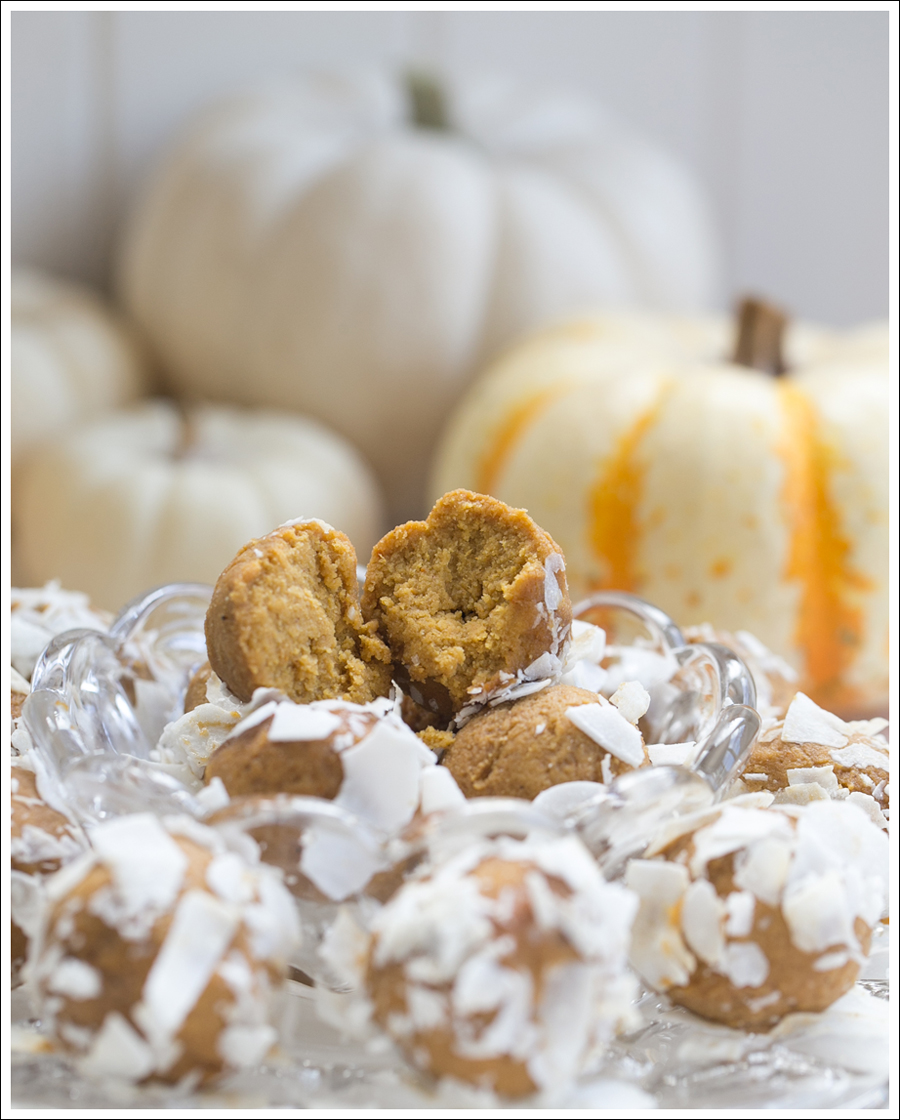
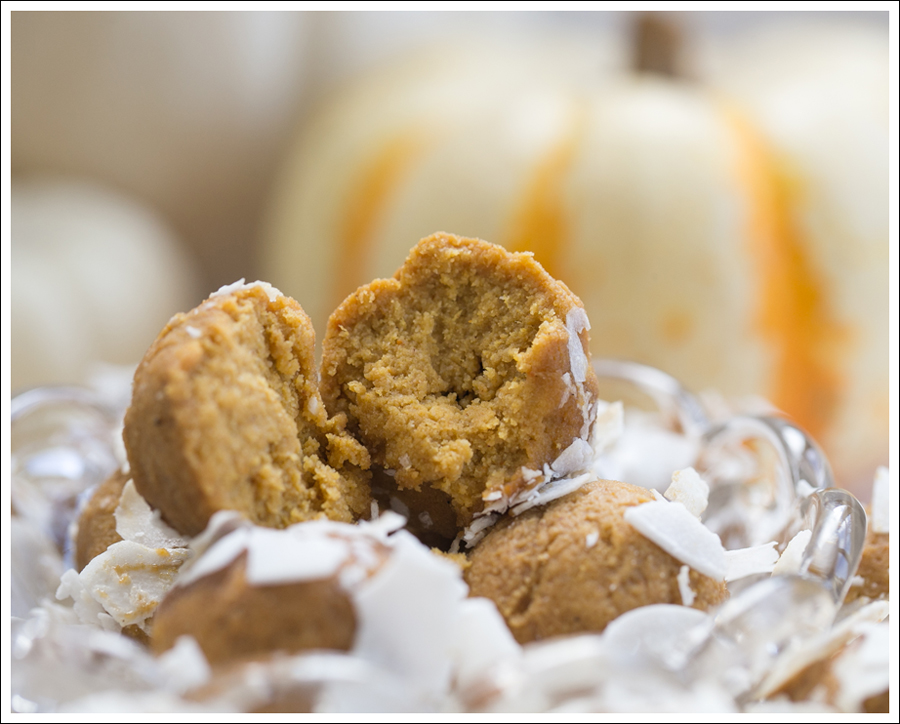
Ingredients (Made 34 Balls)

  • 1 Cup uncooked Quinoa
  • 6 Tablespoons Sun Butter
  • 1/4 Cup Organic Pure Maple Syrup
  • 6 Tablespoons Hemp Seeds (for rolling-btw, OBSESSED with Hemp Seeds right now!!  If you’re interested in the health benefits, read here.  Oh, and they’re yummy!)

(All these ingredients I found at Costco.  NOT in any way sponsored, but just an easy “Mama cooking for the masses” FYI ;))

Directions

  • Cook Quinoa as directed (I did mine in my rice cooker and it took me 30 seconds of prep, but about 30-45 minutes to wait :))
  • Stir in Sun Butter and Maple SyrupBlog Quinoa Sun Butter Hemp Seed Protein Balls-3 The reward of licking the measuring cup…who could deny such a thing??!!Blog Quinoa Sun Butter Hemp Seed Protein Balls-4 Blog Quinoa Sun Butter Hemp Seed Protein Balls-5 Blog Quinoa Sun Butter Hemp Seed Protein Balls-6
  • Take 1 Tablespoon amounts and form into balls
  • Roll the balls in hemp seeds.Blog Quinoa Sun Butter Hemp Seed Protein Balls-7
  • Refrigerate for an hour in a air tight container and store for future snacking 🙂

ENJOY!

dit-elle-Lauren

4 Ingredient Healthy Banana Maple Sunbutter Mini Muffins!

Every once in a while, I stumble upon a food blogger than not only makes me want to make every single recipe they post, but also…makes me die laughing!

One of those would be Arman, from The Big Man’s World.

I finally dove in on his Healthy 4 Ingredient Chunky Banana Bread, but subbed out the almond butter for Sun Butter (I have a bit of a nut intolerance and with most schools being nut free now, it’s all we eat + YUM!)

I made them into mini muffins instead of a loaf, because…portion control 😉  He is totally right.  The texture is gooey deliciousness!!  I mean, is there ever an adjective that makes you want to dive into a dessert other than “gooey”???!!  No. 🙂Blog 4 Ingredient Paleo Banana Maple SunButter Mini Muffins-1 Blog 4 Ingredient Paleo Banana Maple SunButter Mini Muffins-2 Blog 4 Ingredient Paleo Banana Maple SunButter Mini Muffins-3What you need… (made 19 mini muffins)

  • 3 cups overripe banana, mashed roughly
  • 1/2 cup coconut flour, sifted
  • 1/2 cup smooth Sun Butter (can sub for any nut butter, if you’d like)
  • 1/2 cup pure maple syrup

What to do…

  • Preheat the oven to 350 degrees and grease mini muffin tins
  • In a large mixing bowl mash bananas til they are smooth with a few chunks.
  • Add in sifted coconut flour, sun butter, and maple syrup.  If spills occur, guess on how much more to add 😉  Blog 4 Ingredient Paleo Banana Maple SunButter Mini Muffins-6 Blog 4 Ingredient Paleo Banana Maple SunButter Mini Muffins-7 Blog 4 Ingredient Paleo Banana Maple SunButter Mini Muffins-8
  • Lick the measuring cup…oh, wait 🙂  BUT…the great thing about only 4 ingredients (with no eggs!) is that you totally CAN lick the spoon and measuring cup worry free!  Although, let’s be real.  In my day, I made cookie dough with eggs and ate so much dough while making them, that I didn’t even want the cookies. 😉 I turned out just fine, but…whatever.  Play it safe, no?Blog 4 Ingredient Paleo Banana Maple SunButter Mini Muffins-4 Blog 4 Ingredient Paleo Banana Maple SunButter Mini Muffins-5
  • Spoon out about 1/4 cup into each mini tin.  Or, if you want to make regular muffins, until they look like this.  They don’t rise much.Blog 4 Ingredient Paleo Banana Maple SunButter Mini Muffins-9
  • Bake for 20-25 minutes, or until golden on top. Remove from oven and allow to sit until completely cool. Blog 4 Ingredient Paleo Banana Maple SunButter Mini Muffins-10Enjoy!dit-elle-Lauren


Gingersnap Cookies // Paleo, Nut Free

Happy NEW YEAR!!!

Truth be told, I made these last week.  I’m not going to lie.  I almost said &*^% it to the cookies for Santa this year (BAD MOMMY!!!), but…someone kept me honest.  AND…I’m always on the hunt for a healthier version of a cookie that I love.  Honestly, I set out to make Gingerbread men…decorated and all.  AND THEN…life happened.  So, honestly, we are lucky these cookies happened at all!  Our entire family is a sucker for gingersnaps, so I thought this might be the perfect thing to try.

The biggest dilemma (in my opinion!) is underbaking vs overbaking vs just right baking.  WHO KNOWS??!!  I’m usually a fan of underbaking.  The ooey gooey goodness is spot on as far as I’m concerned.  BUT…when you are talking Ginger SNAP…well, snap leads you towards the more crunchy aspect, no?

I cooked the two batches a little differently.  One for a little longer, and one for a little less.  I’m still on the fence about which one I liked better ha!Blog Paleo Nut Free Ginger Snap Cookies-1 Blog Paleo Nut Free Ginger Snap Cookies-2 What you need…(makes 2 dozen cookies)

  • 1 cup Sun Butter (you could use any nut butter if you have no dietary restrictions)
  • 3 Tablespoons Pure Molasses
  • 2 large eggs, room temperature
  • 2 teaspoons freshly grated ginger root
  • 3/4 cup coconut sugar
  • ¼ cup coconut flour
  • 1 teaspoon baking soda
  • 1/4 teaspoon ground pumpkin spice (originally called for all spice)
  • 1/4 teaspoon ground cinnamon
  • 1/4 teaspoon ground ginger
  • 1/2 teaspoon sea salt
  • A pinch of freshly ground pepper (sounded weird to me, but I went with it ha!)


What to do…

  • Preheat oven to 350 degrees.
  • Line two baking sheets with parchment paper.  I wouldn’t skip this as they really are pretty gooey and sticky.
  • In the bowl of a stand mixer with a paddle attachment or by hand, beat together the sun butter, molasses, eggs and freshly grated ginger until smooth.  It’s STICKY, as an fyi, so hand mixers won’t work as well because they just get really stuck in all the blades…I actually tried, and then switched over.  Not a deal breaker, just a warning 🙂
  • Into a medium bowl, sift together coconut sugar, coconut flour, baking soda, ginger, cinnamon, pumpkin spice, salt and pepper.
  • Slowly add the sugar and spice mixture to the almond butter mixture while mixing on low until just combined.
  • Drop the dough by the rounded Tablespoons about 2 inches apart on the prepared baking sheets.Blog Paleo Nut Free Ginger Snap Cookies-3
  • Bake for about 10-12 minutes of you want a softer cookie go on the 10 side, crisper on the 12 side.
  • Cool 2 minutes on the baking sheets out of the oven then transfer the parchment paper with the cookies to wire racks to cool completely.Blog Paleo Nut Free Ginger Snap Cookies-4Maya deciding exactly which one she wanted 😉 Blog Paleo Nut Free Ginger Snap Cookies-5 Blog Paleo Nut Free Ginger Snap Cookies-6

Adapted from Gourmand In The Kitchen- Thank you!

dit-elle-Lauren

Mini Pumpkin Cake with Maple Pumpkin Frosting and Caramel Glaze // Paleo

This base of this cake is the same as the Baked Pumpkin Doughnuts with Maple Pumpkin Glaze that I posted the other week.  In fact.  I did the doughnuts in one pan, and then had a muffin top pan that I used to make these at the same time!  It’s a two-fer recipe-WIN!!

How perfect would this be for a smash the cake session for a 1 year old?!!  Ok, the photographer in me is coming out 😉

For a size reference.  The cake is about 4″ in diameter 🙂Blog Paleo Pumpkin Cake with Maple Pumpkin Frosting and Caramel Glaze-1 Blog Paleo Pumpkin Cake with Maple Pumpkin Frosting and Caramel Glaze-2Blog Paleo Pumpkin Cake with Maple Pumpkin Frosting and Caramel Glaze-3 Blog Paleo Pumpkin Cake with Maple Pumpkin Frosting and Caramel Glaze-4 Blog Paleo Pumpkin Cake with Maple Pumpkin Frosting and Caramel Glaze-5Ingredients

(for Cake-will make 6 doughnuts and 5 muffin tops/cake layers or 10 muffin top layers for multiple mini cakes!)

  • 5 large eggs
  • ½ cup Almond Milk (you could use cocunut milk too)
  • ½ cup Pure Maple Syrup
  • ½ cup Organic Pumpkin Puree
  • ¼ cup Coconut Oil
  • 1 teaspoon Vanilla Extract
  • 1 ¼ cup Coconut Flour
  • 1 teaspoon Baking Soda
  • 1 teaspoon Pumpkin Pie Spice
  • ¼ teaspoon Sea Salt (I did 20 grinds on my grinder :))
  • ½ cup Unsweetened Applesauce

For the Frosting

  • 1/4 Cup Coconut Cream (refridgerated)
  • 1 Can Full Fat Cocunut Milk (refridgerated)
  • 1 Tablespoons Organic Pumpkin
  • 2 Tablespoons Coconut Oil
  • 1 Tablespoon Coconut Flour
  • 1/4 Cup Honey

Glaze

What to do

(For the Cake)

  • Preheat oven to 350 degrees F and oil the insides of your muffin top pan really well. I put coconut oil on a paper towel and rubbed it around.
  • Mix all the wet ingredients until eggs are fully blended
  • Add the dry ingredients, then mix until dough is formed
  • Fill muffin top tins to the top (the dough is dense and doesn’t rise very much)
  • Bake for 20 minutes. Let them cool for about 10 minutes, then pop them out and cool on cooling rack.
  • Once cool.  Drizzle with glaze.  Best eaten right after glazing.  Or…skip the glaze and eat as is!

(For the Frosting)

  • Scoop out the hardened part of the full fat coconut milk and place in a bowl.
  • Add the rest of the ingredients.
  • Whip everything with a high speed mixer for about a minute-scraping down the sides a few times as you go.
  • Put into a pastry bag and decorate as you want!  Or slap it on with a spoon and knife and call it good 😉

Drizzle glaze and eat right away.  Or…refrigerate frosted cake, and let sit for about 20 minutes.  Then glaze and eat.  Glaze will harden after about 15 minutes.

NOTE

The frosting isn’t as flavorful as I imagined it would be, and I honestly thought it would be a flop. UNTIL…I drizzled the glaze over everything. The cake base and the glaze are so flavorful, that the frosting being not as flavorful is perfect. The creamy texture of it is a nice balance to the dense cake, and creamy decadent glaze. Blog Paleo Pumpkin Cake with Maple Pumpkin Frosting and Caramel Glaze-6Enjoy!dit-elle-Lauren

Baked Pumpkin Doughnuts with Maple Pumpkin Glaze // Paleo

I’ve been dying to make baked pumpkin donuts.  We finally did this last week, and they were so good!  I couldn’t really find a recipe that matched up with the ingredients I had on hand (no time to go to the store ;)), so I kind of made it up as I went along using Against All Grain‘s “Baked Pumpkin Spice Doughnuts” as my guide and changed/added things here and there from what I had on hand and what I thought it needed.

These are baked instead of fried, are paleo, and have no refined sugar.  No guilt, yet delicious-WIN!

I drizzled the Paleo Maple Pumpkin Sauce/Glaze that I posted yesterday over them, and…YUM!!!

Blog Paleo Pumpkin Doughnuts with Maple Pumpkin Glaze Caramel Sauce-1 Blog Paleo Pumpkin Donuts with Maple Pumkin Glaze Caramel Sauce-2 Blog Paleo Pumpkin Donuts with Maple Pumkin Glaze Caramel Sauce-3Ingredients

  • 5 large eggs
  • ½ cup Almond Milk (you could use cocunut milk too)
  • ½ cup Pure Maple Syrup
  • ½ cup Organic Pumpkin Puree
  • ¼ cup Coconut Oil
  • 1 teaspoon Vanilla Extract
  • 1 ¼ cup Coconut Flour
  • 1 teaspoon Baking Soda
  • 1 teaspoon Pumpkin Pie Spice
  • ¼ teaspoon Sea Salt (I did 20 grinds on my grinder :))
  • ½ cup Unsweetened Applesauce
  • Maple Pumpkin Glaze

What to do

  • Preheat oven to 350 degrees F and oil the insides of your doughnut pan really well. I put coconut oil on a paper towel and rubbed it around.
  • Mix all the wet ingredients until eggs are fully blended
  • Add the dry ingredients, then mix until dough is formed
  • Fill doughnut tins to the top (mine didn’t rise very much)
  • Bake for 20 minutes. Let them cool for about 10 minutes, then pop them out and cool on cooling rack.
  • Once cool.  Drizzle with glaze.  Best eaten right after glazing.  Or…skip the glaze and eat as is!

Having a cute assistant isn’t necessary, but it helps 🙂

Blog Paleo Pumpkin Donuts with Maple Pumkin Glaze Caramel Sauce-4 Blog Paleo Pumpkin Donuts with Maple Pumkin Glaze Caramel Sauce-5 Blog Paleo Pumpkin Donuts with Maple Pumkin Glaze Caramel Sauce-6 The batter is pretty dense and only rises slightly, so you can fill the molds up to the top.Blog Paleo Pumpkin Donuts with Maple Pumkin Glaze Caramel Sauce-7 Blog Paleo Pumpkin Donuts with Maple Pumkin Glaze Caramel Sauce-8 And then…you wait 🙂Blog Paleo Pumpkin Donuts with Maple Pumkin Glaze Caramel Sauce-9 Blog Paleo Pumpkin Donuts with Maple Pumkin Glaze Caramel Sauce-10 Blog Paleo Pumpkin Donuts with Maple Pumkin Glaze Caramel Sauce-11Blog Paleo Pumpkin Doughnuts with Maple Pumpkin Glaze Caramel Sauce-4Enjoy!dit-elle-Lauren

Easy Paleo Maple Pumpkin Sauce

I made this with the thought of drizzling it over some pumpkin doughnuts I made (recipe coming tomorrow!).  After I made it though, I thought of a kazillion different things it would be great on.  Hence…it’s getting it’s own post 🙂

And…it’s only 4 ingredients.  Paleo, no added refined sugar, nut free, dairy free, and vegan.  BUT…it’s delicious and you’ll want to put it on everything haha.Blog Paleo Pumkin Glaze Caramel Sauce-2Ingredients

  • 2 Tablespoons Coconut Oil
  • 1 Tablespoon Pure Maple Syrup
  • 1 Tablespoon Organic Pumpkin Puree
  • 1 Tablespoon No Sugar Added Sun Butter (if you don’t have to worry about nut allergies, you could substitute any creamy nut butter)

What to do…

Combine all these ingredients and either microwave or heat over the cook top until all melted and combined to a creamy texture.  Let it cool a little before you drizzle over whatever you are drizzling it over (doughnuts, cupcakes, banana ice cream, yogurt, oatmeal…the possibilities are endless) or dip fruit into it!  It will harden after a few minutes.

Blog Paleo Pumkin Glaze Caramel Sauce-1 Enjoy!dit-elle-Lauren

Stuffed Mushrooms

It’s mushroom season! White or Crimini Mushrooms work great for this recipe. This is a great paleo snack. Make them with or without cheese!

mushrooms stuffed blog (2) mushrooms stuffed blog (1)

Ingredients

  • 6 oz white or crimini mushrooms
  • 2 Tbsp butter
  • 1/2 onion, finely chopped
  • 1 lb mild Italian sausage, casings removed
  • 1 cup celery, finely chopped
  • 1/2 cup red bell peppers, finely chopped
  • 2 Tbsp fresh oregano leaves, minced
  • 2 garlic cloves, minced
  • 1 egg
  • 3 tsps. fresh Italian parsley, minced (or 2 tsp dried parsley)
  • Salt/pepper to taste
  • 1/2 cup Parmesan cheese, grated (optional)

Directions

  • Oven to 350*
  • Clean mushrooms with a damp cloth and remove stems
  • Finely chop just the stems
  • Place cleaned mushrooms, caps down on baking sheet and set aside
  • Heat butter and saute onion for 4-5 minutes or until golden
  • Add sausage to skillet and cook until browned
  • Add celery, red bell pepper, and finely chopped mushroom stems and cook for another 5-7 minutes
  • Add oregano and garlic and cook for 2-3 minutes
  • Place meat mixture in food processor with egg and parsley and pulse until mixture is finely chopped
  • Spoon meat mixture into each mushroom cap, top with cheese (optional and bake for ~20-30 minutes until mushrooms are tender and filling is starting to brown
  • Enjoy! 🙂

dit-elle-Esther

Pumkin Protein Balls with Coconut // Paleo

Tis the season, no?  I’ve been seeing Pumpkin Balls pop up here and there, and I decided to try my own.

I will say that these fall into the category of totally yummy, but…healthy 😉  I want to make the distinction, because I do love myself a decadent dessert!!  This is not that.  However, Maya chowed them down, and I love that I can make her things that she things are a total treat that are still healthy!

They are nut free, gluten free, and dairy free.  So, once again…safe to take to preschool or daycare!Blog Paleo Pumkin Protein Balls with Coconut-1 Blog Paleo Pumkin Protein Balls with Coconut-2 Blog Paleo Pumkin Protein Balls with Coconut-3 Blog Paleo Pumkin Protein Balls with Coconut-4 Blog Paleo Pumkin Protein Balls with Coconut-5  Ingredients (Makes 12)

  • 1/2 cup coconut flour
  • 2 cups Organic Pumpkin Puree (got mine at Trader Joe’s)
  • 2 Tablespoons Pure Maple Syrup
  • 1/2 cup Sunflower Butter (can use any nut butter if you aren’t worried about allergies)
  • 1/8 teaspoon pumpkin spice
  • 2 Tablespoons each of coconut sugar and unsweetened coconut to roll the balls in (optional, but I liked the little added sweetness and texture :))

What to do

  • Mix the first 5 ingredients in a bowl, using a high powered mixer or Cuisinart.
  • Scoop out 1 Tablespoon amounts of the dough, and roll in your palm to form a ball.
  • Roll it around in the coconut sugar and coconut and set in the refridgerator to cool for at least an hour.  You can eat them right away, but they are much better once they’ve firmed up!

And, because sharing is caring…  We brought a few over to my parents house.  Maya was a little excited 🙂Blog Maya

ENJOY!dit-elle-Lauren

Tricolor Autumn Salad

This is made with purple cabbage, romaine lettuce and carrots.. full of nutrients, all raw ingredients, crunchy and delicious! Toss with Tahini Dressing and enjoy.

Blog tricolor winter salad blog

Ingredients

  • 1 small head purple cabbage (grated)
  • 1 small head romaine lettuce (finely chopped)
  • 1 cup grated carrots
  • 1 batch Tahini dressing

Tahini Dressing (makes 1.5 cups or so)

  • 1/2 cup roasted tahini
  • 1/2 cup water
  • 1/4 cup freshly squeezed lemon juice
  • 2 Tbsp olive oil
  • 1 tsp sea salt

Directions

  • In a large bowl, toss veggies
  • For dressing, puree ingredients until smooth
  • Toss salad with 1/2 cup or up to all dressing and serve

Source: Thanks Paleo Cooking from Elana’s Pantry

dit-elle-Esther