I’d be lying if I said the journey leading up to this year’s Halloween was an easy one. It was quite possibly the most stressful and tense time Maya and I have had together. The end result was her loving her costume and having the time of her life, and I truly hope that is ALL SHE REMEMBERS. I’ll backtrack a little… October is hands down the busiest time for me at work, so I knew I wanted to get a jump start on Maya’s Halloween costume, so that I wouldn’t be scrambling and stressed out. SO…we went to 3 different thrift stores in the beginning of October. Maya has very strong opinions (NO idea where she gets that from ;)) We finally found a super cool pirate costume. It wasn’t cheesy and cheap, like some costumes, and…it was PURPLE (Maya’s favorite color-WIN!!) The minute we got home, she tried it on and ran downstairs to show daddy.
“DADDY!! I’m a pirate!! Aaaaaaaaaargh!!!”
My momma heart was happy, and I did a silent fist pump for being all done with Halloween so soon! The weeks leading up to Halloween, whenever people would ask her what she was going to be- “A pirate!!! Aaaaaaargh!!”
Then…the Sunday before Halloween. Three days before her preschool Halloween party.
“I don’t want to be a pirate! I want to be a GHOST!”
Insert my face falling to the floor…We went back and forth, but she was stuck. So…I started getting excited. I still had 3 days. I envisioned a really cool ghost costume with a bunch of white tulle, and a really cool painted face. She could still wear a leather jacket to keep warm and it would totally still fit in with a “ghost” look. YAY, I could do this!
“No…I want to be a PLAIN ghost!!”
Well, the forecast for Halloween was lots of rain and SUPER WINDY. A sheet thrown over her with holes cut into it wasn’t going to fly. Or, I guess I should say, it WOULD have flown. Right off her body. SO…sat in front of the computer and looked, and looked at ghost images. Ones that involved layers. She wasn’t buying it.
Then…the night before her party I start scrambling through costumes we already have. Basically every single princess you can imagine has been handed down to her. NOPE. Two different kinds of Minnie Mouse outfits. She actually got excited about one, until she tried it on. “TOO ITCHY, GET IT OFF!!”
Then a witch. I can do that! Nope, never mind. A bee? Yes…no. Wonder Woman (another little girl in her class was going as this, and her mom KILLED IT) I vetoed. NO TIME! A few other super heroes. NO TIME!!!! Me-how about Super Kitty? Yes, I want to be SUPER KITTY.
My parents had gotten her a mask from Venice -“Super” part, DONE. Whiskers drawn on with black eyeliner. 3 yards of tulle wrapped around her and a giant bow as her tail, plus a jacket that kept her warm. DONE!! And she was happy-YAY!!!


 Then…the day after her party (TWO DAYS before Halloween!!!).
“I don’t want to be Super Kitty.”
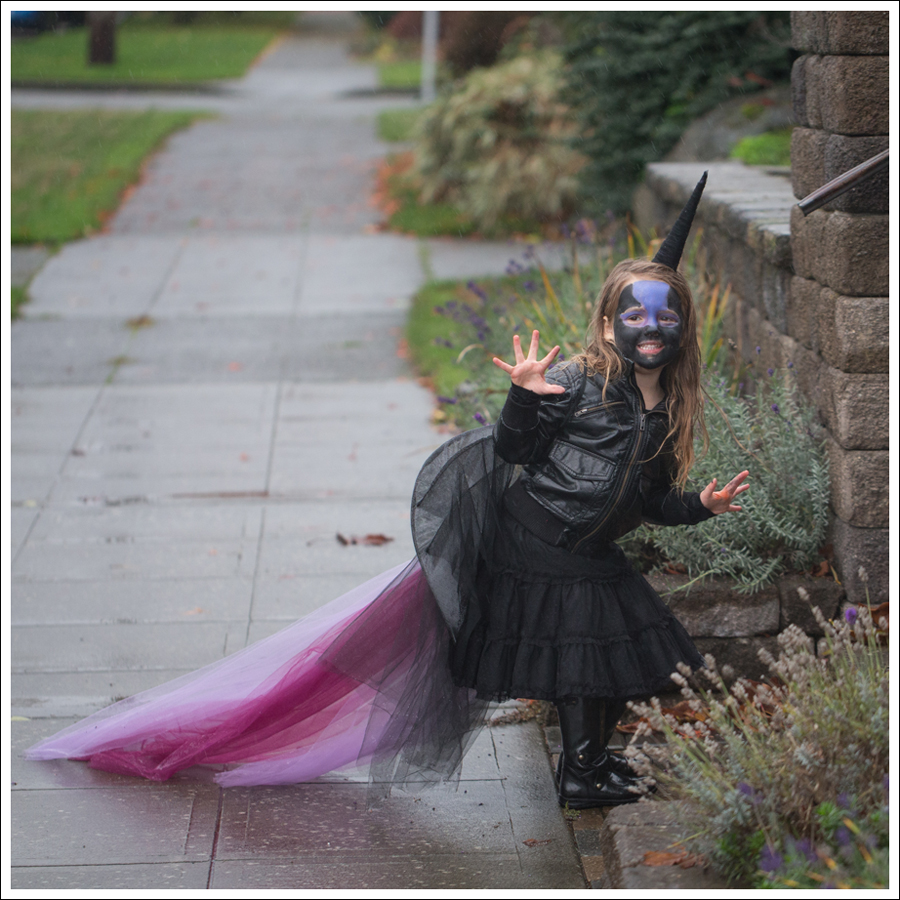
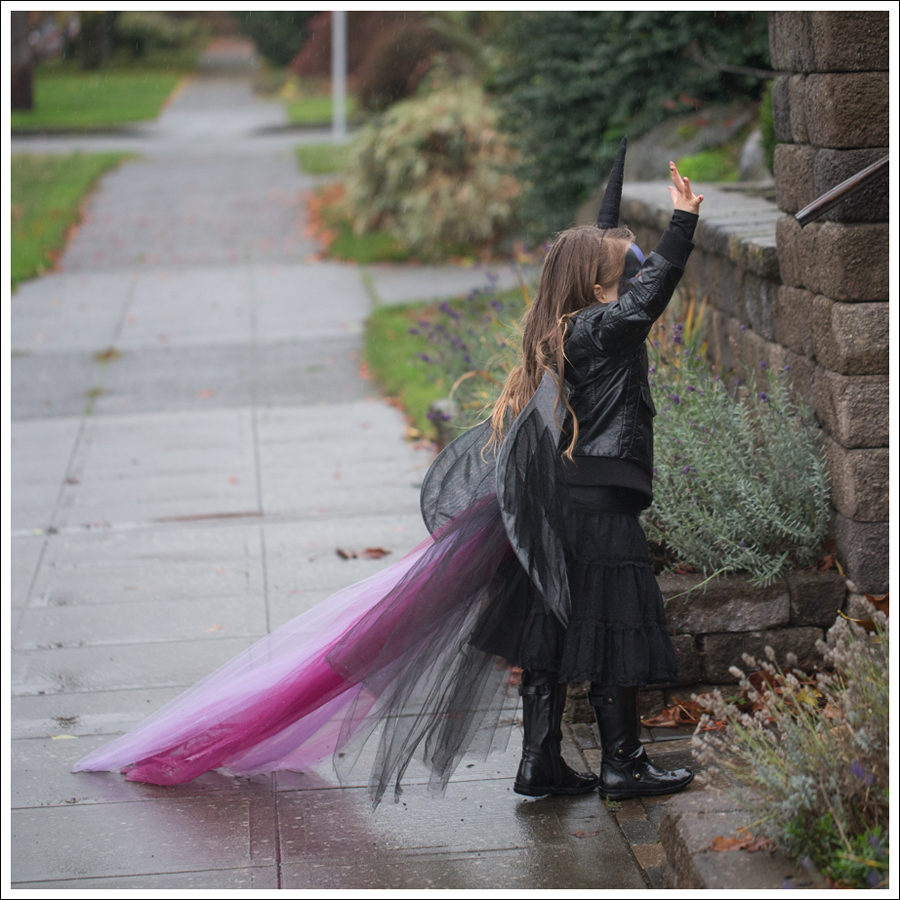
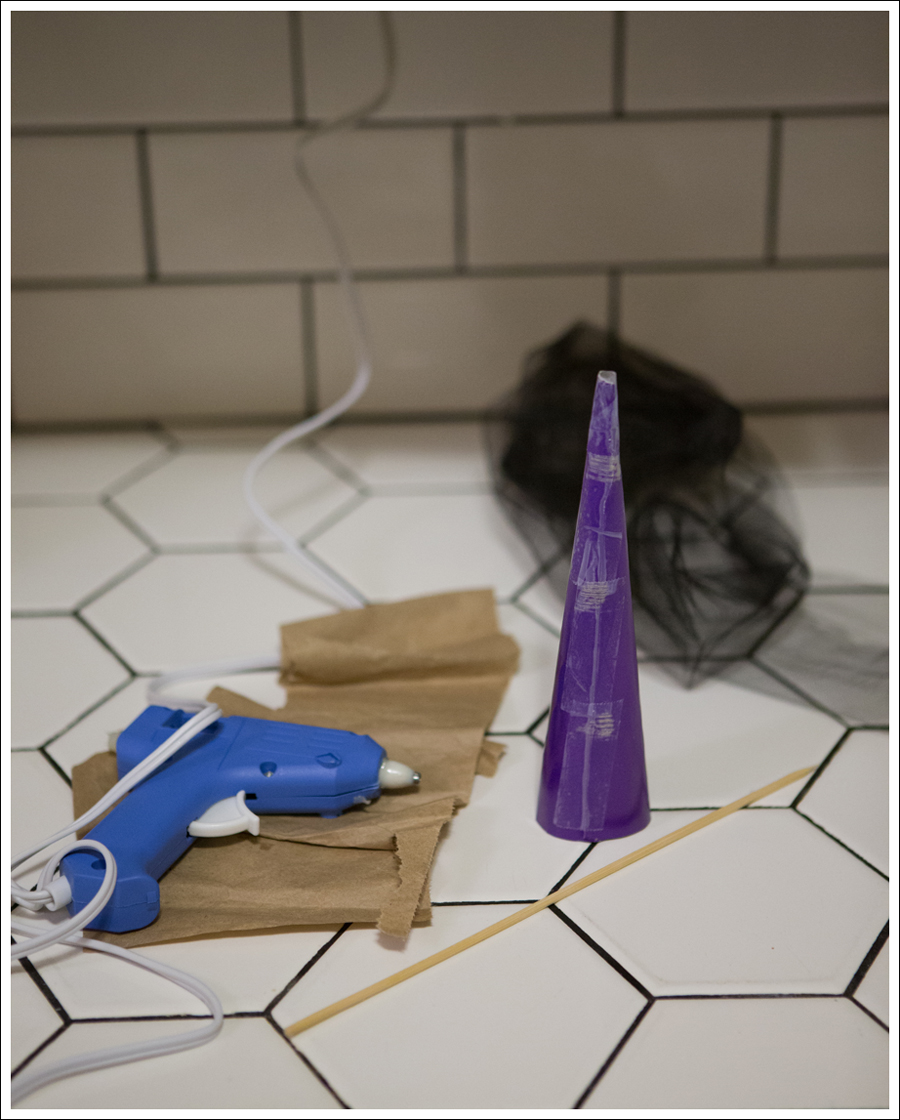
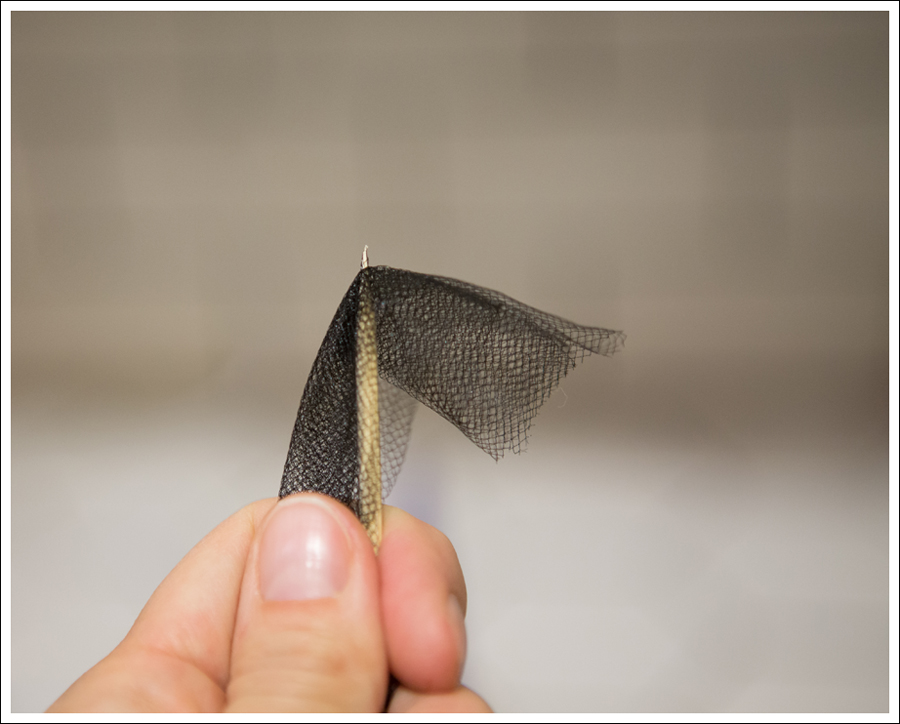
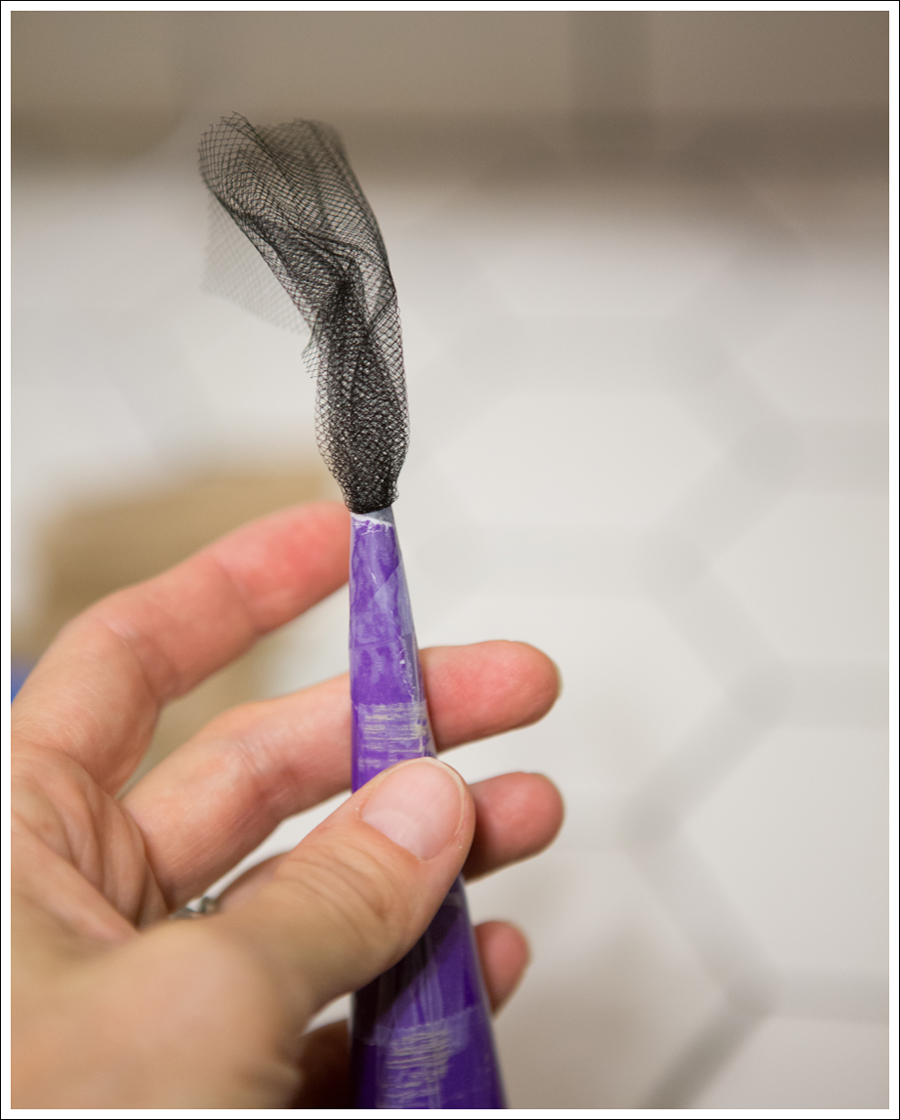
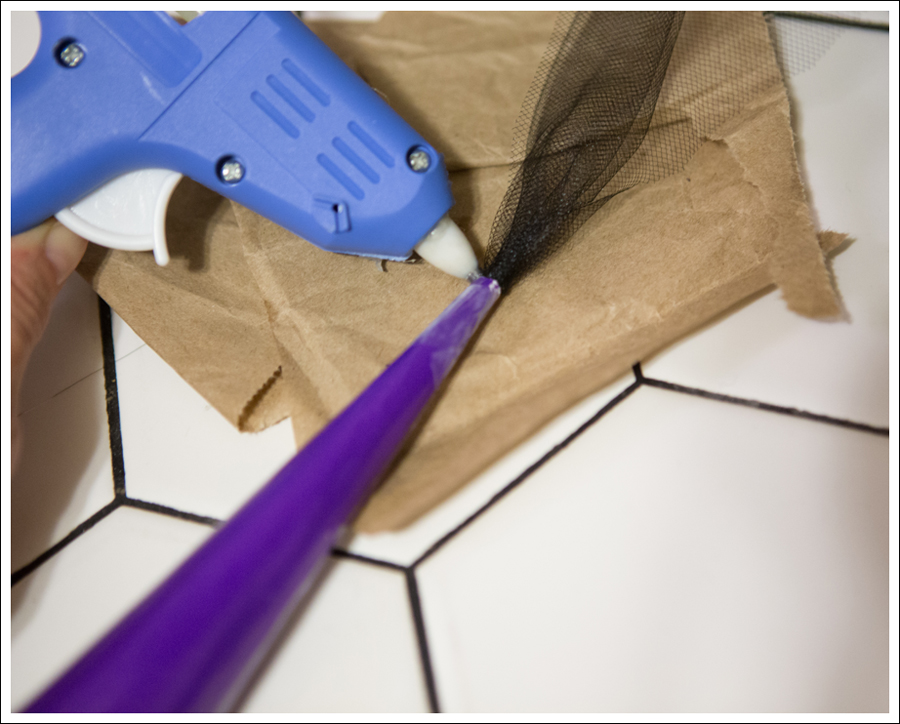
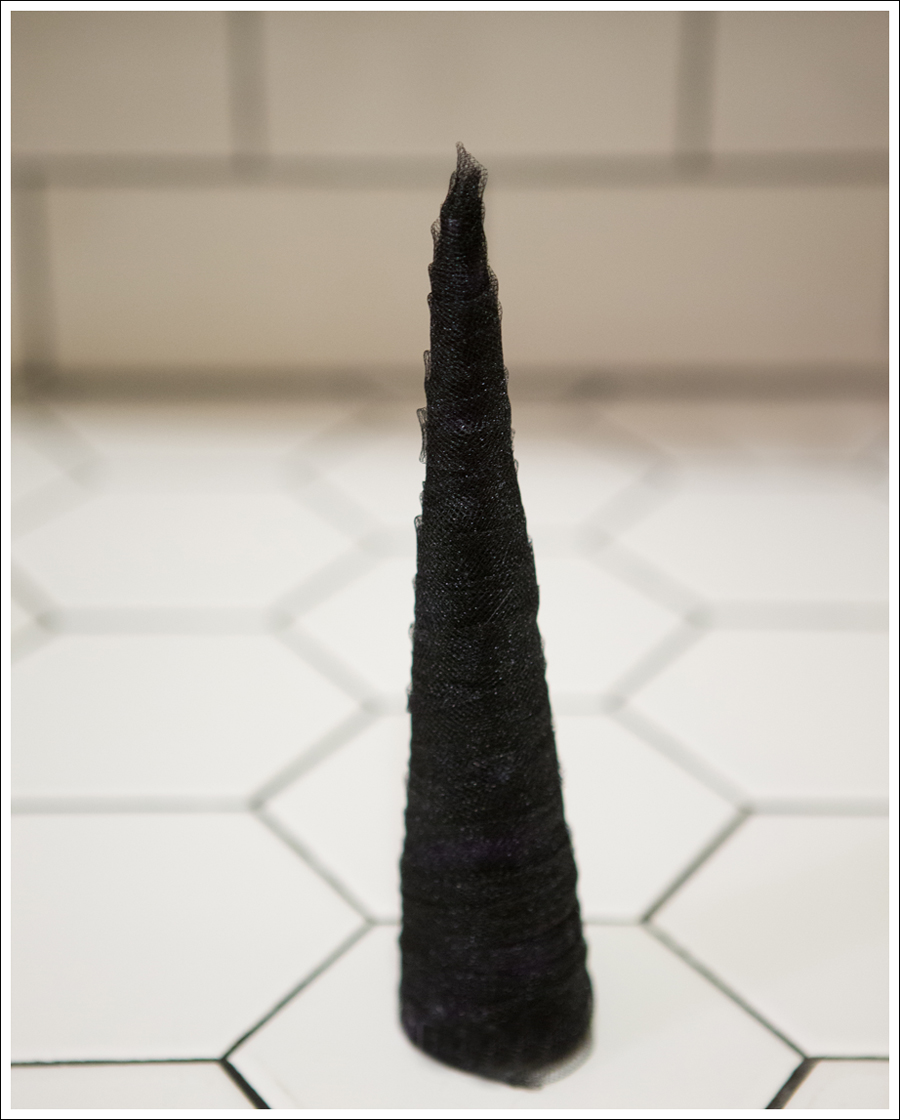
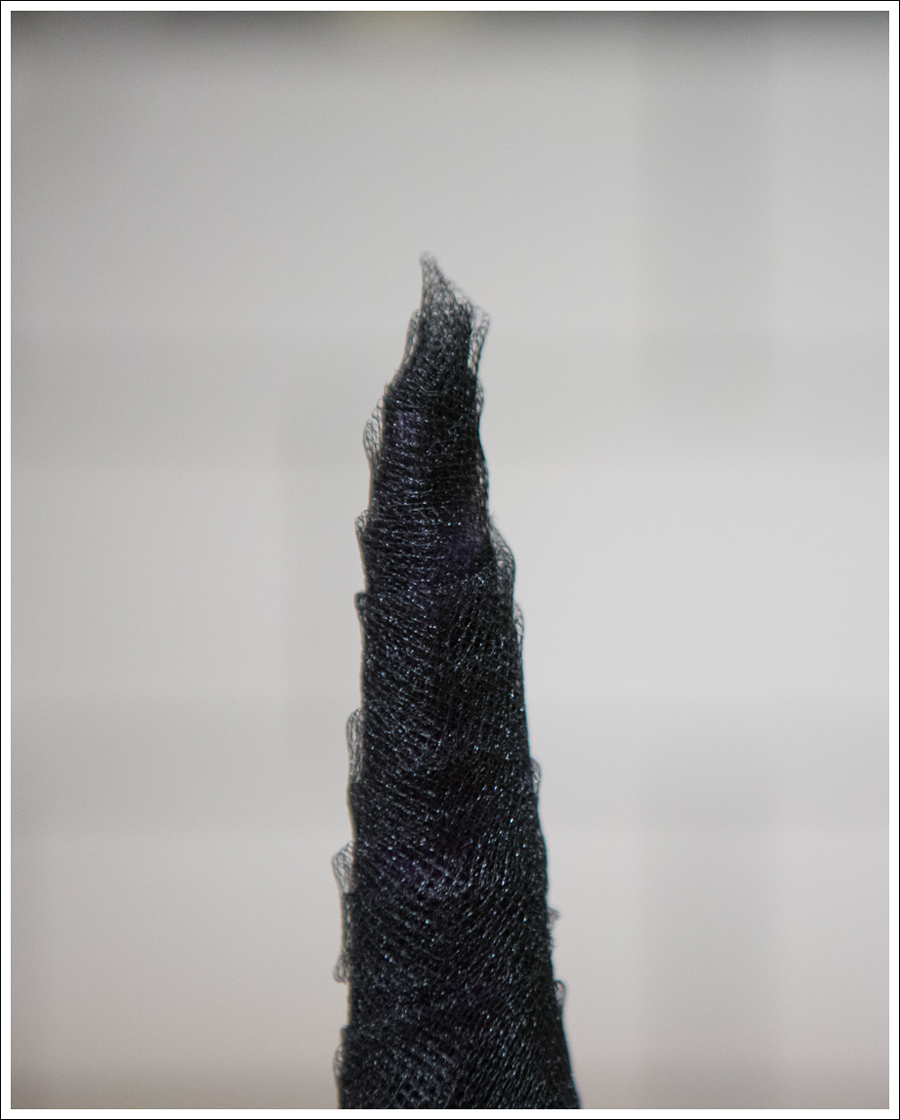
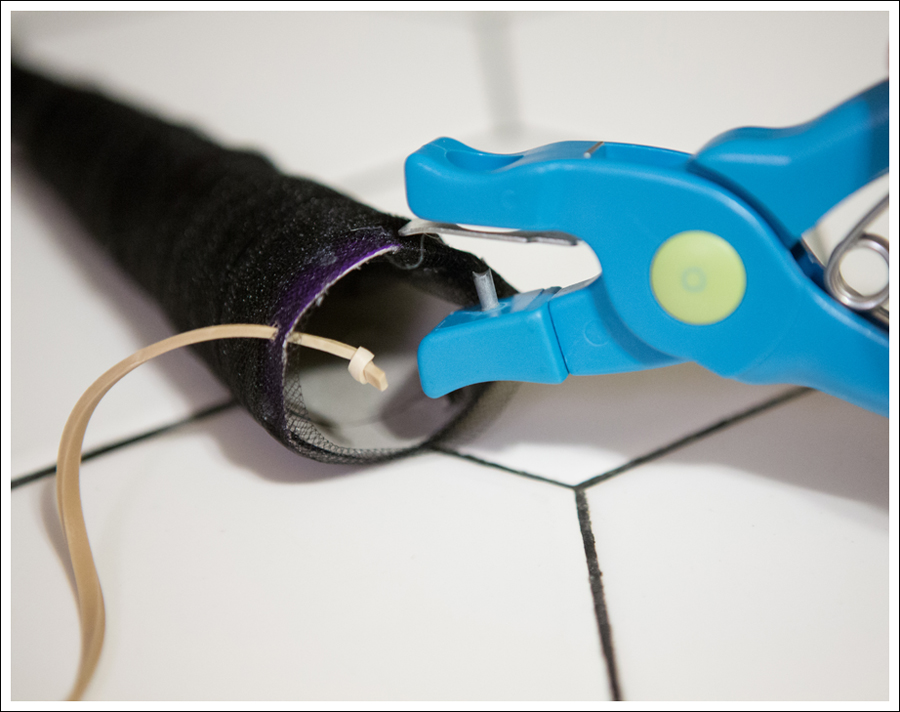
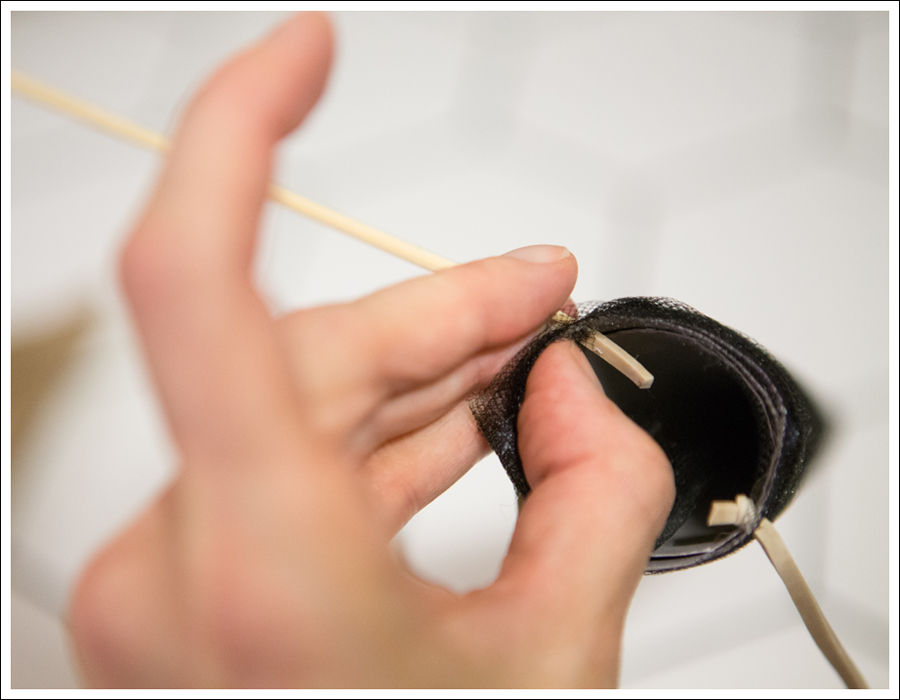
The whole process all over again with about 4-5 more ideas. Finally on Friday, she says. I want to be Darkmare Moon!!! Huh? I googled it, and nothing came up. Then I see an image of black My Little Pony, and she points and says “THAT!!!! That’s Darkmare Moon!!” Oh…Nightmare Moon. So, we spend about 30 minutes looking at pictures to make sure she REALLY wanted to be Darkmare Moon, and then we head out in search of black wings. I figured I could keep the same basic black costume, add wings, do a different tulle tail, switch out the jacket for a black one, and then make a horn. Noooo problem-the day before Halloween. Honestly, it wasn’t that big of a problem. We found some super cool wings right away at a thrift store. I knew I had to work most of Saturday, so I needed to finish the horn Friday night.
I did a variation of the tulle bow, but added a few more colors. Insert meltdown when the tail wasn’t long enough. “I want it to floooooat.” Deep breath in….deep breath out. Ok. I had to give it to her. It did actually look better that way.
I was half way through making the black tulle unicorn horn at about 7pm (after about 3 failed attempts), and Maya goes…”I want to be a RED unicorn!” And I lost it. Like had to walk away and hide in the kitchen and cry lost it. I should also mention that the Huz was out of town this whole time, and again…I’m totally overwhelmed at work, so it wasn’t all the costume changes. And there were a lot of other things that happened, but this blog post is long enough as it is. Maya came running in crying too, saying she was sorry and that she just wanted me to be her best friend again. CRUSHED MY HEART. We just sat in the kitchen hugging. I kept telling her, that I just wanted her to be happy. I wanted her to have an amazing Halloween, and I wanted her to get to be what she wanted, but that she needed to decide and stick with it. Ok.
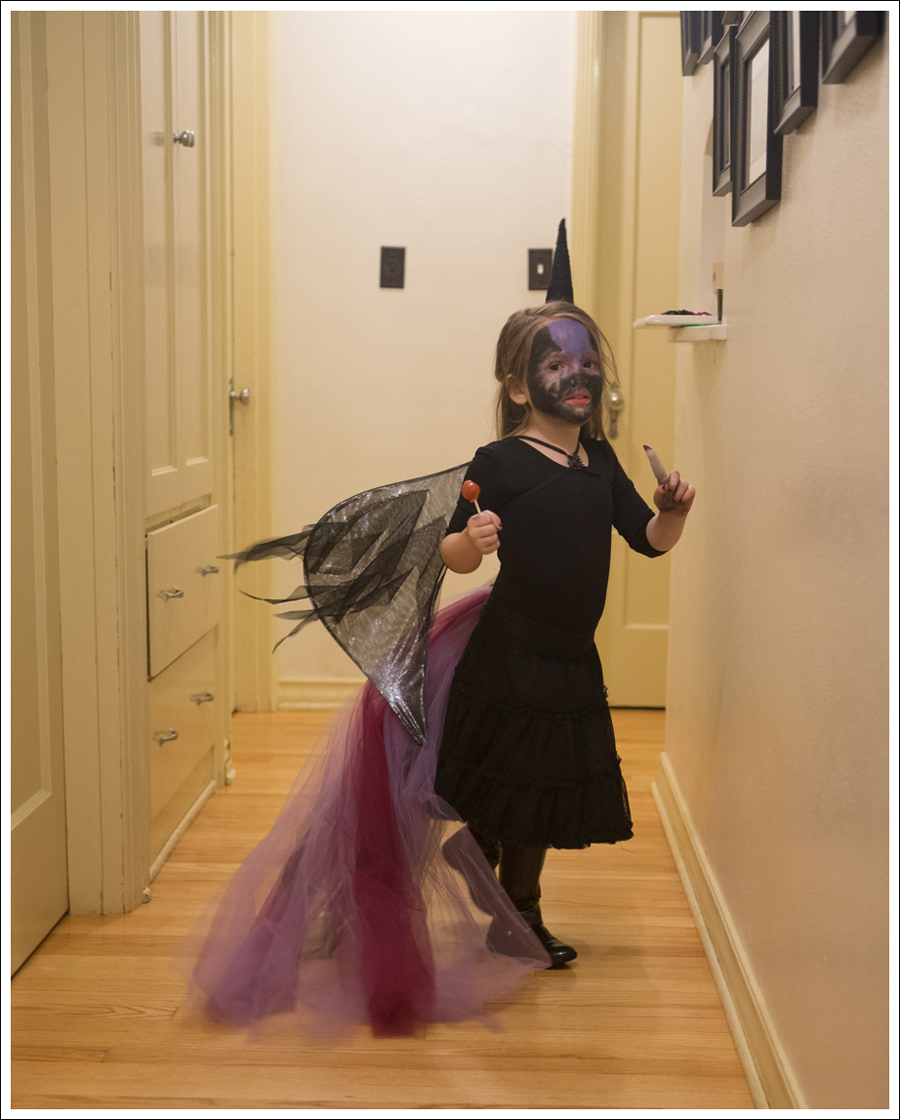
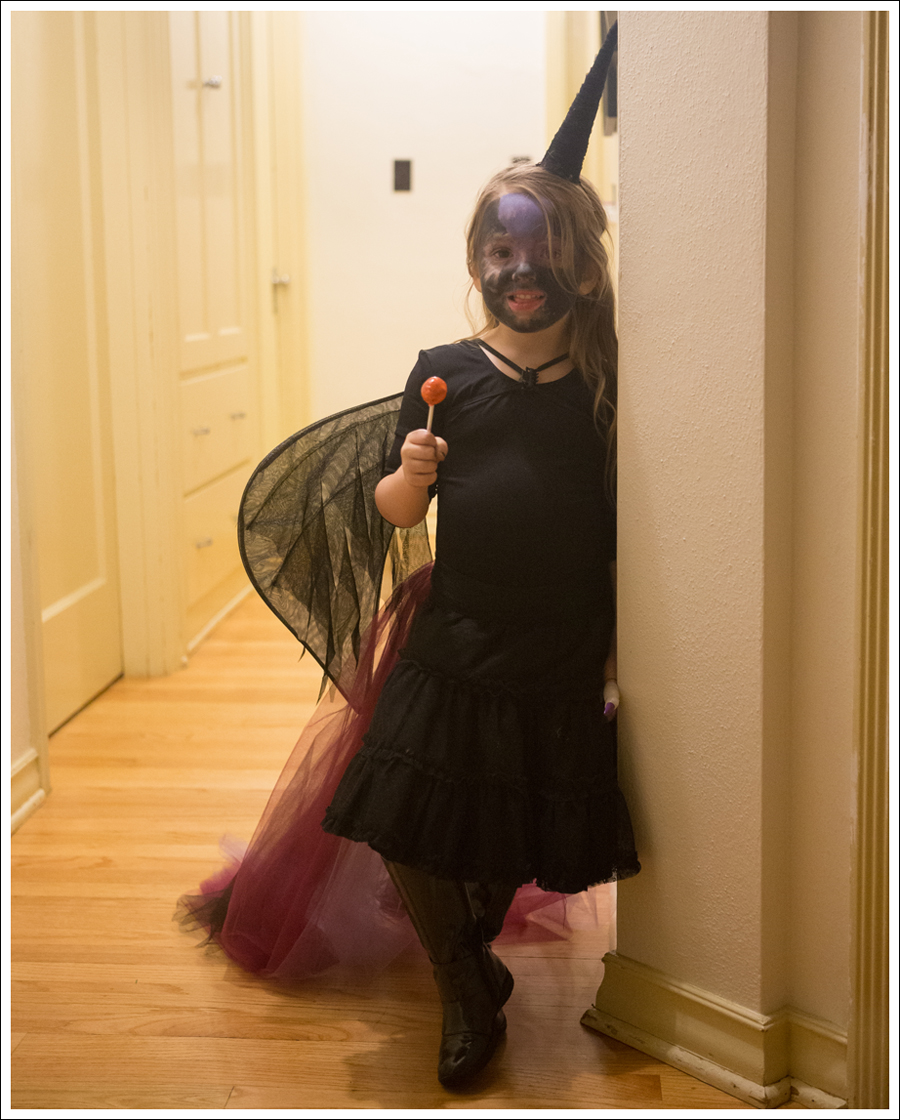
After that, it was smooth sailing. She was super excited about her costume, and had the BEST time trick or treating and telling everyone “I’m DARKMARE MOON!!!” haha.
And it was all worth it.
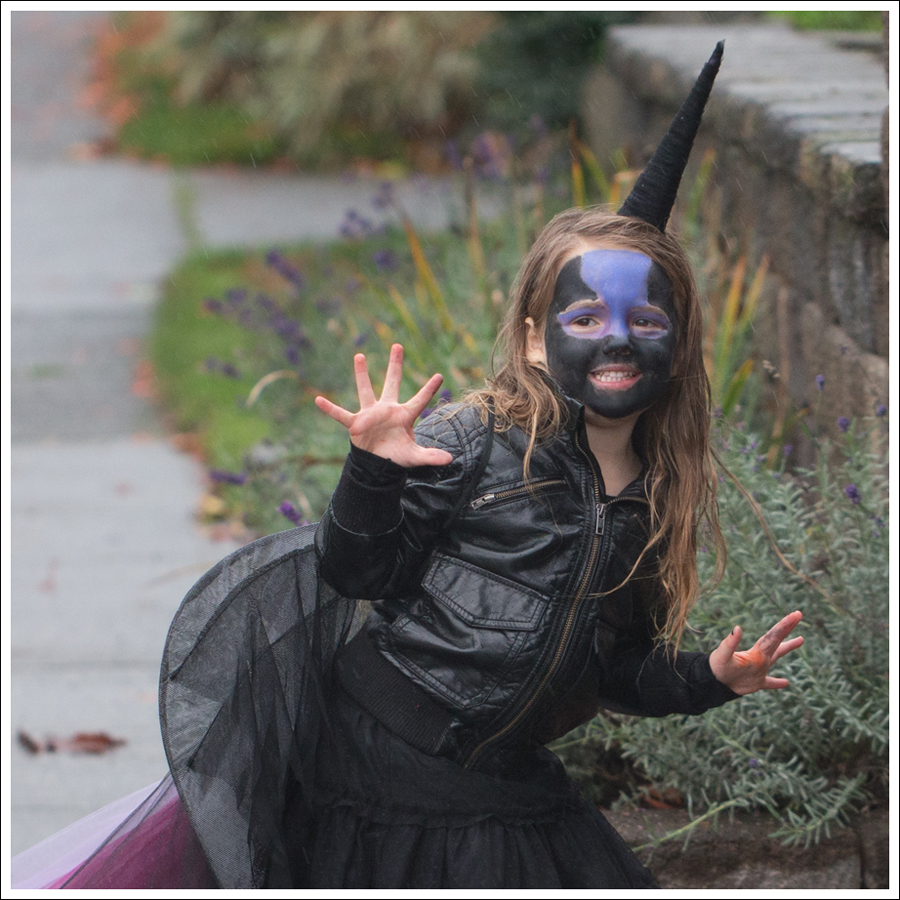
You can see how I made the unicorn horn here. I wish I’d had more time paint her face, but it was a race from the time I got home from work at4:00 til the time it started pouring. She liked it, which is all that matters! You can see it raining in the background if you look closely…
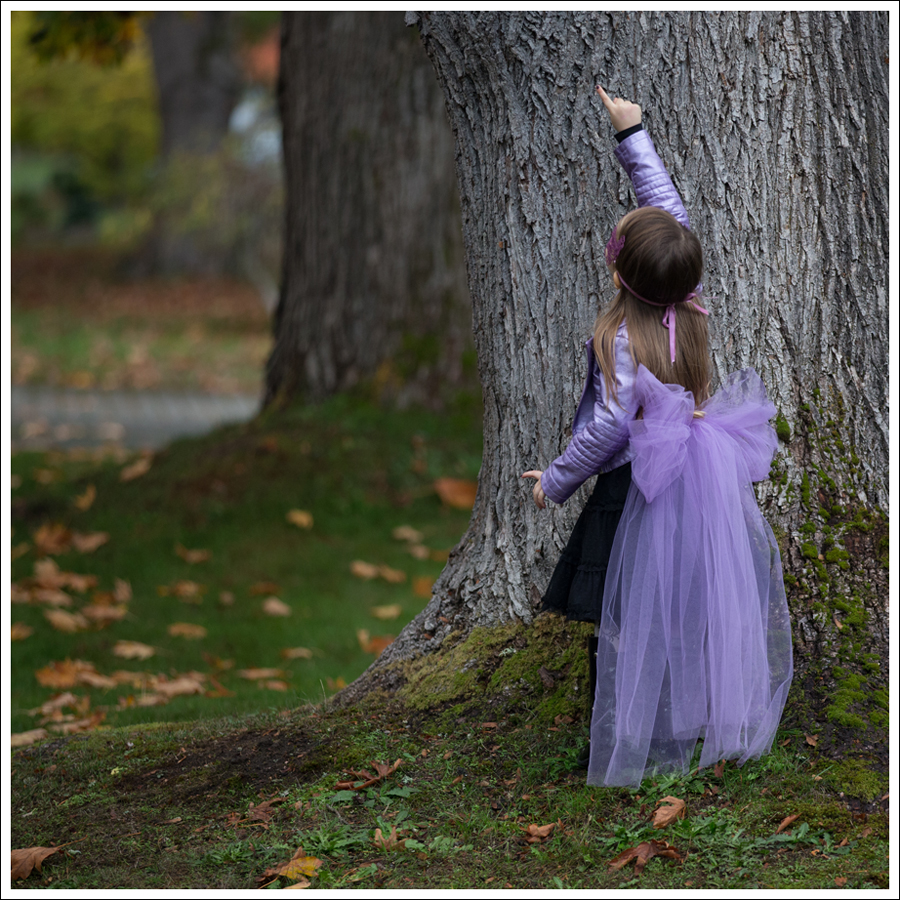
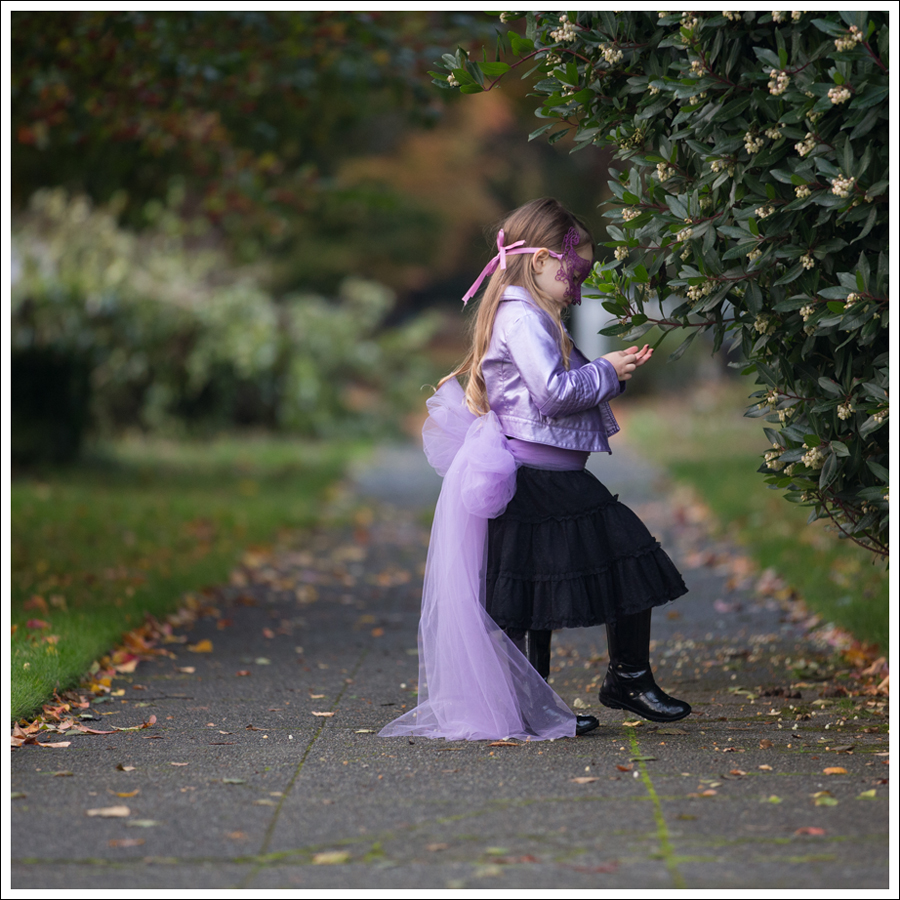
 Then after trick or treating…with sucker and a witch finger 🙂
 And…my last minute costume. The hat lasted one house before it blew off too many times, and no…I didn’t wear these boots trick or treating 😉
  Hope everyone had a Happy Halloween!
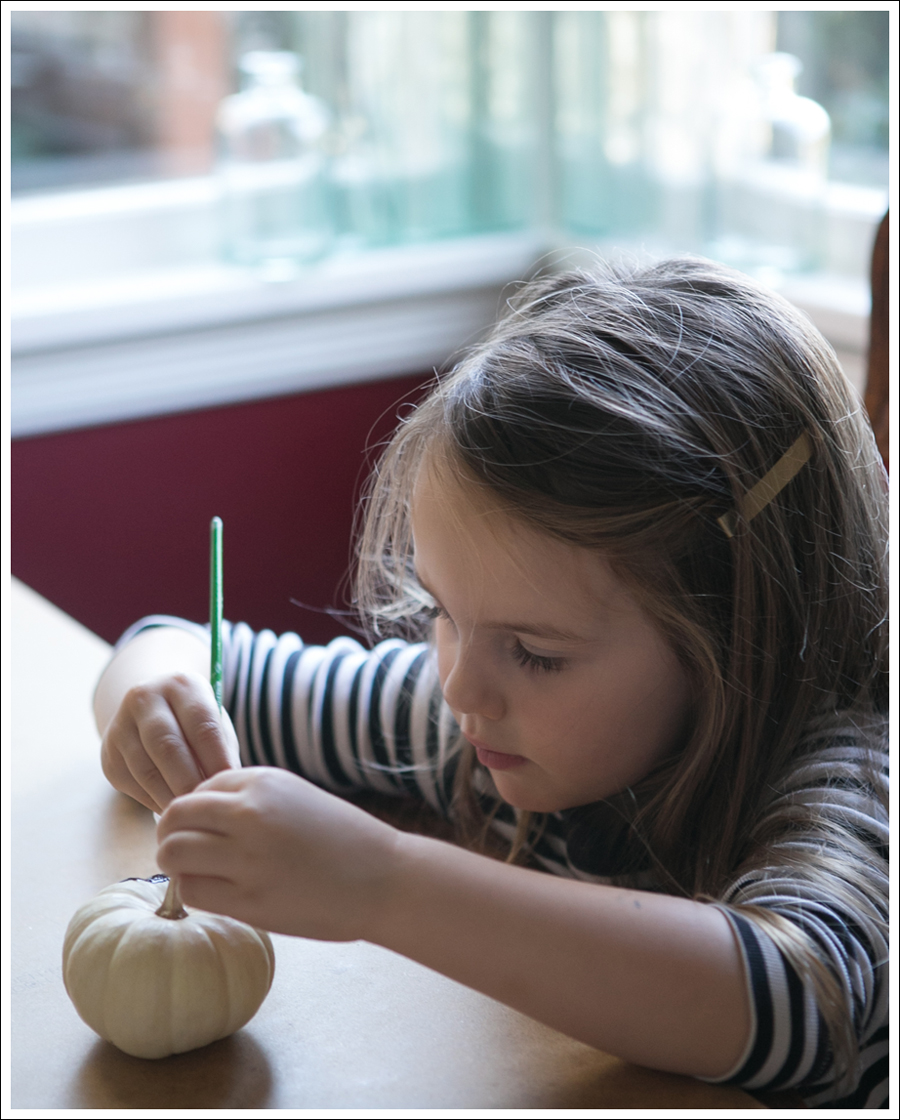
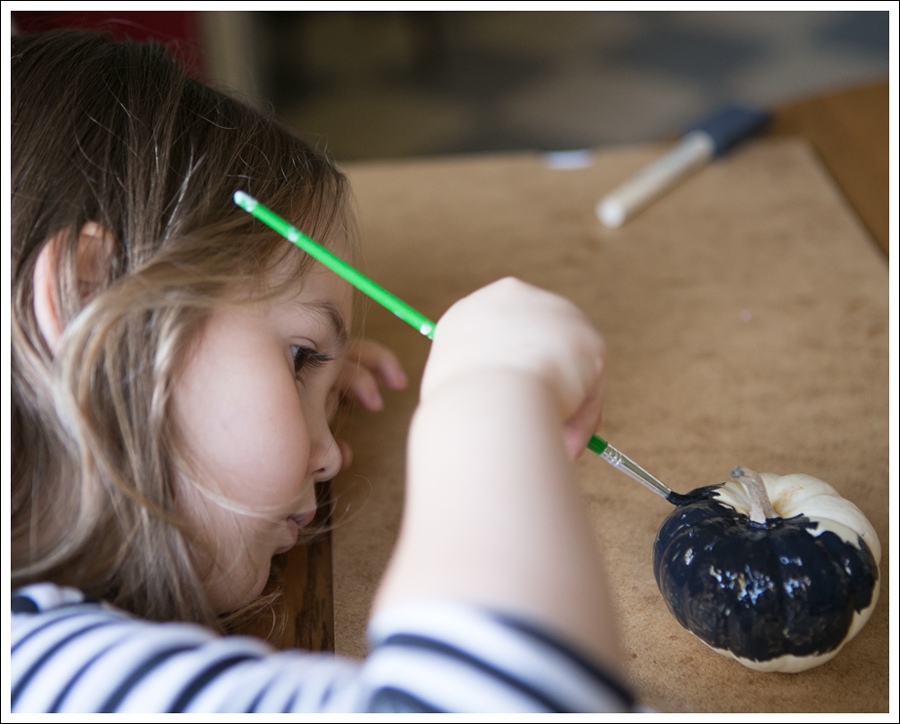
 Such concentration! I honestly wasn’t sure if it would be too hard for her to do, but she did it!

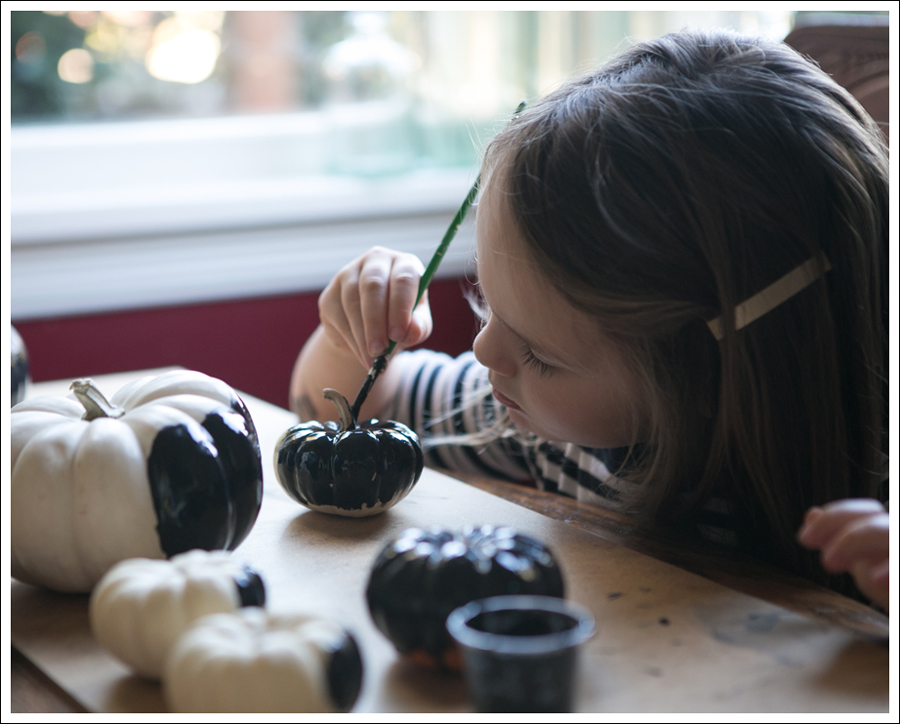
 And obviously, had fun! Which was the total point!! Well…the end product was kind of the point, but her having fun making it was even better.
 So…don’t be afraid to have them make things out of real beads. They aren’t that expensive, and they are totally wearable. And…if you are like me and went through a total beading phase and KEPT all your beads…SCORE!! 😉
 Two years ago, we made
  I’m including links below to pretty much the exact same thing I bought for $1 each, but if you don’t have a Dollar Tree near you and want to put something similar together from Amazon…


 I shook all the excess of some cards onto others so that the glitter was evenly distributed.
 I posted last week how to make these
  What you need…
 And…the true color of our turkey’s 🙂 Are you green with envy??
 What you need-
 Fold the tulle pieces in half and secure with the hair ties.
 This has nothing to do with the project other than Maya asking me to take her picture which surprisingly RARELY happens! Of course when it does…
  Set up your pine cones to see how they naturally will sit up right. They all topple over at certain points, so you want to make sure you put the “tail” and “beak” at the point where they naturally sit up.
 Turn your back for a second to glue the tails in place and then hear a “Ta dah!!” Ok, that really shouldn’t be in the instructions, but that’s what happened here 😉
  Glue the tail at the base, and the beak to the front, and there you go!
  I’d then glue the googly eyes on, and maybe even do some yarn or another red pipe cleaner over the nose for the snood (No I didn’t know what that thing was called! I looked it up-ha!)