I made this chalkboard banner a few years ago and have used it SO many times. I will admit that it wasn’t easy. I have had lots of practice with power tools, but you could cut out a few steps and achieve the same result. Here’s what I did…
Step 1-
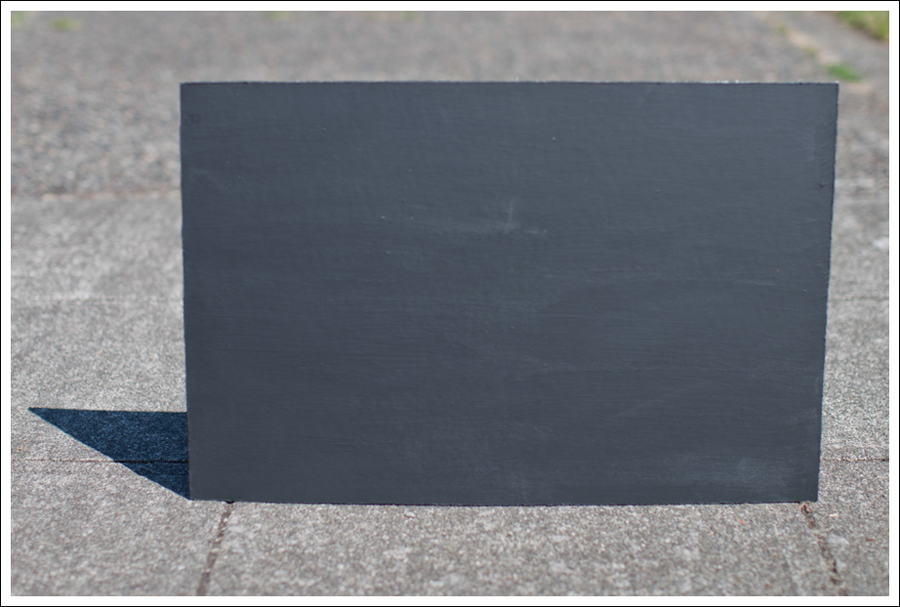
Go to Home Depot and buy a plain piece of partical board. Make sure it’s the kind that has a hard smooth surface on one side. Had this 3/16 in. x 2 ft. x 4 ft. Marker Board (4-Pack) been there that would have been totally cool!
 Step 2-
Spray paint primer. You could roll on primer too, but spray paint was easier and dried faster 🙂 Step 3-
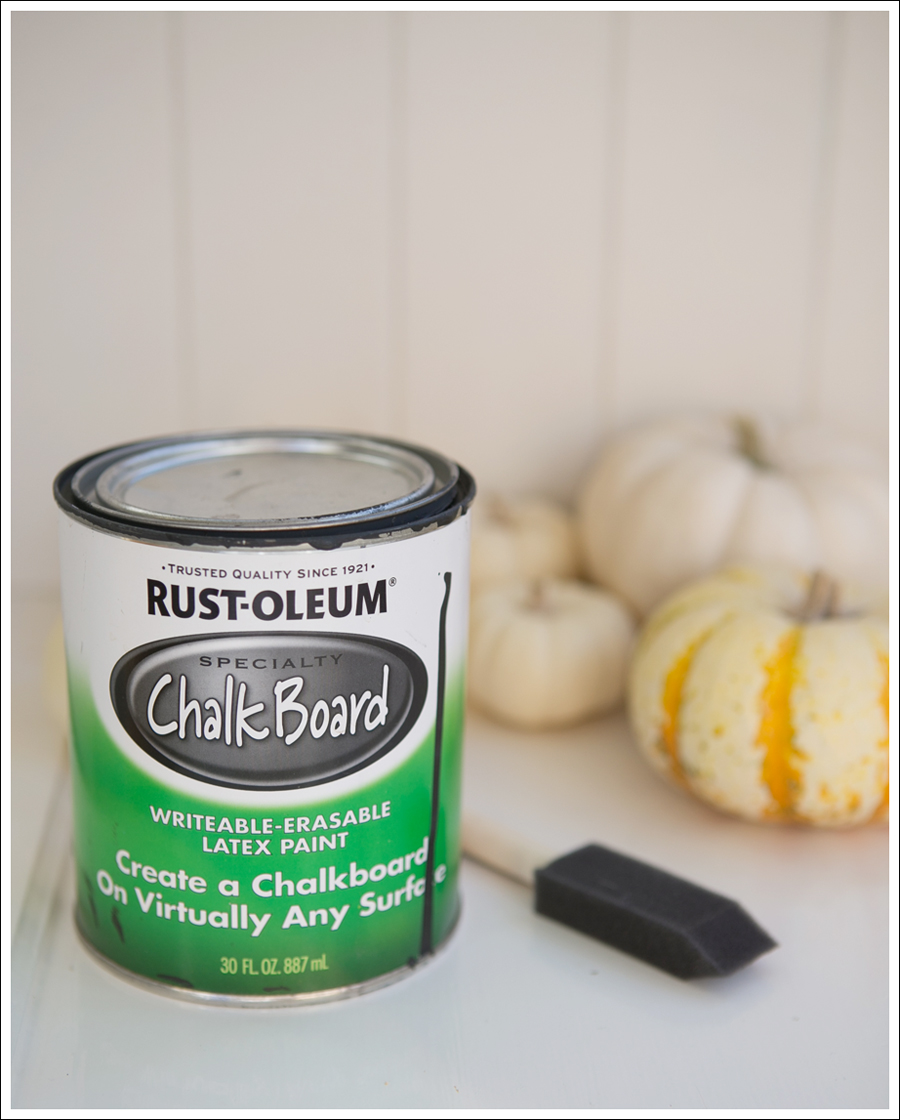
Paint 2 coats of chalkboard paint. Or…skip those steps and buy this 🙂
Step 4-
Measure out 6 inch strips. You could make them bigger or small though.
Step 5- (DO NOT use table saw unless you know how to use it)
Cut board into measured strips. You could buy these and skip the cutting.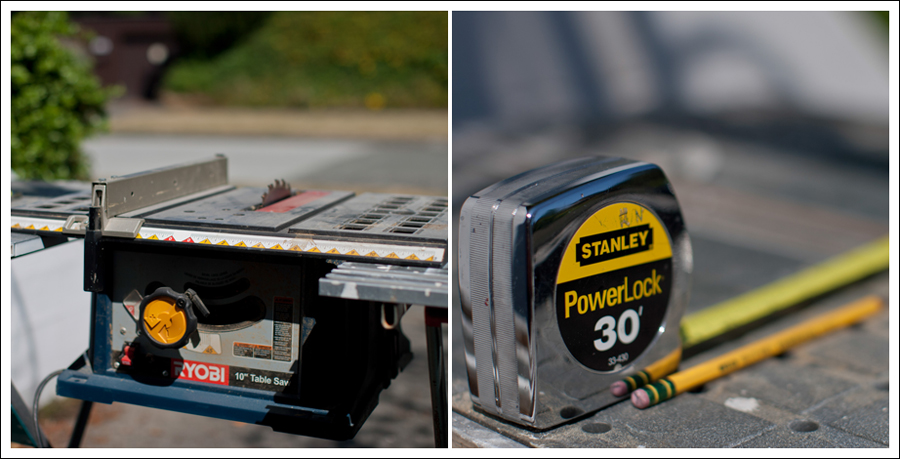
 Step 6-
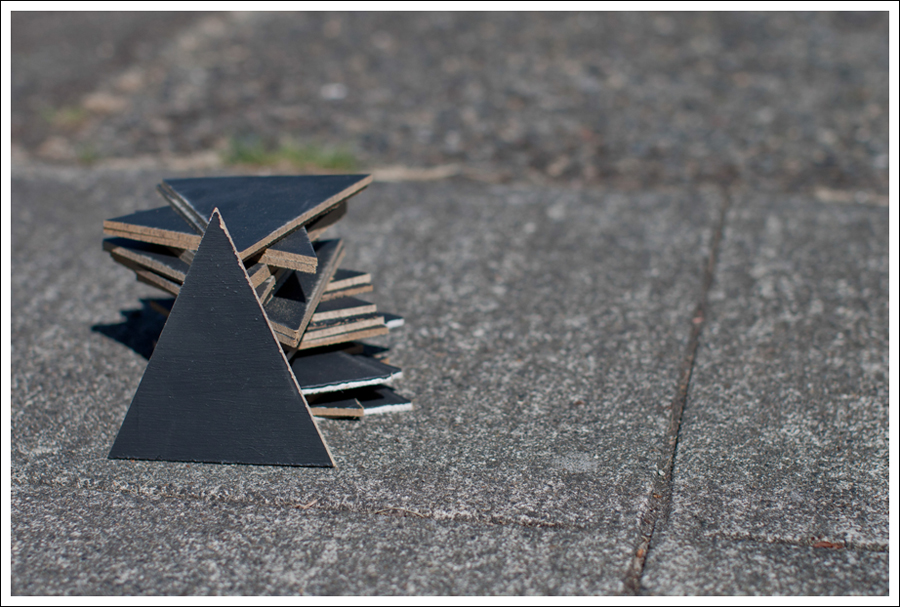
Measure out triangle pieces.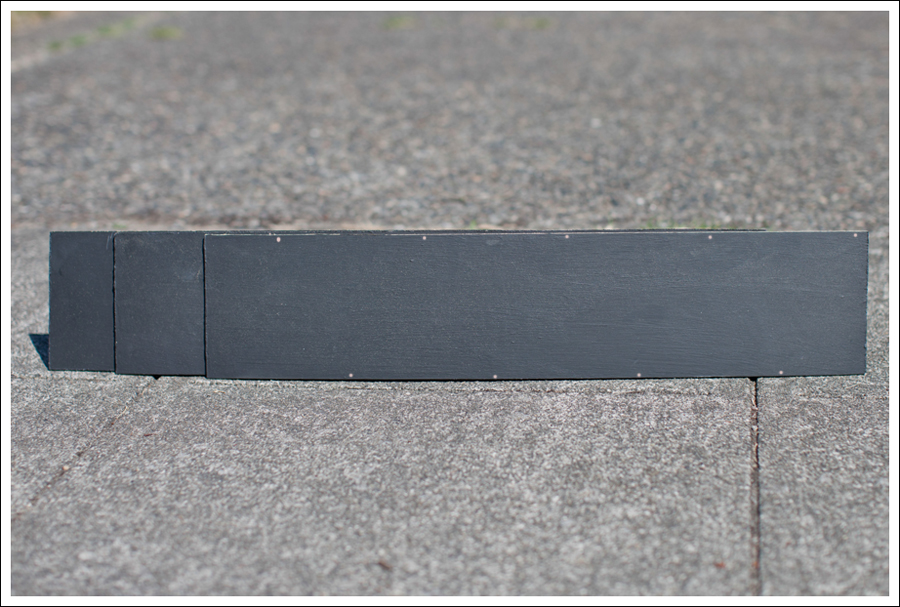 Step 7- (DO NOT use miter saw unless you know how to use it)
Cut triangles out.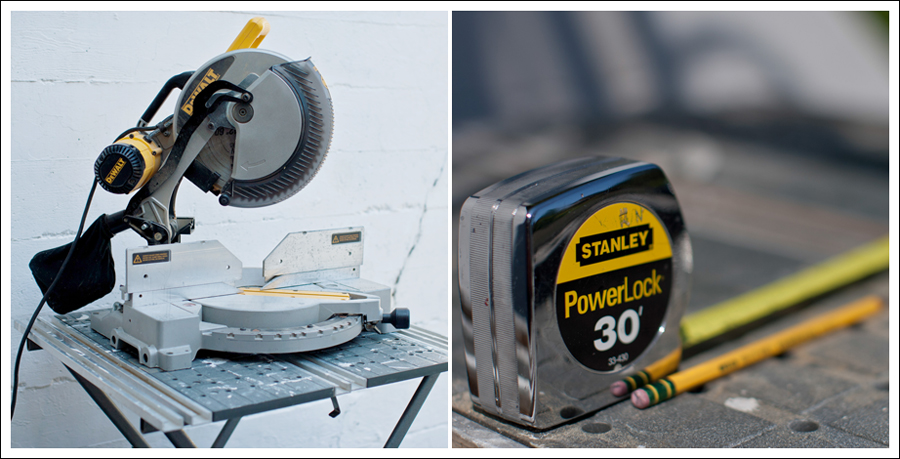
 Step 8-
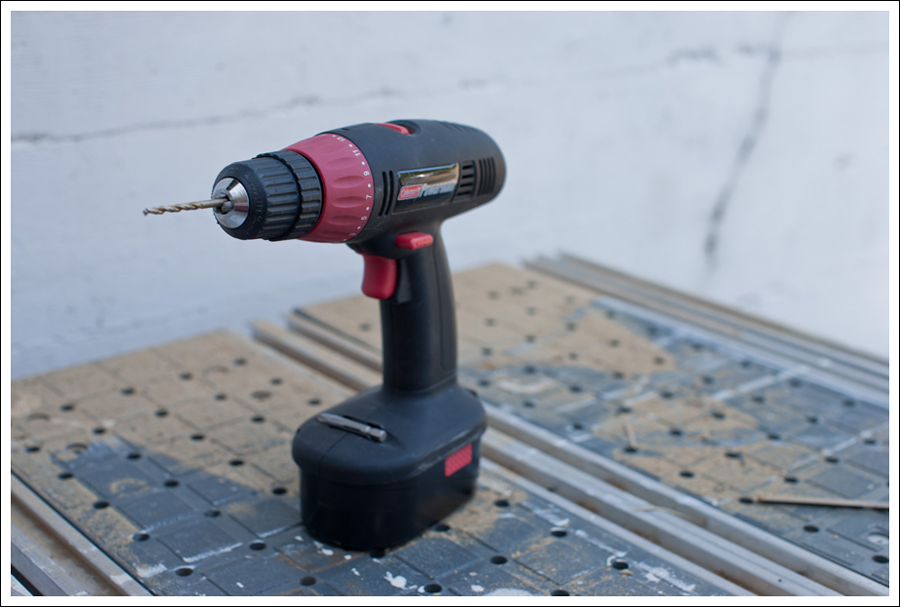
Mark holes at the top of each triangle for holes.
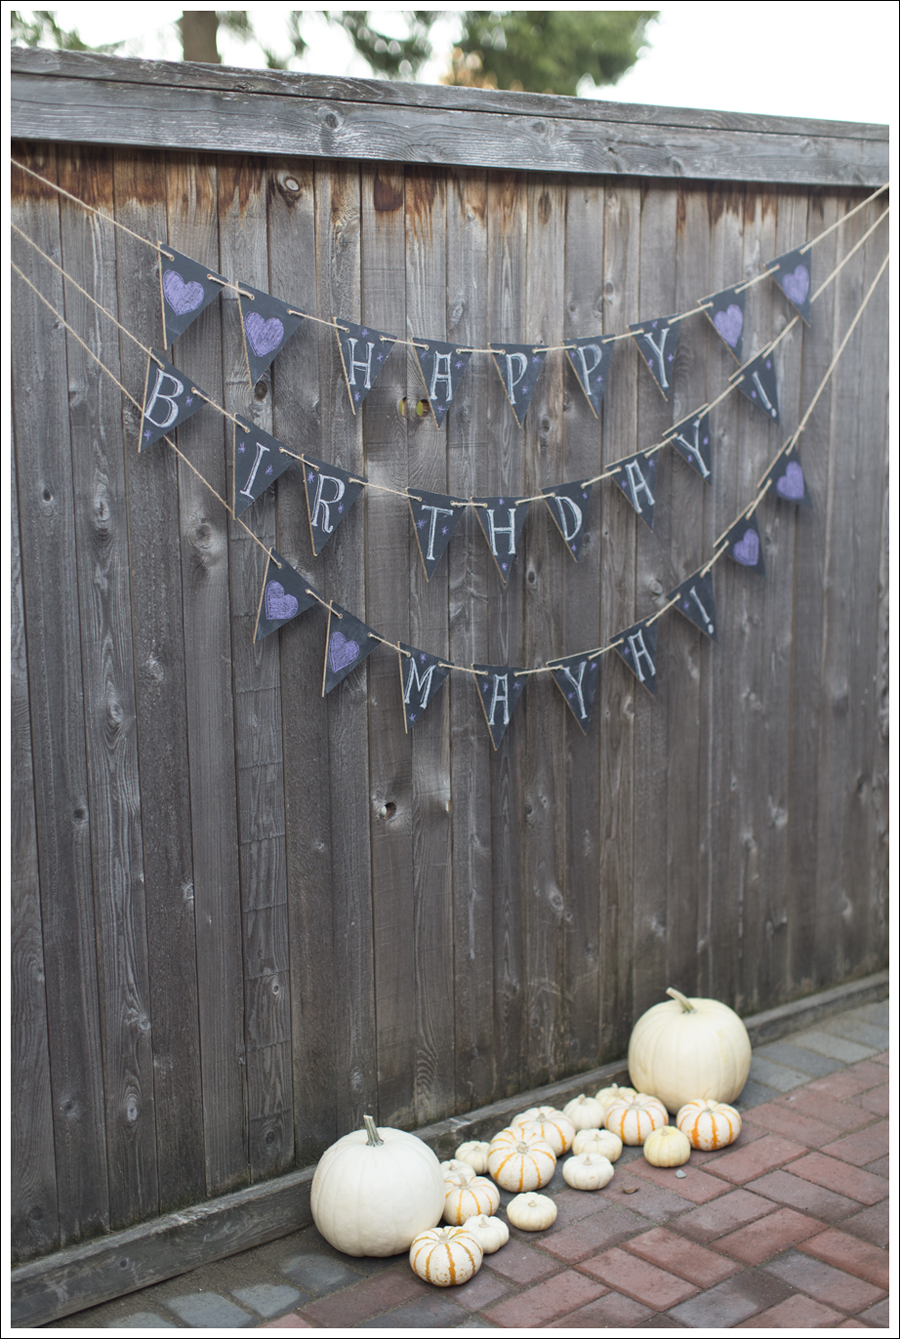
 I used twine, but you could use yarn or any other kind of strong string. I used it here for Maya’s birthday.
 I’ve also brought it to weddings, and had couples use it for their “Thank You” cards 🙂
 The best part is you can use it over and over for any occasion!
You could skip the cutting steps and buy square, round, or if you can find them triangle precut boards at a craft store. All you’d have to do is drill the holes and string.
 What you need
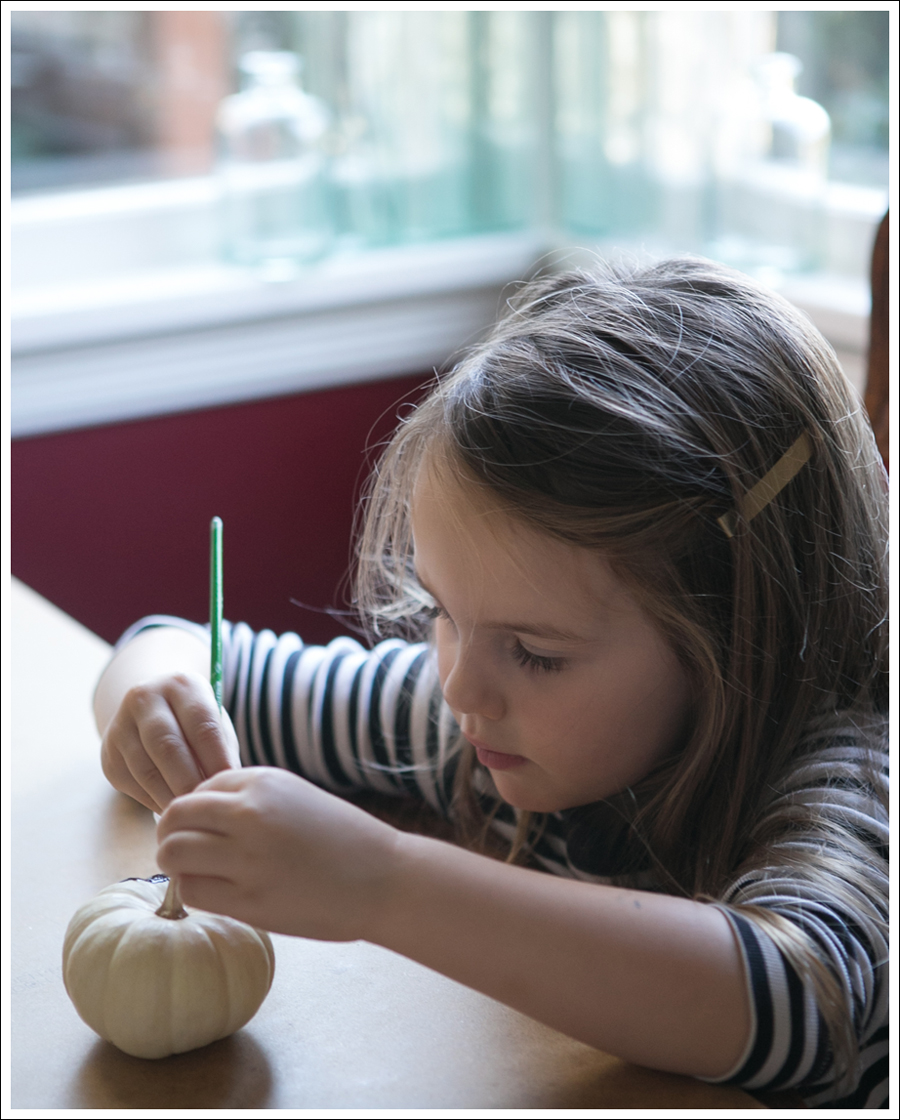
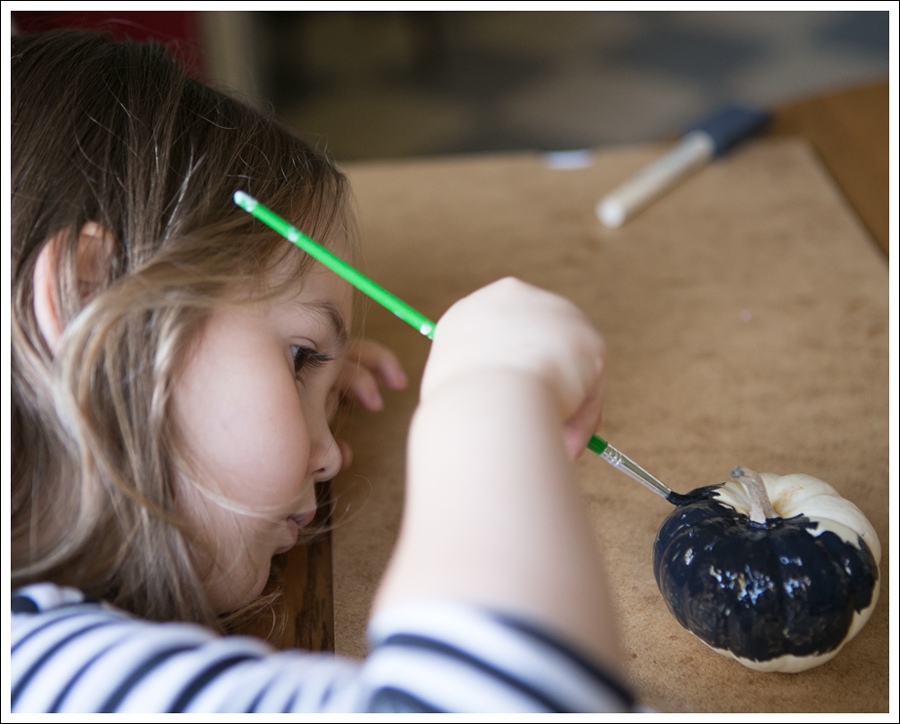
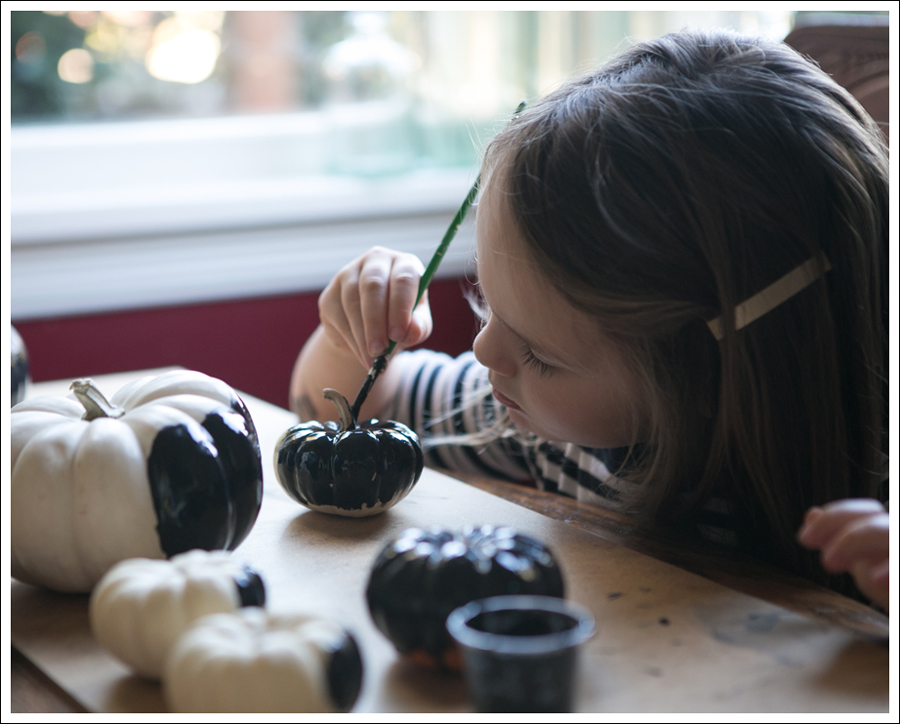
 Having a cute little helper is nice too 🙂


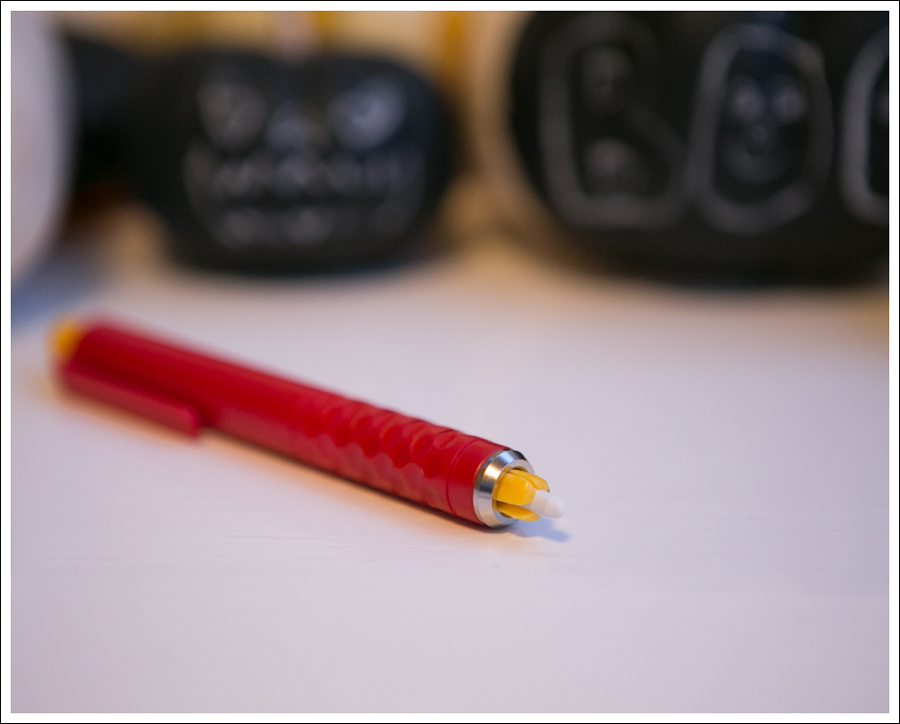
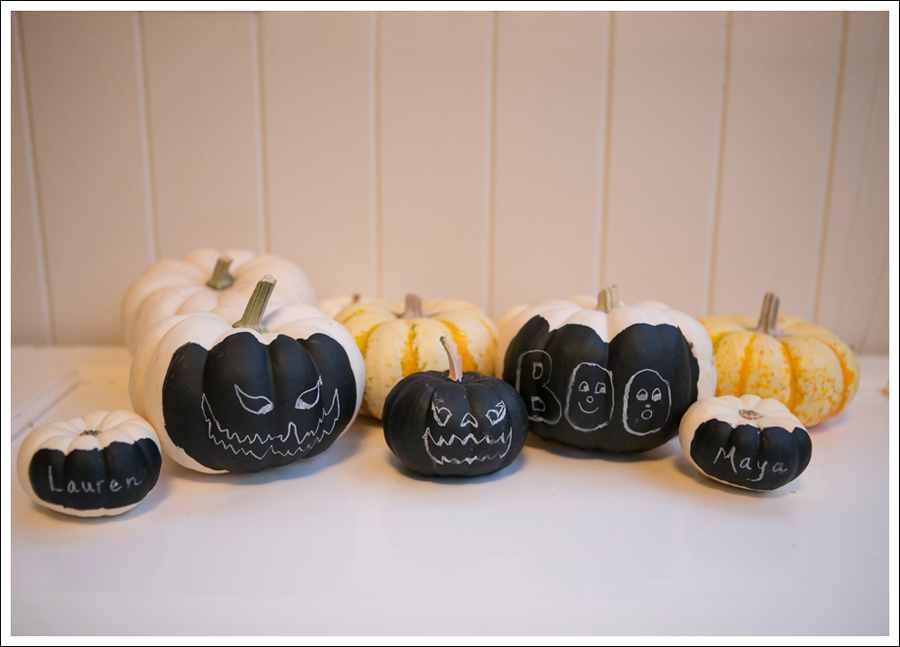
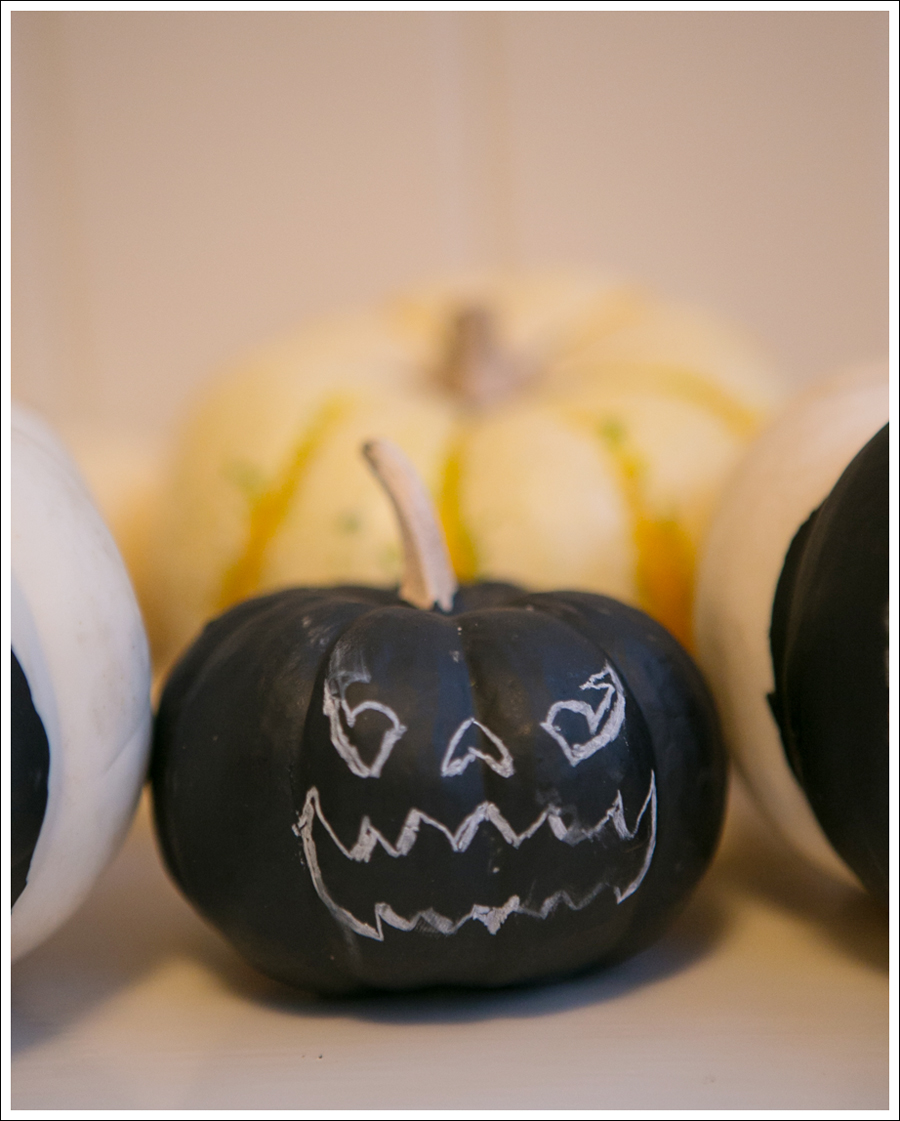
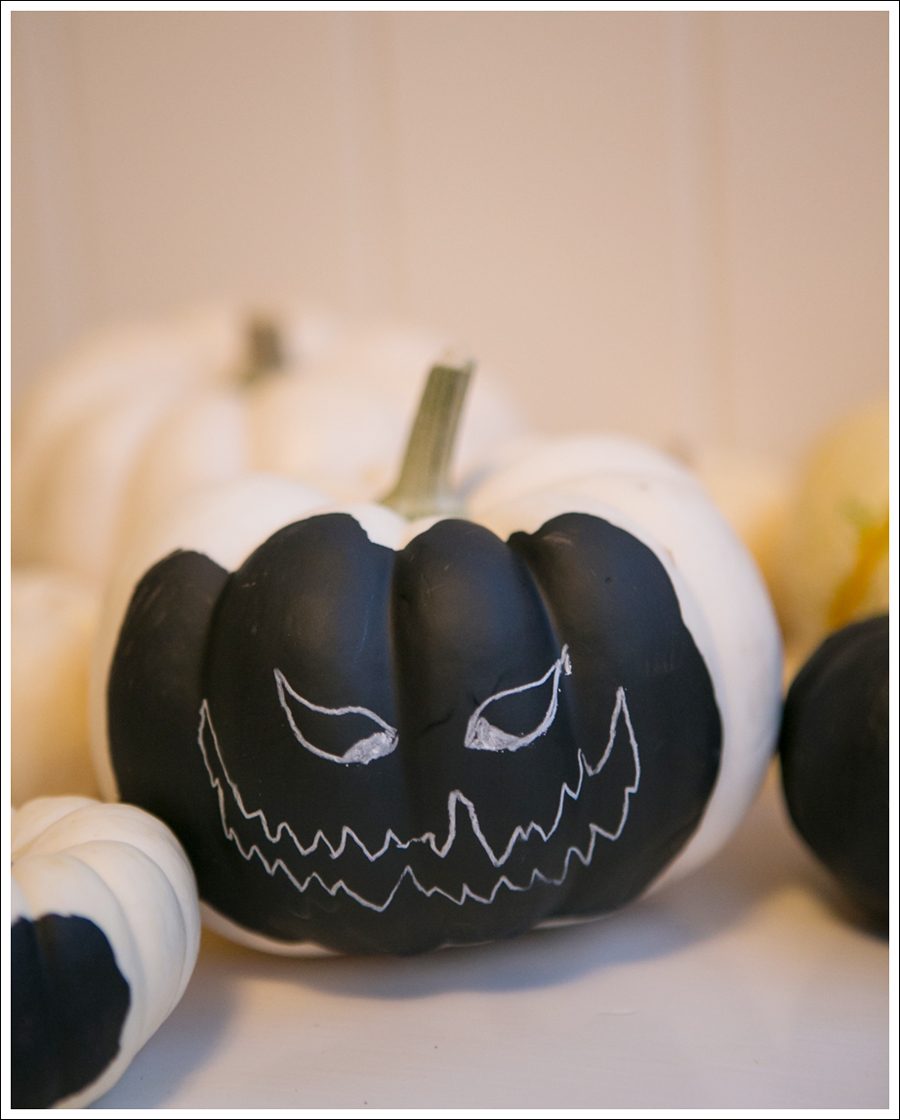
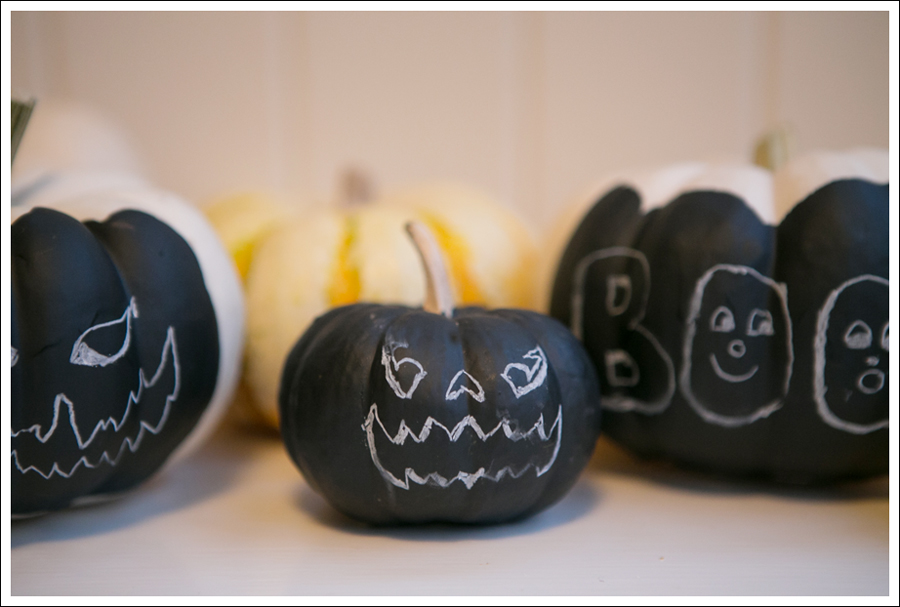
 The best part is you can wipe these off and do a new face after a few days!
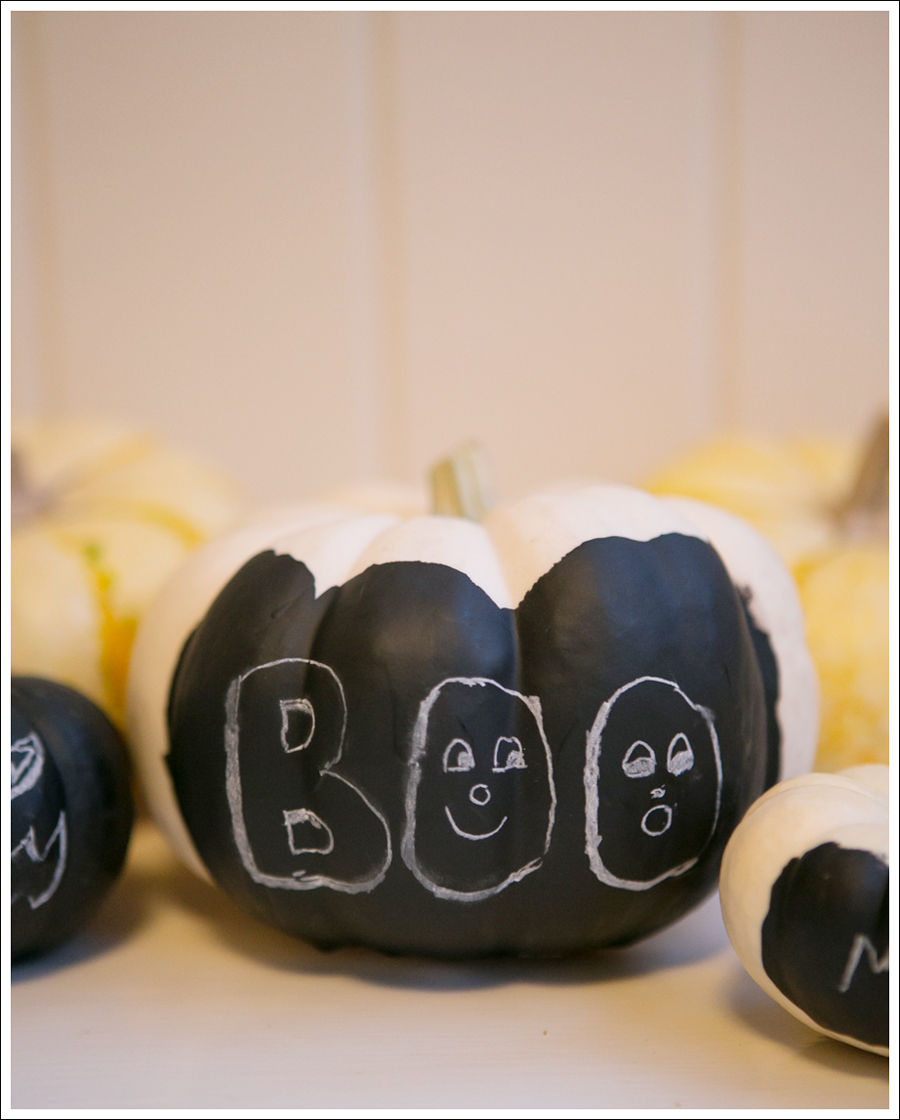
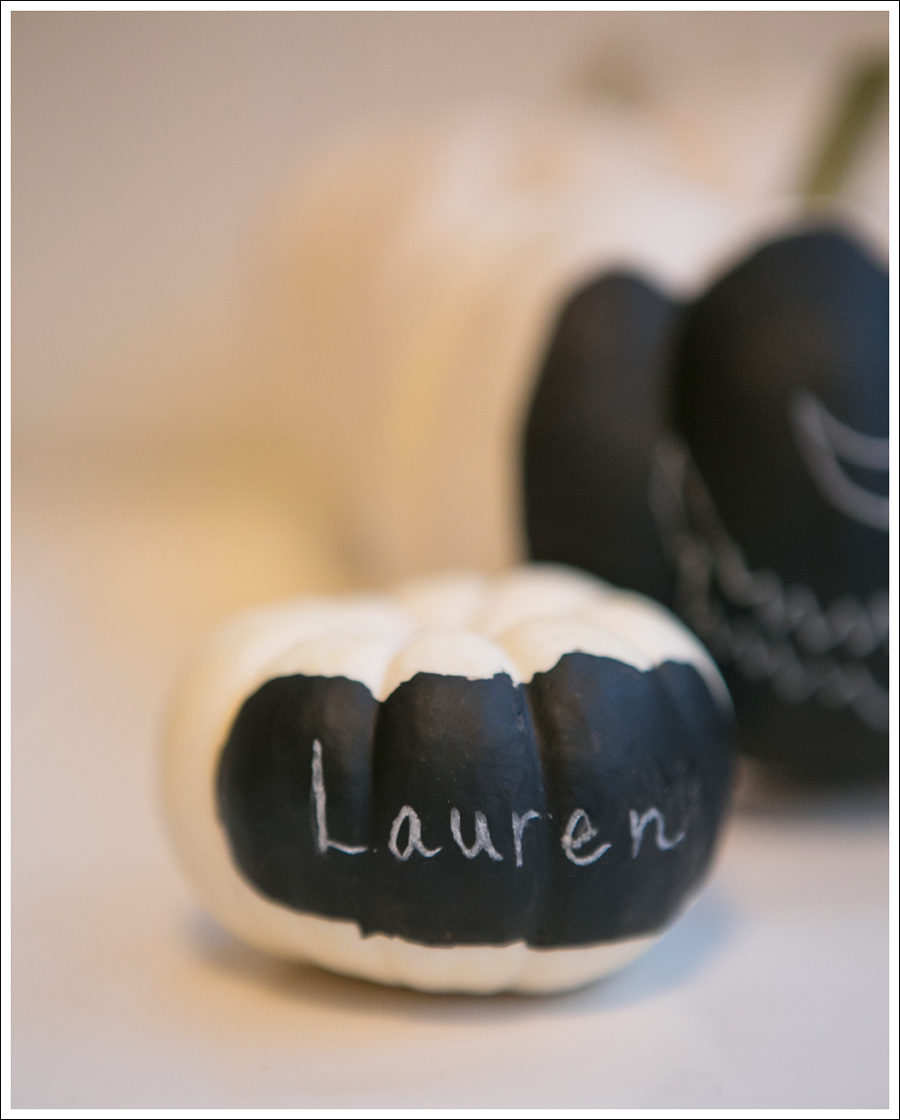
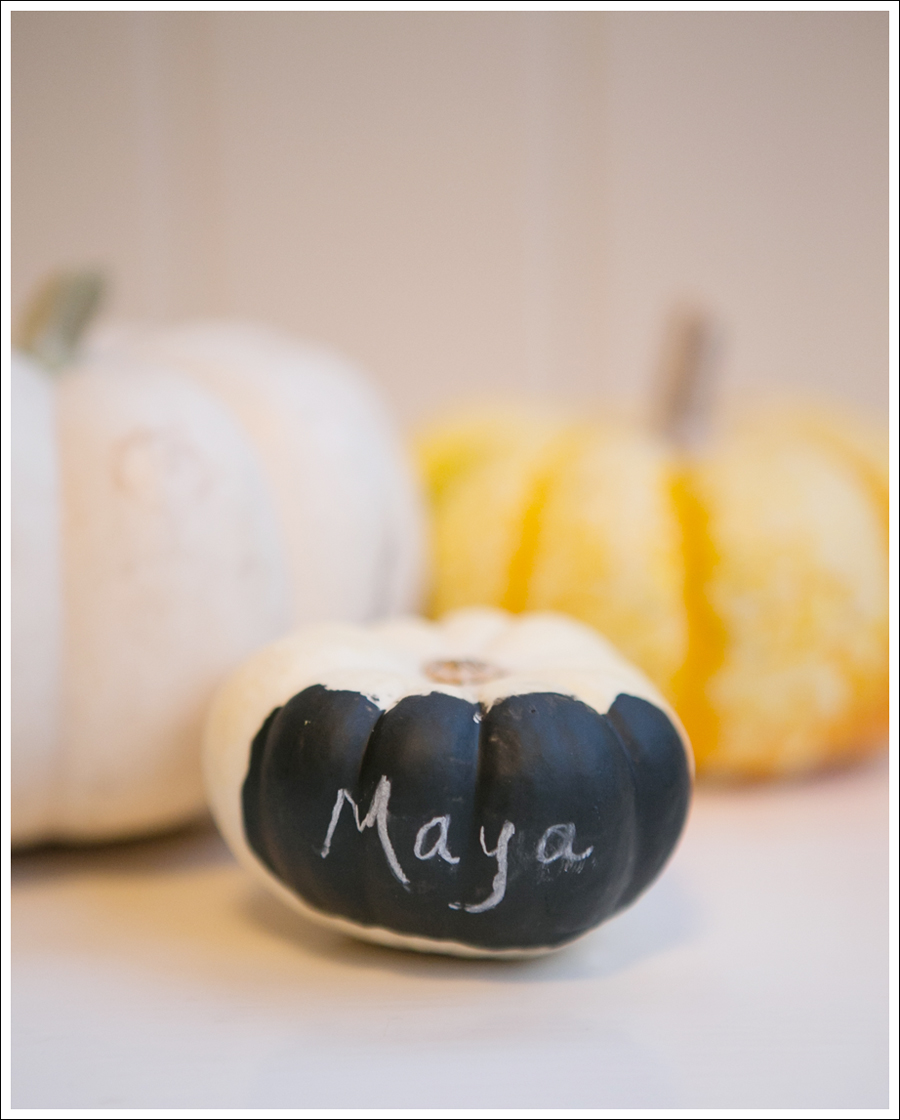
 Wouldn’t these be fun for place cards at a wedding or party? Guests could take them home as favors too!

 Enjoy!