Tag Archives: DIY with your Toddler

DIY Beaded Bracelet…by your toddler (that you’ll actually wear!)

So I DO love the rainbow giant beaded bracelets and pasta necklaces that come home school and camps….I DO!  But…do I really wear them?  Um…no (horrible mom admittance!)

Maya had a friend’s birthday party to got to a bit ago, and I was talking with the mom about what to get her.  She really didn’t want more “stuff”, so she said if Maya wanted to make her something, that would be perfect.  Instantly I thought of a bracelet.  We asked what her favorite colors were.  I dug out my boxes of beads from storage (again…totally patting my pack rat self on the back right now!!), and…Maya made her a bracelet.  I helped with the clasp, but she did everything herself.  She picked what beads she wanted to use and strung them along.  Well…I didn’t take pictures of THAT bracelet ha!  But then Valentine’s Day rolled around.  What to give her teacher?  Oh, the box of beads were still sitting out (a week later-whoops!), so…Maya asked her teacher what her favorite color was, and we picked from my stash.  Thankfully, her favorite color was green (mine too!), so I had a few to pick from.  🙂

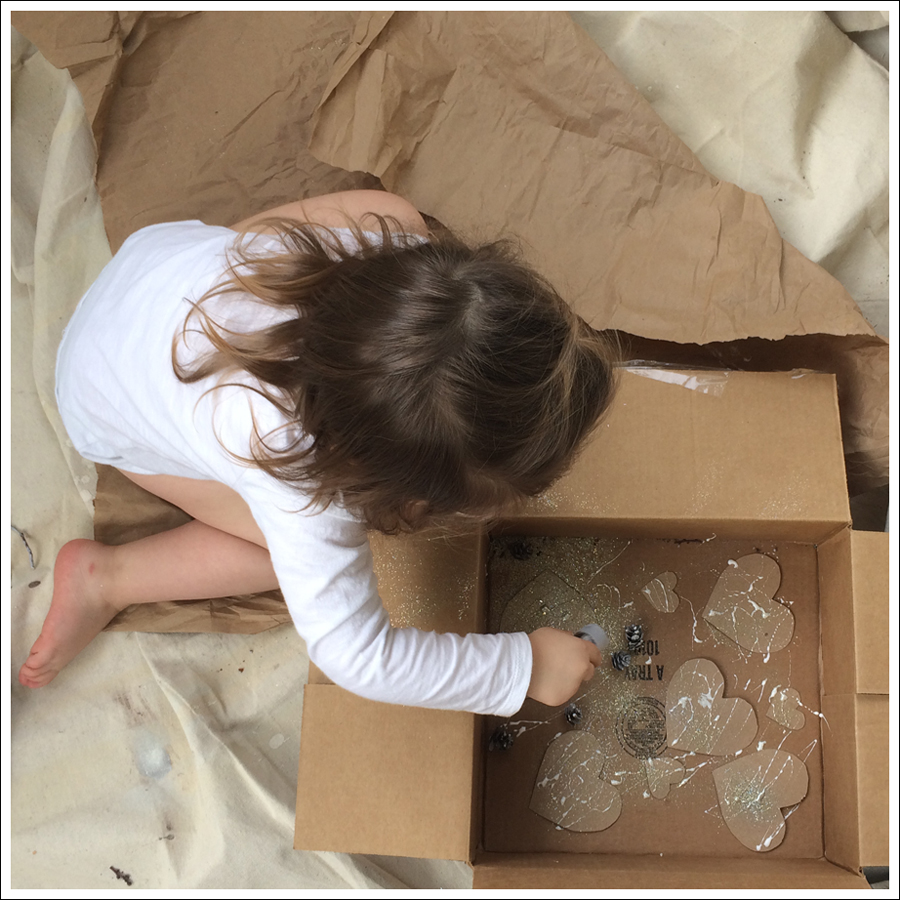
It’s a little hard to see, but these are an iridescent green “pearl” bead.  The bag that I had them in said $5.50, and we only used half.  So…while it looks like a really nice gift, it didn’t cost much, and it provided a fun activity.  Oh, and Maya had total pride in the fact that she made this for her teacher!!  And…her friend (that I didn’t take pictures of 🙂 )Blog DIY Toddler Beaded Bracelet-1 Such concentration!  I honestly wasn’t sure if it would be too hard for her to do, but she did it!Blog DIY Toddler Beaded Bracelet-2 Blog DIY Toddler Beaded Bracelet-3 Blog DIY Toddler Beaded Bracelet-5
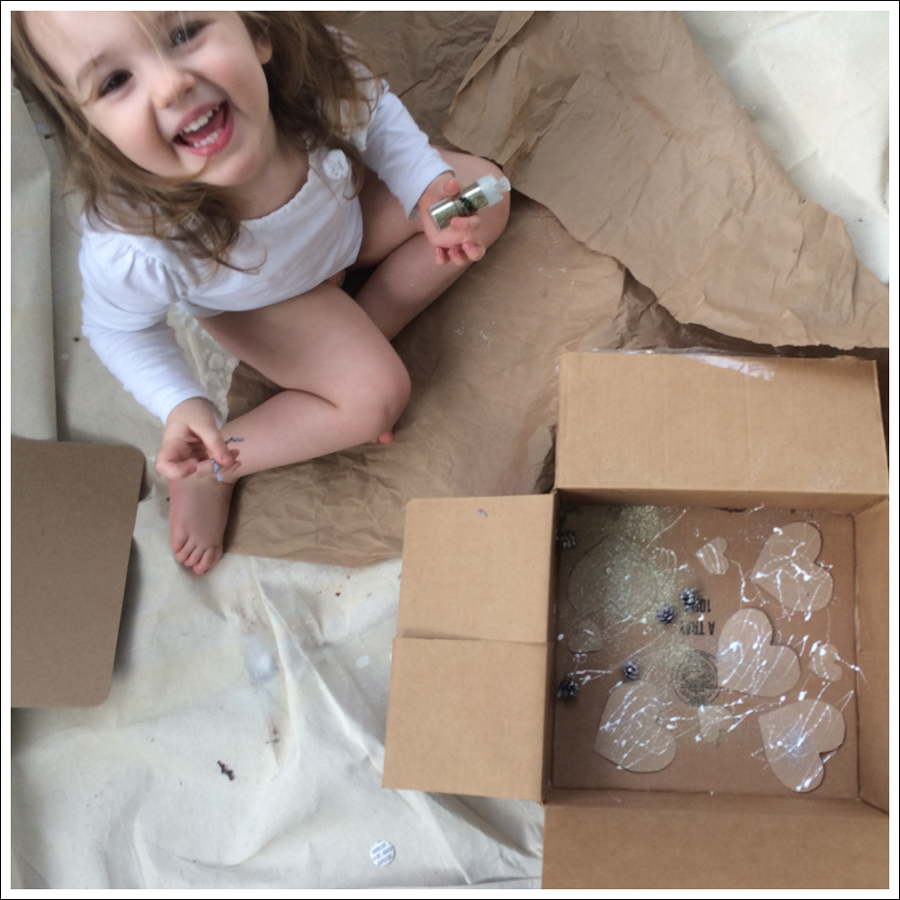
And obviously, had fun!  Which was the total point!!  Well…the end product was kind of the point, but her having fun making it was even better. Blog DIY Toddler Beaded Bracelet-4Blog DIY Toddler Beaded Bracelet-6So…don’t be afraid to have them make things out of real beads.  They aren’t that expensive, and they are totally wearable.  And…if you are like me and went through a total beading phase and KEPT all your beads…SCORE!! 😉dit-elle-Lauren

DIY Glitter Cap Toe Shoes

When I saw these shoes at the thrift store from far away, I died!!  When I got closer, I noticed they were pretty beat up.  The fronts of the toes were shredded, but for a $1(!!!!), I knew I could do something fun to try and save them.  Haven’t we all had that moment of “Noooooo not the shoes!!!” when our toddlers stumble a little, or as Maya likes to do someitmes…drag her feet.  Grrrr.  Anyway, this wouldn’t work for all shoes, and it does take some time, but…I love how they turned out!  Maya loves them too!

“Glitter shoes!!”Blog DIY Glitter Toe Shoes-You can see below what they looked like…Blog DIY Glitter Toe Shoes-2Here’s what you’ll need…

  • Painters tape (it’s not as sticky/won’t ruin the shoes further :))
  • Glue
  • Glitter
  • (You could also just paint the toes!)Blog DIY Glitter Toe Shoes-4Tape off the cap of the shoe in the amount you want to do the glitter toe cap.Blog DIY Glitter Toe Shoes-3Cover the area in glue.  I did a pretty heavy coating to make sure it covered up the shredded areas of the shoe.  I put an apple container under haha, but you could line a cookie sheet with tin foil 🙂 Blog DIY Glitter Toe Shoes-5Then, I let Maya go to town pouring the glitter on.  I actually did these shoes back in September, but am just now blogging them.  I promise, she wasn’t freezing outside in a tank top 🙂 Blog DIY Glitter Toe Shoes-6Voila!Blog DIY Glitter Toe Shoes-1And…here she is wearing them the other day 🙂 Blog DIY Glitter Toe Shoes-8 Blog DIY Glitter Toe Shoes-9 Blog DIY Glitter Toe Shoes-10Have fun and happy glittering!dit-elle-Lauren

DIY to do with your toddler // What we did for Valentine’s Day

I had all these grand plans for what Maya and I were going to do for the Huz for Valentine’s Day.  Then…I lost my car keys (the ones we had lost the spare to a few months earlier :{).  I spent 4 hours searching our house top to bottom (87 times!), and then finally gave up.  So, our crafting time was a little cut short.  We still had a blast, and truth be told, the 30 min we spent on them was probably her max anyway 😉Blog Valentine DIY-1Blog Valentine DIY-2Blog Valentine DIY-4Blog Valentine DIY-3

It all started when Maya said “It’s a heart!” on our walk a few days ago, pointing to a pile of rocks.  Of course, I’m like “No, those are just rocks.”  “HEART!” as she tugs me to pick one up.  And what do you know…a heart!  And I knew we would give it to the Huz for Valentine’s Day. 🙂Blog Valentine DIY-5She has the eyes of an eagle, that one…Blog Valentine DIY-6What you need… (for the Valentine’s)

  • Tarp or sheet for easy clean up 🙂
  • Card stock paper or I used a cardboard insert that had come in clothes I bought online.  Yes, I save everything just in case.  Yes, I was so excited to finally use some of my hoarded craft supplies!
  • Glue
  • Glitter
  • Foraged goodies.  We used both mini pinecones and obviously the “heart/rock”
  • Empty Box (to contain the glitter bomb and glue)

What you do…

  • Since we were doing this for Valentine’s Day, I cut little hearts out in different shapes.  We gave the hearts as Valentines to Maya’s brothers and a few friends 🙂  You could do circles, or just sqares/rectangles.  If you have a fun corner punch that would be cool too!  Those are SO addicting!!
  • Put the “cards” in a box and let your toddler drizzle glue all over them.
  • Then, while glue is still wet, have them go to town with the glitter!

I took these next images with my phone.  Didn’t want to risk getting my camera glue/glitterized 🙂Blog Valentine DIY-7Blog Valentine DIY-8Blog Valentine DIY-9I had a jewelry box that I had saved (duh), that I just glued two of the hearts onto for the box.

Super fun and easy, and Maya did most of it all by herself, which was cool!dit-elle-Lauren