 Maya is obsessed with “princesses”. Every dress is a “princess dress”, and her obsession with Elsa and Anna is (like most toddler girls) a bit out of control 🙂 I had brief thoughts of making her an Elsa costume, but then reality slapped me in the face. Esther, on the other hand, IS making Ava one, and I cannot wait to see it!! I went the easy route with Maya’s costume and found a cute orange and black tutu looking outfit at Goodwill for $4. It’s supposed to be a witch, but I called it a Pumpkin Princess outfit, and Maya’s in love haha.
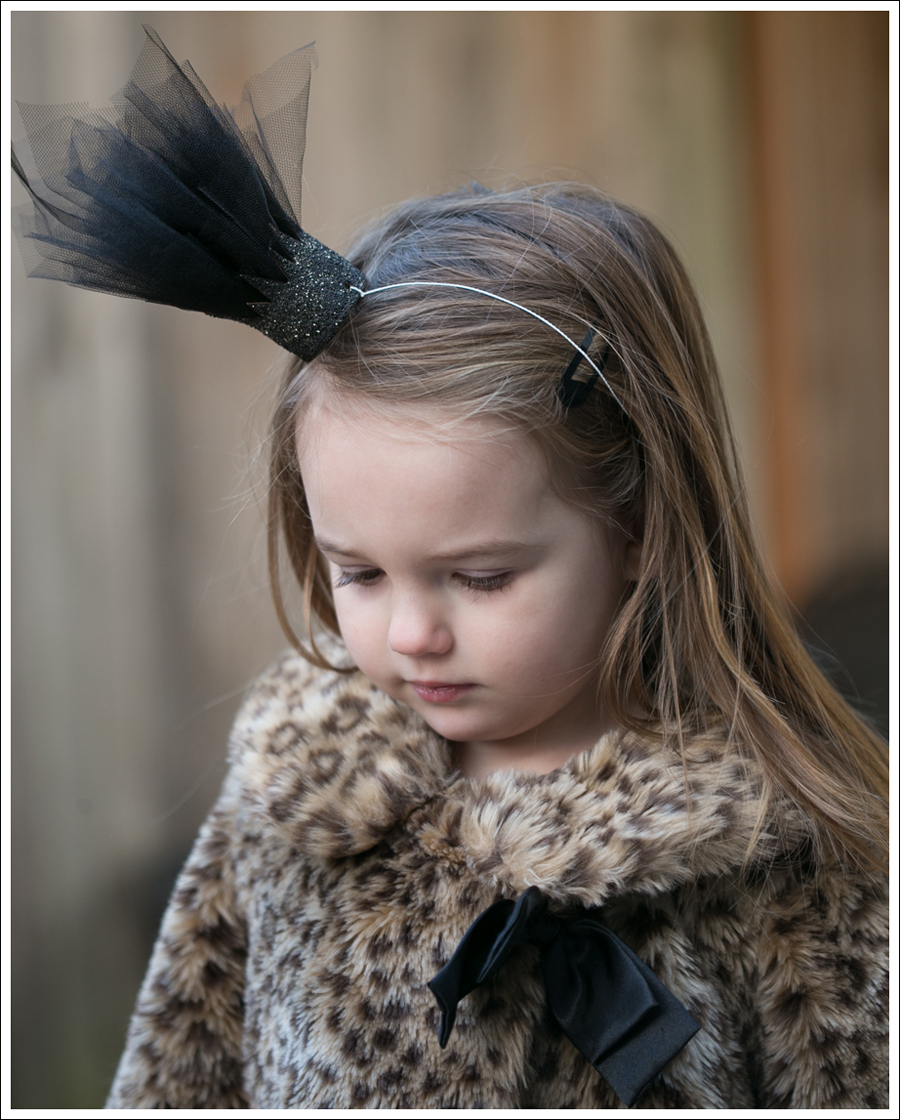
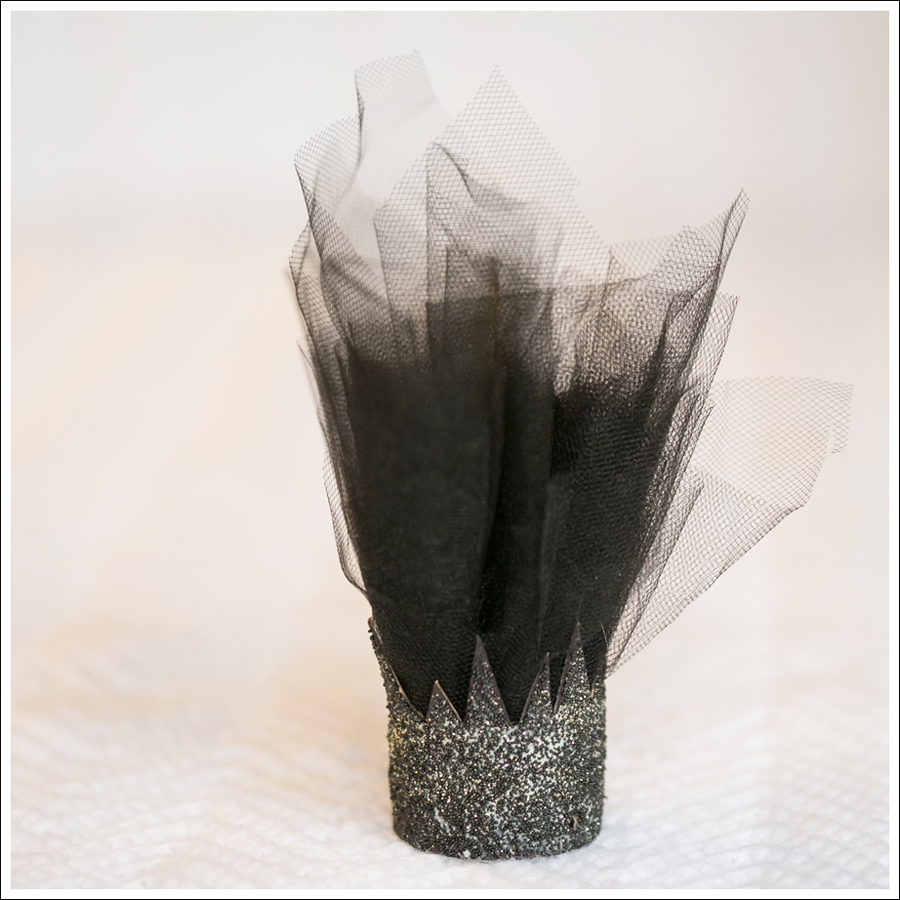
But…every princess needs a crown, no? The DIY lace crown I made before was super easy, but I wanted to try something a little more complex and fun. I had the idea of using a toilet paper roll for the crown, putting glitter on it, and somehow having tulle shoot out. Honestly, I wasn’t sure how I was going to do it until I started making it ha!
As luck would have it, Mother had a post that very morning on Toilet Paper Roll Crafts. I had originally just cut my crown straight across, but their gold crown with the points was so much cuter! Saved just in the nick of time!
What you’ll Need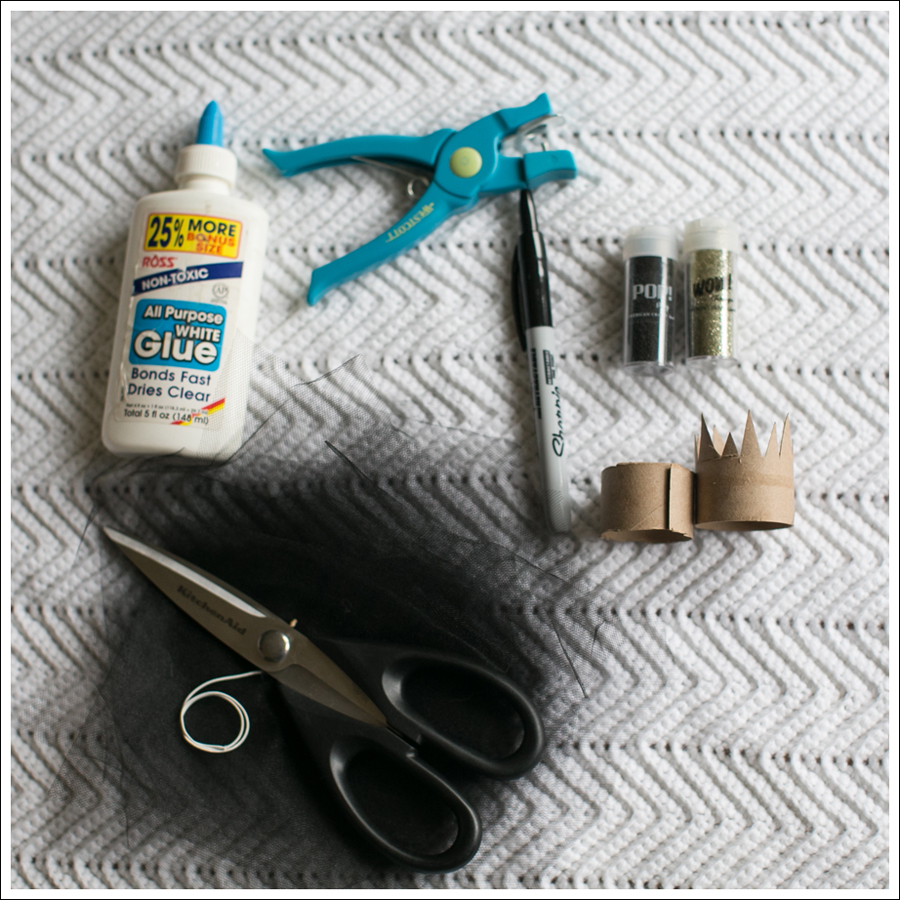

- Toilet paper roll
- Sharp scissors
- Glitter
- Marker that is either the same shade or complimentary to your glitter
- Glue
- Small Hole Punch
- Elastic
- Tulle (a yard should be plenty, although if you want a longer train use more)
- Large Cookie sheet lined with tin foil for easy clean up
- Toddler (added bonus :))
Instructions
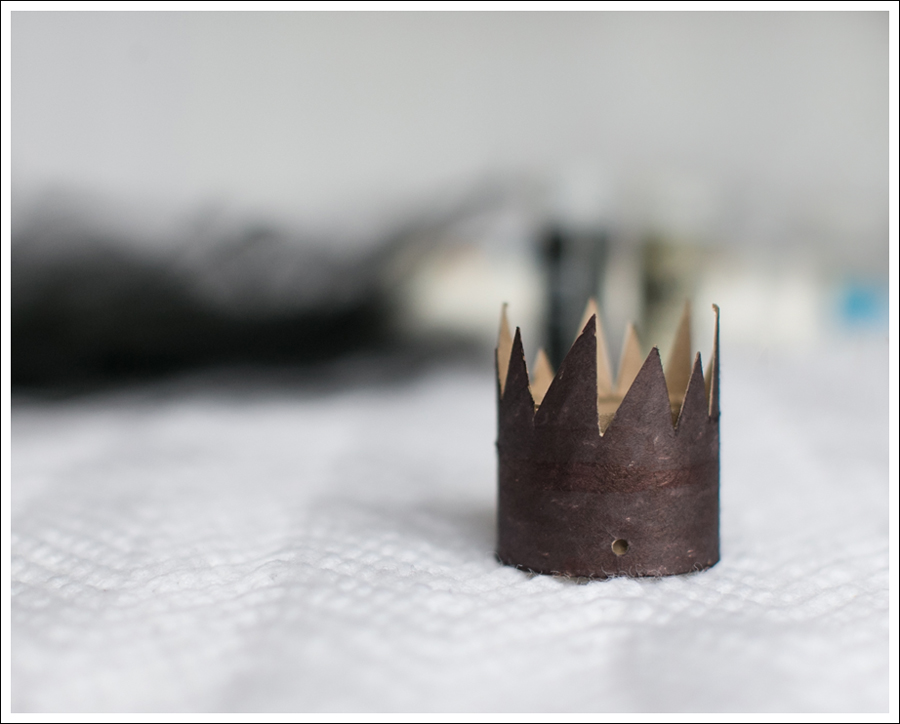
- Cut your toilet paper roll in half
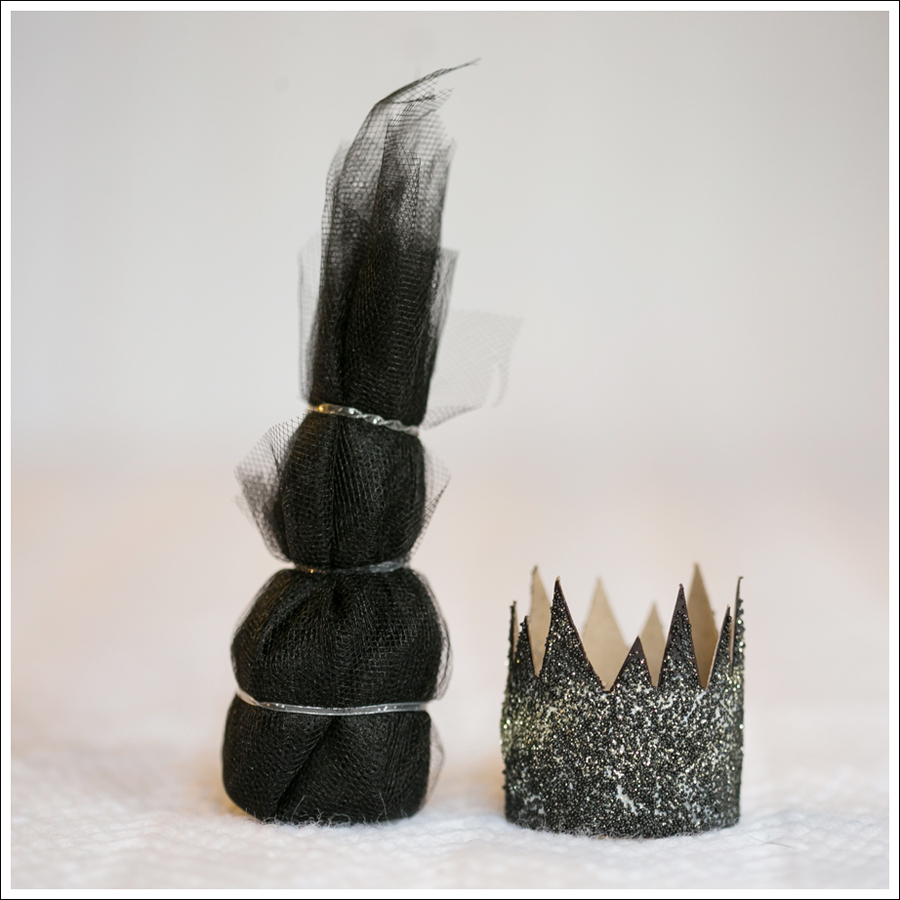
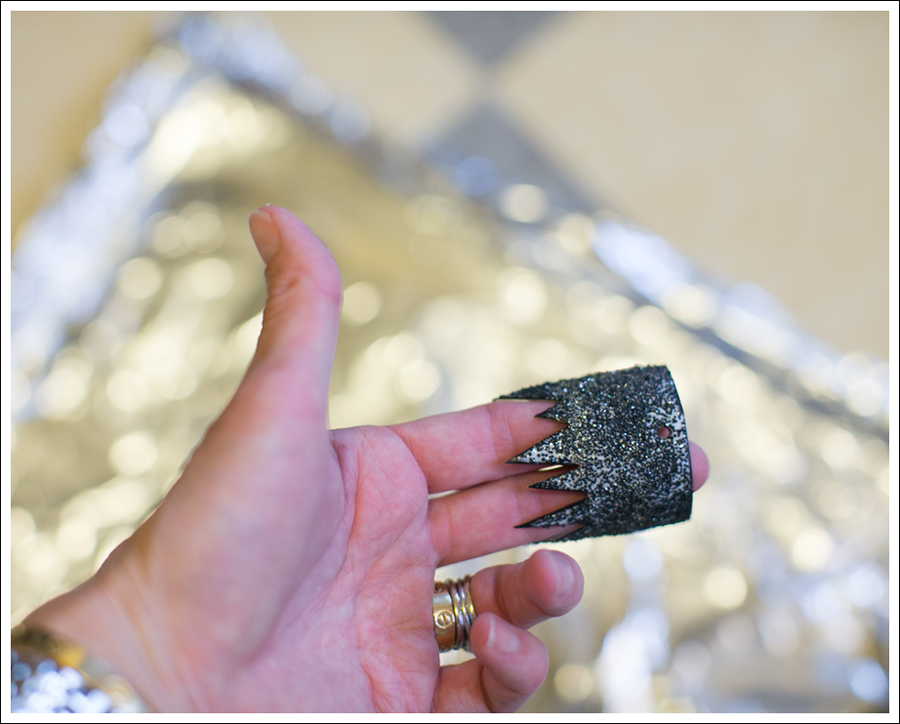
- Cut jagged design in one half
- Cut the other half into a fourth and then cut up one side so it slides inside itself to be smaller and will fit inside the jagged crown piece.
- Color the Crown piece with your marker. That way when the glue dries, you will see that color vs the brown toilet paper roll.
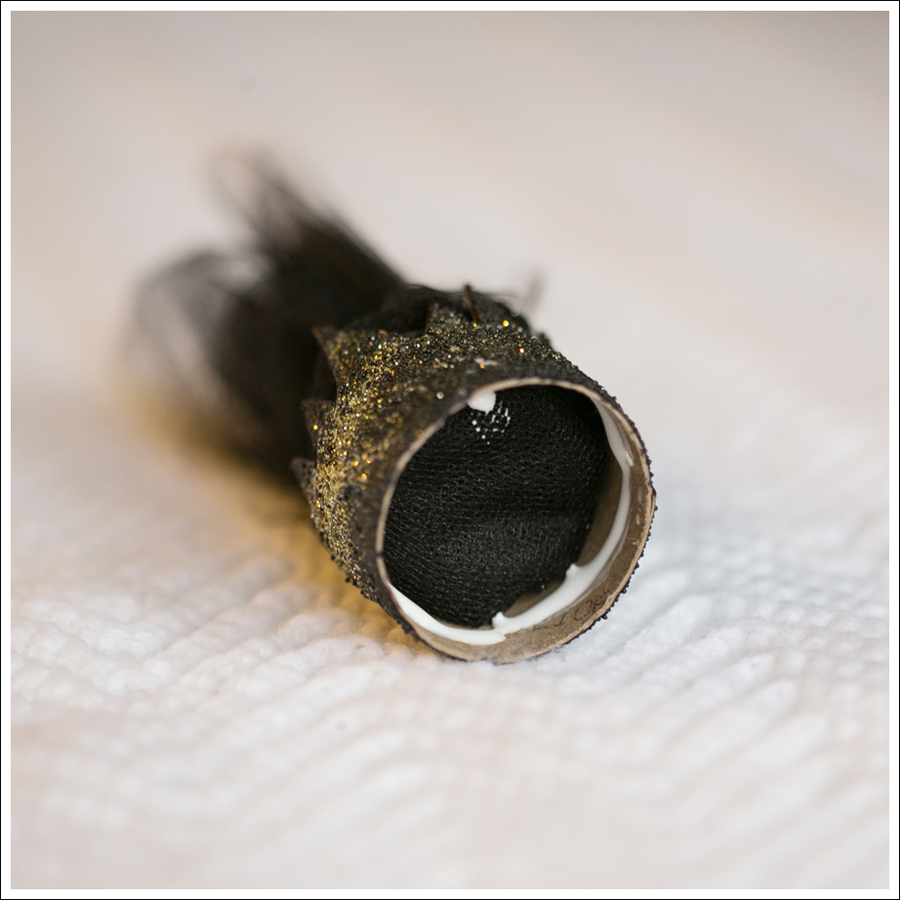
- Punch holes in opposite sides at the bottom of the crown.
- Lightly coat the crown with glue (I put a little too much on and it started dripping :{
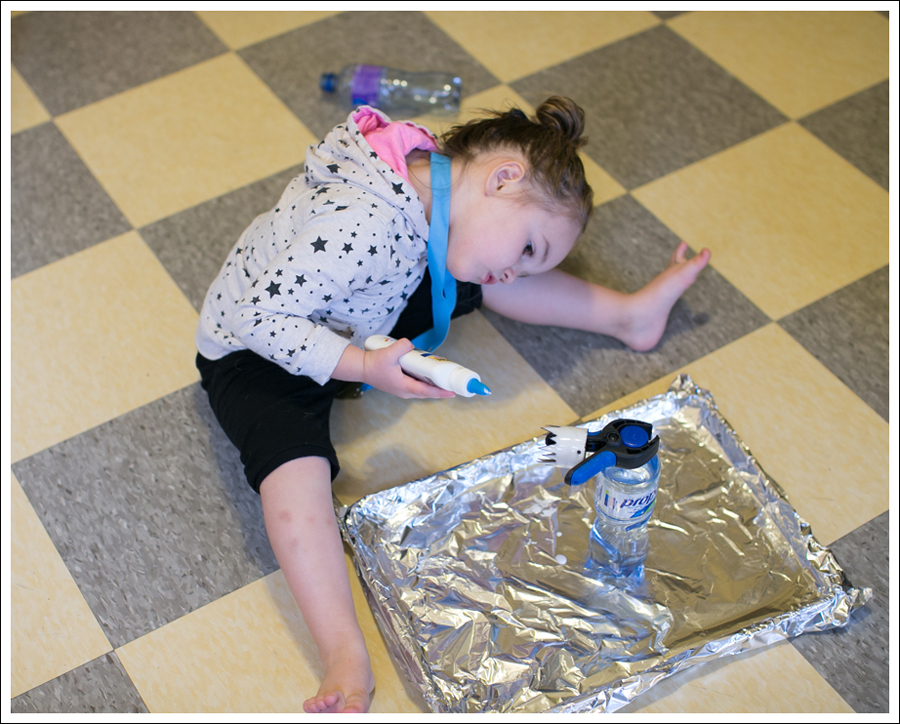

- Have your toddler help with lightly pouring the glitter on. I used both black tiny ball glitter and gold dust glitter.
- Set that aside to dry. If you lightly coat it with glue, it should be fine standing up right.
- Next, cut your tulle into 6 inch squares. I had probably 8-10. Stack all the tulle with the corners at varying vs being all lined up. I think it would look cool if you did longer pieces and they were flowing down the back too!
- Place your cut 1/4 piece of the roll in the middle of the tulle stack and fold up, securing with a rubber band. Secure the excess with more rubber bands so it’s easier to feed through the crown.
- When your crown is dry, feed the tulled inner crown up through the middle and place some glue around the bottom to secure.
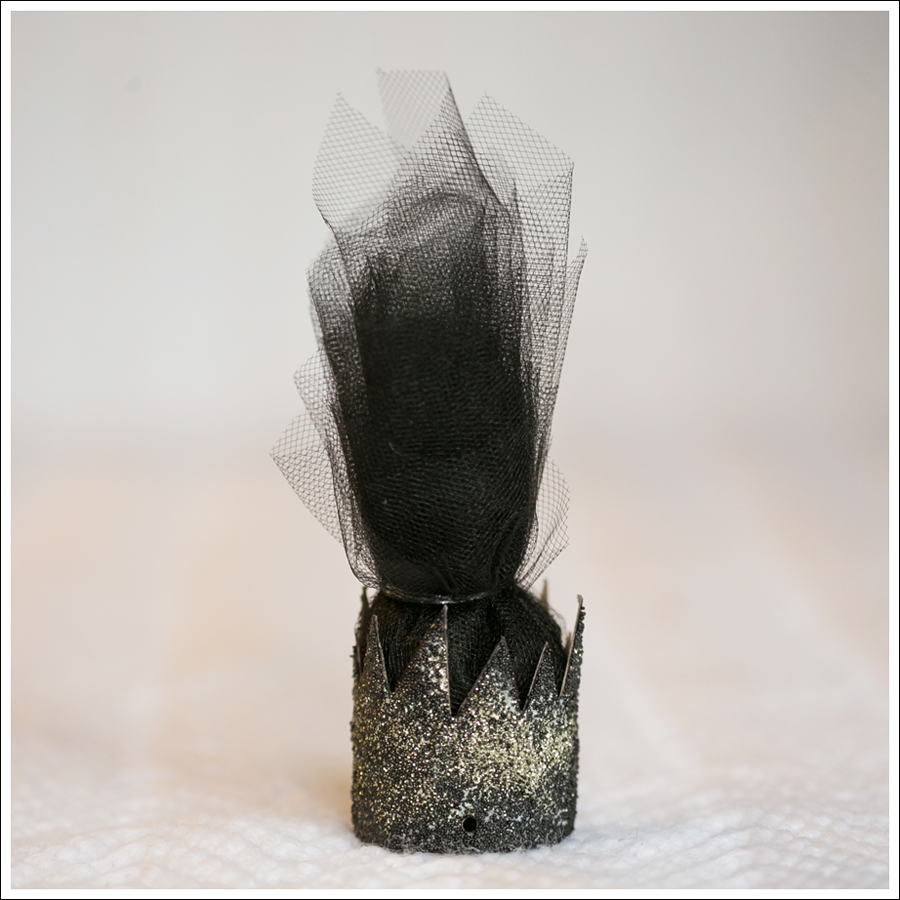
- Cut the rubber bands and fluff the tulle.
- Tie the elastic through the punched holes, and your done!
 Have fun!!


UMM… THIS IS SO CUTE!!!!!
LikeLike
Thanks!!! I couldn’t believe it turned out exactly how I planned when in reality, very little planning occurred hahaha 😂🙊
LikeLike
Love it! You did such a good job!
LikeLike
Thank you Amy!! 🙂
LikeLike
Pingback: Happy Halloween! A day late…hope you recovered from your sugar coma ;) |
Pingback: DIY Tulle Unicorn Horn |
Pingback: Malzemesi karton: oyun oynatan yaratıcı çocuk aksesuarları | denizdeninciler.com