Tag Archives: easter

Paleo Blueberry Coffee Cake

I made this Blueberry Coffee Cake for our Easter Brunch a few weeks ago and it was a big hit with big and small! This recipe is from Elana’s Pantry

It is not very sweet and the almond flour gives it a rich hearty flavor.

blueberry almond flour paleo cake blog (2)blueberry almond flour paleo cake blog (1)

Ingredients

  • 2 cup almond flour
  • 1/4 tsp baking soda
  • 4 large eggs
  • 1/4 cup shortening or butter
  • 1/4 cup coconut sugar
  • 1 Tbsp vanilla extract
  • 1/2 cup frozen blueberries
  • Topping: 1/4 cup shortening or butter, 1/4 cup coconut sugar, 1/2 cup almond flour, 1 Tbsp ground cinnamon

Directions

  • Oven to 350
  • Grease 8″ round baking pan
  • Combine flour, baking soda in bowl
  • In another bowl, whisk together eggs, shortening, coconut sugar, vanilla
  • Stir wet ingredients into the almond flour mixture until thoroughly combined, then stir in the blueberries
  • Pour batter in pan
  • To make topping, cream shortening and coconut sugar, stir in almond flour and cinnamon, then sprinkle over cake batter
  • Bake for 30-40 minutes or until toothpick inserted into center of cake comes out almost clean
  • Let cake cool in pan for an hour, then serve

dit-elle-Esther

Easter Egg Tree 2016

It’s the season.. daffodils, cherry blossoms, puddle jumping and Easter Egg fun!

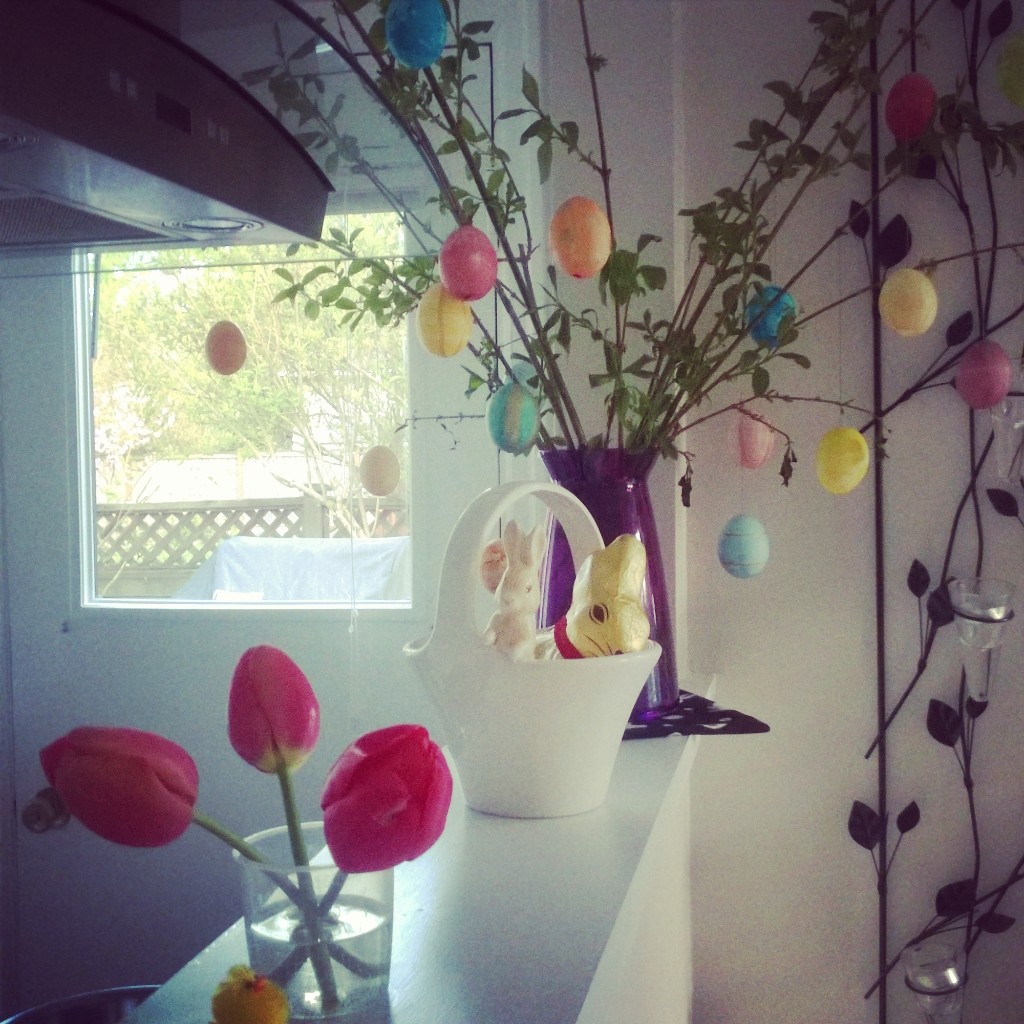
Want to make an Easter tree? It’s a fun project especially for older kids and the result is pretty stunning. Preparing the eggs takes quite a bit of time and effort (you will actually empty egg out of the shell through a small opening by blowing through a small hole on the opposite side of the shell), but the good news is that if you are careful, these eggs can last for years and be used on your tree again and again!

Check out our Easter “science” project from last year here – naturally dyed eggs!
And from two years ago, our Easter Tree here.

Ready to get started? See instructions captioned in each photo.

Here’s what you’ll need:

  • Fresh white eggs
  • Something sharp (like a large yarn needle) to make small holes in the shell with
  • Small sticks (toothpicks or bamboo skewers broken into 3/4″ length
  • Sewing thread
  • Food color/egg dye, vinegar, hot water
making an easter egg tree blog (2)

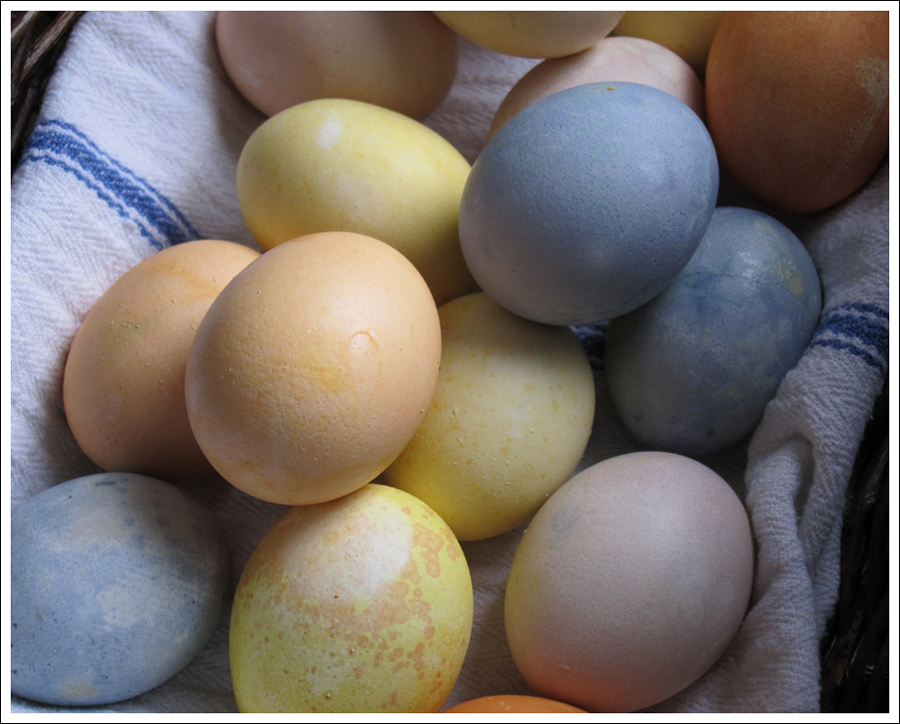
Use fresh white eggs


making an easter egg tree blog (1)

1) Hold the egg firmly in one hand and using a large sharp pointy tool (I used a large yarn needle) tap the “north” or “south” end of the egg – like a bird might chip away at something, or think of a woodpecker in a tree! 2) You’ll tap firmly ~10 times and a small hole will form. Make it bigger by continuing to tap and clear some shell away. The bigger the hole, the easier to get the egg out, but you don’t want it too big. About 1/4″ or less should do. 3) flip the egg upside down and now start chipping a hole on the opposite side (this hole can be smaller). 4) Once you have two holes, insert needle about an inch into the egg to pierce the yolk (this will make getting the egg out of the shell easier). 5) You will now blow a thin stream of air into one of the holes (smaller one) and gravity should pull the egg out the other end. 6) Pour some water into hole and rinse by repeating step above.


making an easter egg tree blog (3)

You’ll have plenty of egg yolks and whites – save for an omelet or cake!


making an easter egg tree blog (4)

Let eggs air dry before dipping in dye

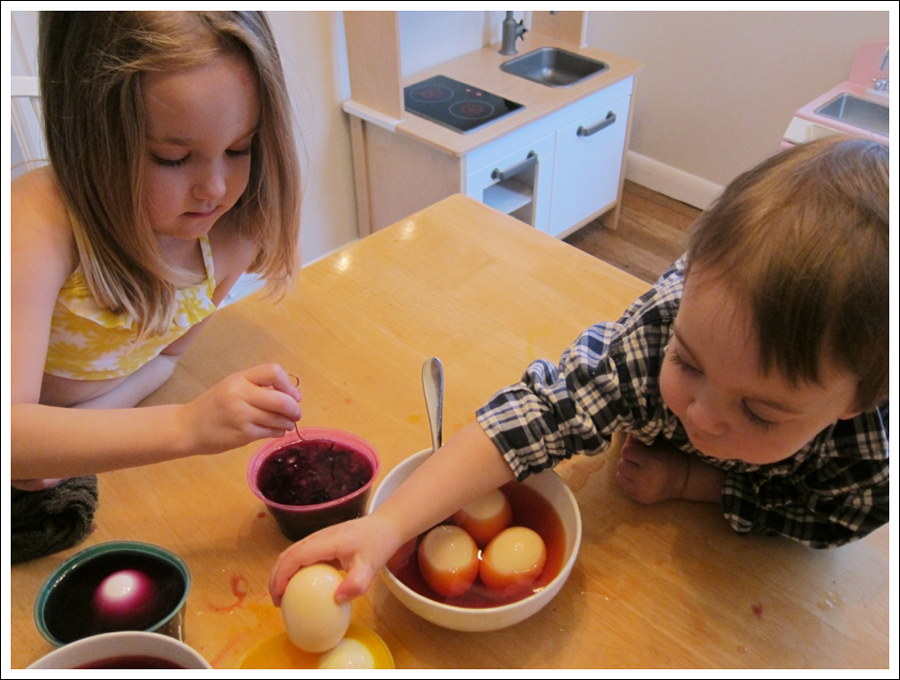
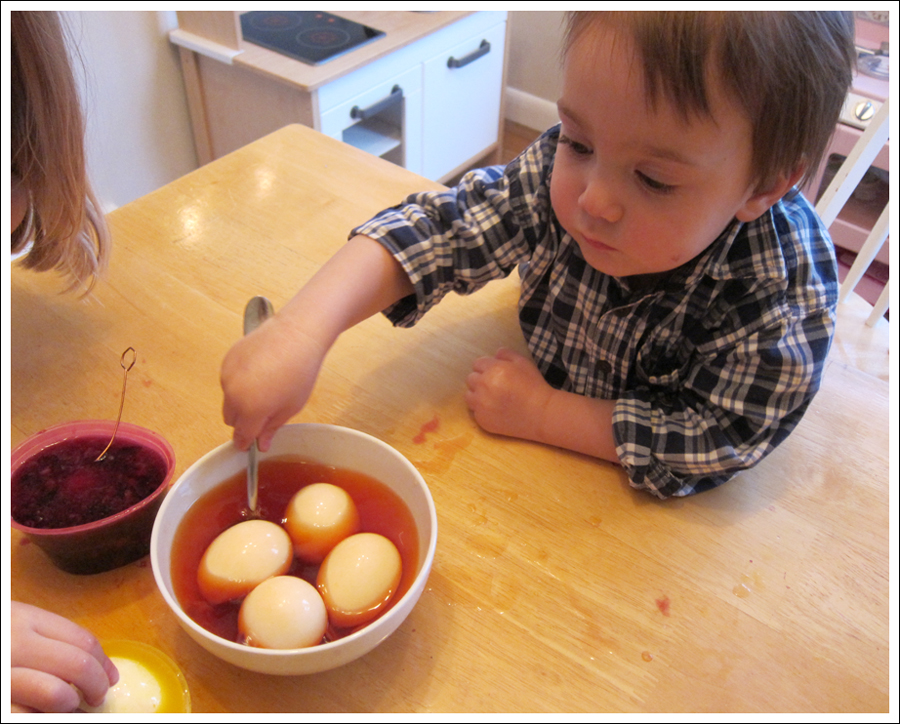
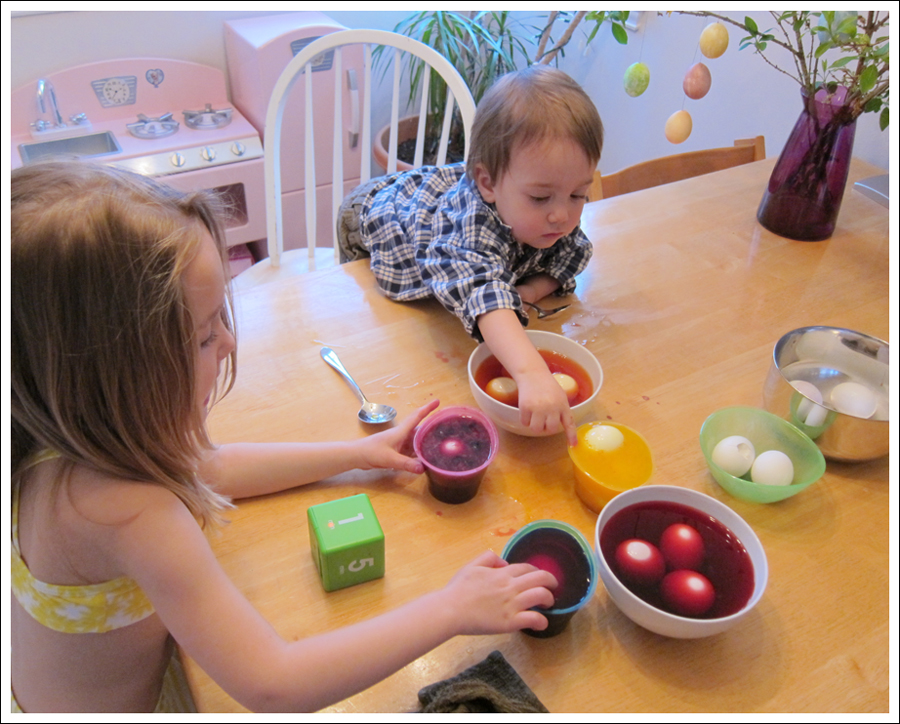
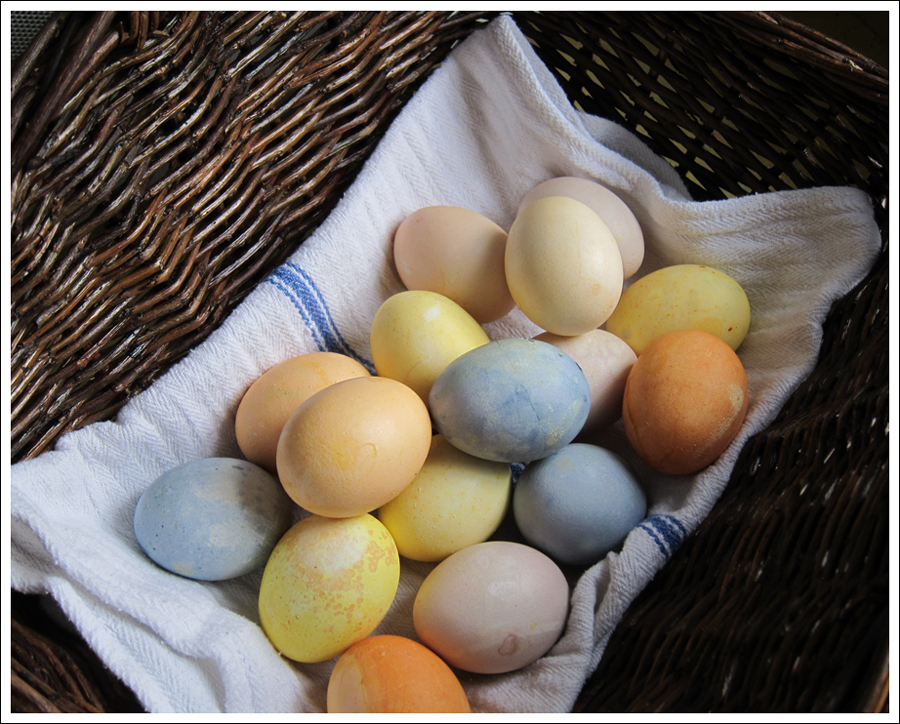
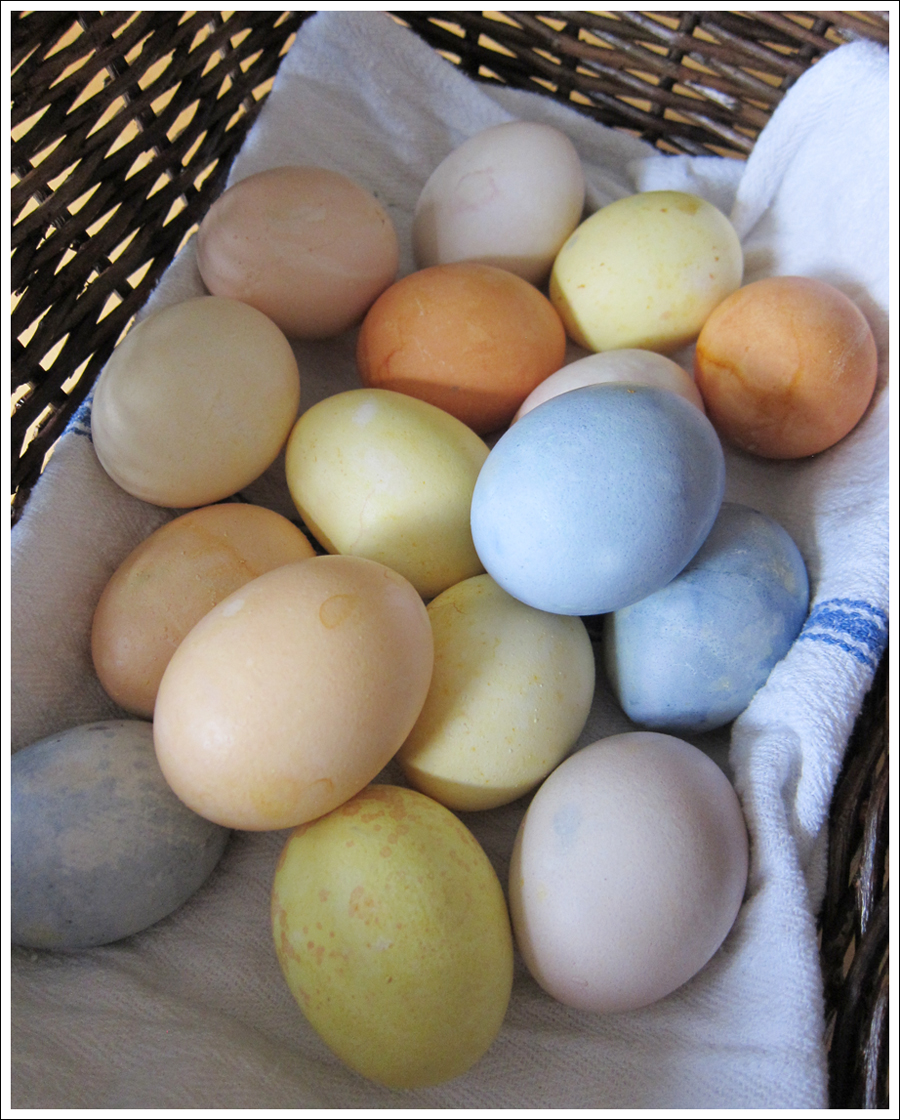
Ave and Anders helped with the dye process – using bamboo skewers to turn the eggs (hollow eggs float!). They loved comparing colors and watching the eggs turn deeper shades.

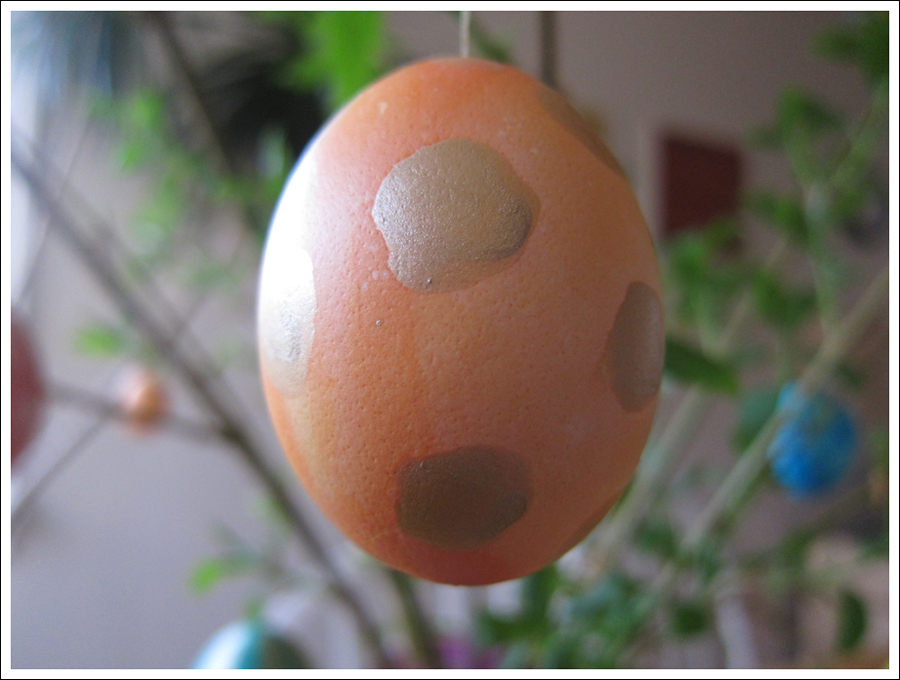
Note that you can get standard food coloring from the grocery store (e.g. McCormick makes a small box of four bottles: red, yellow, green, blue) and following the instructions we made some pretty cool mix & match colors.. sunset orange, jungle green, raspberry, etc. Other than dye, you’ll need vinegar and hot water.

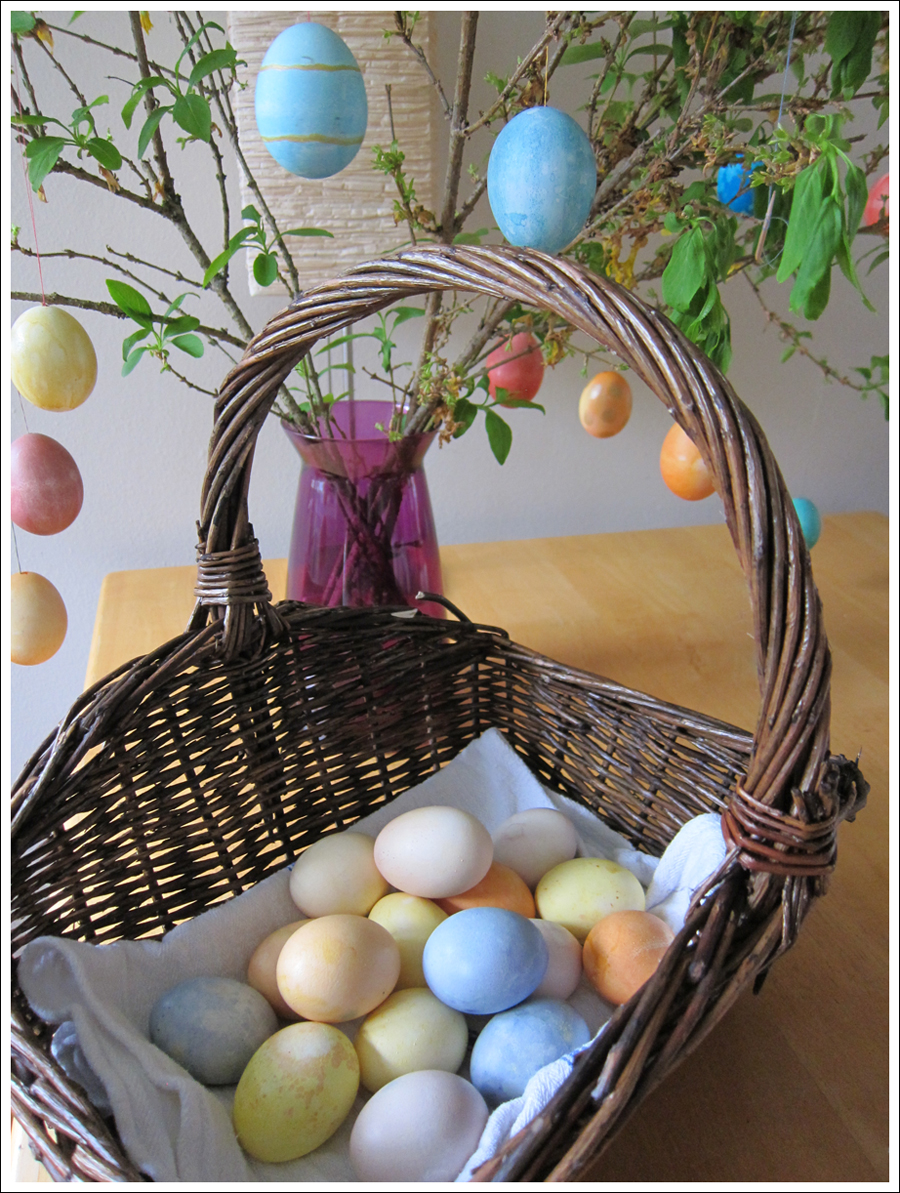
While the eggs dry, fasten a piece of sewing thread to a small stick (e.g. broken toothpick or bamboo skewer), drop this into the egg so that the stick flips to the horizontal and becomes an ‘anchor’ from which the string is attached. Now the egg is ready to be decorated further and/or hung. Ave put colored feathers into each egg and was in charge of hanging. And yes, every step of the way there is risk of the eggshells breaking – they are eggshells after all – but make a bunch and have fun!

Beautiful, right? 🙂

Have fun! 🙂

dit-elle-Esther

Marzipan

Marzipan is a totally delicious treat with Scandinavian roots. In it’s most simple form – it’s ground almonds and honey. You work the two ingredients together into a sticky dough and then make balls or a loaf that you cut into slices. I remember as a kid making marzipan..  I don’t think you could get almond meal/flour in the stores where we lived in Norway so this was quite the cooking project.. First you had to blanche, dry and grind almonds (or just grind them with skins intact) with a hand held grinder until you had a fine almond meal. Then you would work in the honey. The best part was making shapes with mini cookie cutters. We would often make marzipan for Easter. We would roll the dough into small egg shapes and dip them in chocolate. After they were dry we wrapped them in tinfoil and hid them outside for our Easter egg hunt!

You can definitely make the honey/almond version, but the recipe below is a total winner. You use almond meal (yes, from a bag! :)), powdered sugar, egg whites, almond essence and the secret ingredient – rose water! Totally delicious and tastes like marzipan from a gourmet candy shop in Europe. I’ve made about 5 batches in the last few months but they kept disappearing (house elves?). I finally got a chance to dip them in chocolate and take some pictures! 🙂

Have fun, unleash the creativity and enjoy!

Blog marzipan and chocolate-3 Blog marzipan and chocolate-2 Blog marzipan and chocolate-1

Ingredients

  • 1½ cups almond flour/meal
  • 1 cup powdered sugar
  • 2 teaspoons pure almond extract
  • 3/4 teaspoon quality food grade rose water (it is strong!)
  • 1 egg white (this is a few tablespoons and I used pasteurized egg whites from a carton)

Instructions

  1. Place the almond flour and powdered sugar in a food processor and pulse until combined and any lumps are broken up. Add the almond extract, rose water and egg white and process until a thick dough is formed. If the mass is still too wet and sticky, add more powdered sugar and ground almonds. Keep in mind that it will become firmer after it’s been refrigerated.
  2. Turn the almond marzipan out onto a work surface and knead it a few times. Form it into a log, wrap it up in plastic wrap and refrigerate.
  3. This will keep for at least a month in the refrigerator or up to 6 months in the freezer. Bring to room temperature before using in any recipe.
  4. Makes about 12 ounces of marzipan or almond paste

I modified this from the original – thanks for the inspiration Daringgourmet.com

dit-elle-Esther

Floating Candles and Flowers – Easy Centerpiece!

Floating candles and flowers are my go to – super easy and elegant centerpiece. This takes <60 seconds to assemble. Pick fresh flowers, leaves or herbs if you have some and add to a decorative bowl with water. The flowers and lights will float. Shown here is the centerpiece for our recent Easter Brunch.. a piece of pink depression glass and I used rosemary flowers because that’s what happened to be in bloom at that moment in time! 🙂

There’s room for a lot of creativity here, but floating candles are beautiful day or night!

Blog DIY candles flowers centerpiece-1

Blog DIY candles flowers centerpiece-2

dit-elle-Esther

Lemon Pudding Parfait

Lemon Pudding Parfait anyone? Protein rich and paleo! Top with some chilled whipped cream for some not so paleo but oh so delicious goodness!

Blog Egg Lemon Custard-3 Blog Egg Lemon Custard-2 Blog Egg Lemon Custard-1

Ingredients

  • 12 egg yolks
  • ¼ cup agave nectar or honey
  • pinch celtic sea salt
  • ¼ cup lemon juice
  • ½ cup heavy cream or use a can of whipped cream to top the pudding – this will give a little extra sweetener (if you so desire) and is a little time saver! You could also drizzle with some coconut milk for a great dairy free option.

Directions

  • Place egg yolks, agave, and salt in a medium sauce pan
  • While heating over very low flame, whip with a hand blender for 6-8 minutes, then whip in lemon juice
  • Chill for a half an hour
  • If pudding separates, whip with hand blender for 1-2 minutes, until fluffy again
  • Whip cream in a separate bowl
  • Serve in small glasses, alternating layers of pudding and whipped cream
  • Garnish with berries

Serves 4

Thanks Elana’s Pantry! http://elanaspantry.com/lemon-pudding-parfait/

dit-elle-Esther

Easter Egg Science Project

In preparation for Easter this weekend we did an Easter Egg science project! We used bright c

olored fruits and vegetables to dye hardboiled eggs. We tried onion skins, turmeric, blueberries, red cabbage and beets. Ava and Anders dipped and turned the eggs to make sure they were covered with liquid. They also decided when to take the eggs out or keep them in the dye if we thought they needed some more time! It was an awesome DIY kid project.. just make lots of hard boiled eggs because there were definitely some smashed eggs! 🙂

Ava showed up to the party in her usual preferred attire.. swimsuit. This girl is ready for summer.

Blog DIY Natural Dyed Easter Eggs-5 Blog DIY Natural Dyed Easter Eggs-4 Blog DIY Natural Dyed Easter Eggs-3

Blog DIY Natural Dyed Easter Eggs-8 Blog DIY Natural Dyed Easter Eggs-7 Blog DIY Natural Dyed Easter Eggs-6 Blog DIY Natural Dyed Easter Eggs-2 Blog DIY Natural Dyed Easter Eggs-1

Ingredients

  • Hardboiled eggs
  • Onion skins
  • Turmeric, you can use the fresh root or dried ground powder
  • Beets
  • Blueberries
  • Red cabbage
  • White vinegar

Directions

  • I’m sure there’s more of a science behind this and there are a ton of resources online for naturally dyed Easter eggs, but for us this was more of an art than science.. here’s what we did.
  • I boiled some beets and saved the liquid – pretty pink!
  • Microwaved frozen blueberries with some water and mashed them with a fork – gorgeous robin egg blue
  • Boiled onion skins (just peel off the outer dry golden layer of skin) – golden yellow color
  • Boiled some grated fresh turmeric root – this yielded a beautiful orange
  • Boiled some red cabbage and saved the liquid – this was the faintest color – didn’t do much for our dyeing project.
  • We put each of the dyes on bowls and stirred in a tablespoon of vinegar
  • Then we submerged boiled eggs in the liquid and let it soak for between 2-10 minutes
  • We watched the eggs turning color and made observations on what the colors were.
  • Voila! Beautiful Easter eggs

dit-elle-Esther

Apricot Coconut Chocolate Bonbons

These bonbons or ‘candy’ balls are very simple to make. Apricot, coconut, orange zest yumminess – AND – you can dip them in chocolate for even more flavorful goodness. Every evening I ask the kids to choose an activity that we do together after dinner. Playtime, go for a walk, do arts and crafts, or do a cooking project.. Last night they chose cooking project! I let them measure, sample, and then we mix everything up, and they helped make these balls. Blog apricot coconut bonbons-1 Blog apricot coconut bonbons-2 Ingredients

  • 1 1/2 cups unsulfured dried apricots
  • 1 cup shredded coconut (unsweetened)
  • 1 tablespoon orange zest
  • 1 tablespoon virgin coconut oil, melted if solid

Raw chocolate

  • 2 tablespoons virgin coconut oil, melted if solid
  • 2 tablespoons raw cacao powder (or regular cocoa)
  • 1 tablespoons pure maple or coconut syrup
  • pinch fine sea salt

Directions

  • Place apricots, coconut, zest and coconut oil into a food processor and pulse until a rough paste forms.
  • Shape mixture into balls and place ‘bites’ onto a plate and pop in the freezer for 10-15 minutes to firm up
  • Combine raw chocolate ingredients in a small bowl until smooth. Remove bites from the freezer and one at a time, quickly dip half into the raw chocolate mixture. It will set instantly. Eat straight away or store in the fridge or freezer in a airtight container.

Source: Thanks MyDarlingLemonThyme for the inspiration! dit-elle-Esther

Easter Egg Tree

A beautiful, inexpensive, and FUN activity with kids! Only about a few weeks late, but figured I’d post it as inspiration for next year! 🙂

blog Eastertree5 blog Eastertree4 blog Eastertree3 Blog Eastertree2 blog Eastertree1

What you need

  • Eggs
  • Dye
  • Toothpicks
  • Thread
  • Fresh tree branches (Forsythia, dogwood or other work well)

How to make your Easter Tree

  • Select fresh white eggs and blow them out. Here’s how: 1) make a small hole in each end by tapping/chiseling with the tip of a sharp knife, 2) poke a toothpick inside one of the holes to break yolk, 3) then blow the egg white/yolk out into a bowl, 4) wash off egg and let try. This is a tricky process and not recommended for kids – you should do this first and then you can have the kids help with dyeing the eggs. More tips here.
  • Dye eggs and decorate as you wish – some metallic paint brushed on dyed eggs is a fun way to add some sparkle or shine!
  • Hang by tying some sewing thread to a 1/2 toothpick inserted into the egg to create a stopper.
EstherEasterEggs

Ava quickly became a pro egg dyer!

EstherEastertree

My Easter Tree via Instagram!

dit-elle-Esther