Tag Archives: DIY

DIY Pine Cone Centerpiece


Blog DIY Christmas Pinecones-5This was one of those projects that I had grand plans for.   A fun DIY project that both Maya and I could work on together.  Well, it didn’t quite work out the way I had envisioned, but I kind of like it better!  And we both still had fun 🙂

Start off by gathering pine cones.  If you can find mini pine cones, that would work better.  Plus, they are so tiny and cute!  This was probably Maya’s favorite step 🙂Blog DIY Christmas Pinecones-1Look for other fun branches along the way.  Blog DIY Christmas Pinecones-2My first thought for this project was to spraypaint the pine cones, and then have Maya shake glitter on them.  Well, I thought I had glitter.  I searched all the various places in the house that said glitter might be hiding, wasted an hour, then finally decided to try cookie sprinkles.  That didn’t work, but by that time it was time for Maya’s nap 😦  Any sane person, would have just saved the hour, gone to the store, bought more glitter, and moved on.  I’m not that person (obviously) 🙂Blog DIY Christmas Pinecones-3

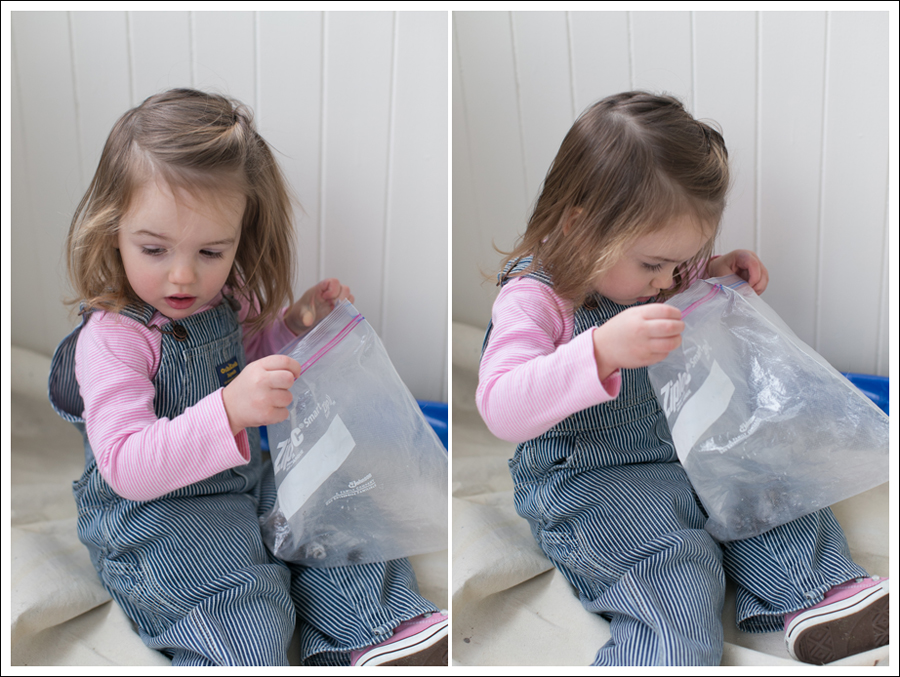
She still had fun shaking the bag!  Which was the point of the project anyway, so-SUCCESS! 🙂Blog DIY Christmas Pinecones-4A few days went by (ok, weeks).  I never made it to the store to get glitter.  Faced with Christmas less than a week away, I just dumped the pine cones in a few vases and called it good.  We both like it!
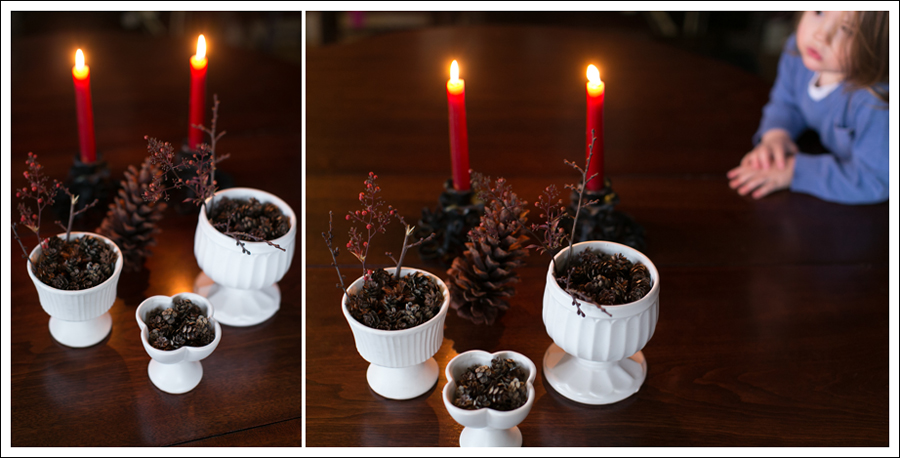
Blog DIY Christmas Pinecones-6SuperMom tip-

You don’t’ have to be a supermom 🙂  This was totally easy, got Maya involved, and I think looks pretty too.  Plus, it was A LOT less messy than my original plan.dit-elle-Lauren

How to make a chalkboard banner | DIY

I made this chalkboard banner a few years ago and have used it SO many times.  I will admit that it wasn’t easy.  I have had lots of practice with power tools, but you could cut out a few steps and achieve the same result.  Here’s what I did…

Step 1-

Go to Home Depot and buy a plain piece of partical board.  Make sure it’s the kind that has a hard smooth surface on one side.  Had this 3/16 in. x 2 ft. x 4 ft. Marker Board (4-Pack) been there that would have been totally cool!

Blog DIY Chalkboard Banner-1Step 2-

Spray paint primer.  You could roll on primer too, but spray paint was easier and dried faster 🙂Blog DIY Chalkboard Banner-2Step 3-

Paint 2 coats of chalkboard paint.Blog DIY Chalkboard Banner-3Or…skip those steps and buy this 🙂

Step 4-

Measure out 6 inch strips.  You could make them bigger or small though.Blog DIY Chalkboard Banner-3.1

Step 5- (DO NOT use table saw unless you know how to use it)

Cut board into measured strips.  You could buy these and skip the cutting.Blog DIY Chalkboard Banner-4Blog DIY Chalkboard Banner-5Step 6-

Measure out triangle pieces.Blog DIY Chalkboard Banner-5.1Step 7- (DO NOT use miter saw unless you know how to use it)

Cut triangles out.Blog DIY Chalkboard Banner-6Blog DIY Chalkboard Banner-7Step 8-

Mark holes at the top of each triangle for holes.Blog DIY Chalkboard Banner-7.1Blog DIY Chalkboard Banner-8I used twine, but you could use yarn or any other kind of strong string.   I used it here for Maya’s birthday.Blog DIY Chalkboard Banner-9I’ve also brought it to weddings, and had couples use it for their “Thank You” cards 🙂Blog DIY Chalkboard Banner-10The best part is you can use it over and over for any occasion!

You could skip the cutting steps and buy square, round, or if you can find them triangle precut boards at a craft store.  All you’d have to do is drill the holes and string.dit-elle-Lauren

How to take your own fashion blog pictures…

So, about 60% of the shots I take are with my tripod and a timer.  20% my husband takes, and the other 20% one of my parents take.  (*edited to add* As I’ve gotten better with this process, I now take about 98% of the shots of me/me with Maya).  When I take images with my tripod and timer this is how I do it.

1-Put my camera on a tripod.

2- Find something I can focus on.  I’ve used a chair, Maya’s stroller, a long stick stuck in the grass, and then I figured out I could use a light stand.  Most people won’t have a light stand, so just use anything that will stand on it’s own that’s at least 3 feet tall.  (*edited to add.  I now tie something onto the top of my stand, so that the camera really has something clear to focus on.  I actually tied a little stuffed animal to it :})

3-Have your lens on auto focus.  Focus on your fake subject, and while you still have the shutter pressed halfway down, move the focus to manual.  This will keep the focus locked where you want it.

4-Mark where you had your fake subject.  If you are shooting at a shallow depth of field, a few inches will matter.  I usually use a leaf or a crack in the pavement.

5-Either use the self timer button or a shutter release.  I’ve got both, but end up using the self timer, so that I don’t have to worry about having something in my hand.  Plus, a lot of the times that’s how I get good laughing shots on my own.  I might trip on my way back to my spot, have a neighbor drive by wondering what the heck I’m doing, or just laugh at the hilariousness of it all.

Blog Hudson Jeans Pink Converse- Blog Hudson Jeans Pink Converse-1Ok, truth be told.  It doesn’t ALWAYS work haha.  I almost scrapped this post because I totally messed up on the focusing, but why just show my success stories?  Maya now thinks it’s a fun game.  Press the button, run to the spot…go back to the camera.  Over and over :).Blog Hudson Jeans Pink Converse-2It also helps to have a handy assistant to lug all your gear around for you 😉 Blog Hudson Jeans Pink Converse-3Good Luck!!

On me…

Jeans- Hudson
Shoes- Converse
On Maya…
Jeans- Cherokee
Top- Gap
Sweater– H&M (old)
Shoes- Converse
dit-elle-Lauren